您好,登录后才能下订单哦!
密码登录
登录注册
点击 登录注册 即表示同意《亿速云用户服务条款》
这篇文章将为大家详细讲解有关python如何给图像加上mask并提取mask区域,小编觉得挺实用的,因此分享给大家做个参考,希望大家阅读完这篇文章后可以有所收获。
python对图像提取mask部分:
代码:
#coding:utf-8
import os
import cv2
import numpy as np

def add_mask2image_binary(images_path, masks_path, masked_path):
# Add binary masks to images
  for img_item in os.listdir(images_path):
    print(img_item)
    img_path = os.path.join(images_path, img_item)
    img = cv2.imread(img_path)
    mask_path = os.path.join(masks_path, img_item[:-4]+'.png') # mask是.png格式的,image是.jpg格式的
    mask = cv2.imread(mask_path, cv2.IMREAD_GRAYSCALE) # 将彩色mask以二值图像形式读取
    masked = cv2.add(img, np.zeros(np.shape(img), dtype=np.uint8), mask=mask) #将image的相素值和mask像素值相加得到结果
    cv2.imwrite(os.path.join(masked_path, img_item), masked)
images_path = '/home/xinan/cat_test/image/'
masks_path = '/home/xinan/cat_test/catmask/'
masked_path = '/home/xinan/cat_test/masked/'
add_mask2image_binary(images_path, masks_path, masked_path)
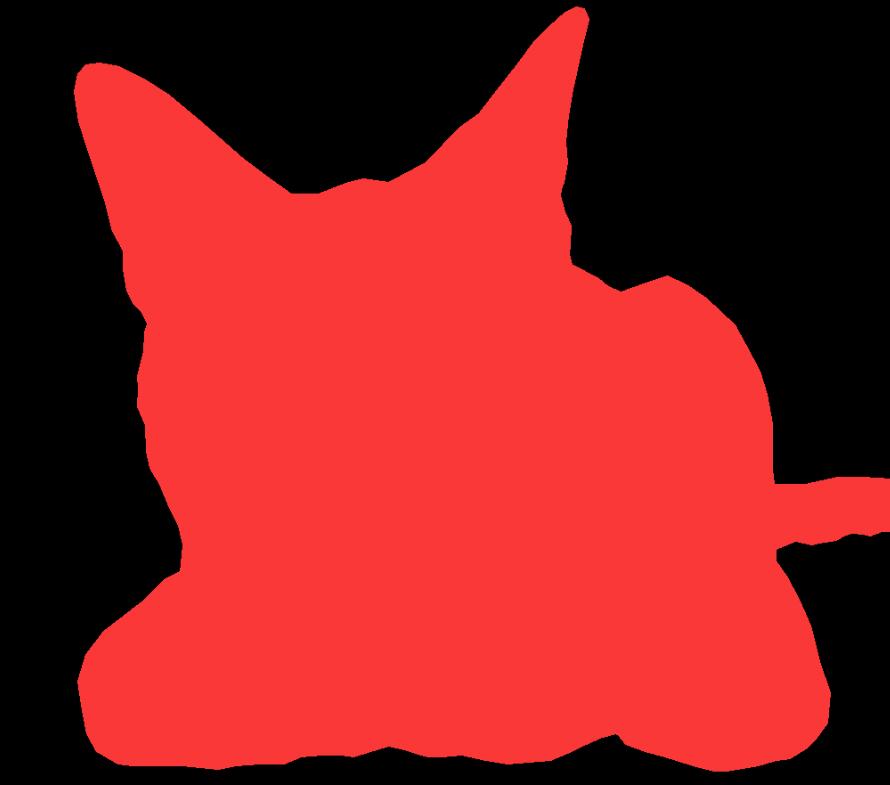
效果图:
mask:

image:

result:

关于“python如何给图像加上mask并提取mask区域”这篇文章就分享到这里了,希望以上内容可以对大家有一定的帮助,使各位可以学到更多知识,如果觉得文章不错,请把它分享出去让更多的人看到。
免责声明:本站发布的内容(图片、视频和文字)以原创、转载和分享为主,文章观点不代表本网站立场,如果涉及侵权请联系站长邮箱:is@yisu.com进行举报,并提供相关证据,一经查实,将立刻删除涉嫌侵权内容。