жӮЁеҘҪпјҢзҷ»еҪ•еҗҺжүҚиғҪдёӢи®ўеҚ•е“ҰпјҒ
еҜҶз Ғзҷ»еҪ•
зҷ»еҪ•жіЁеҶҢ
зӮ№еҮ» зҷ»еҪ•жіЁеҶҢ еҚіиЎЁзӨәеҗҢж„ҸгҖҠдәҝйҖҹдә‘з”ЁжҲ·жңҚеҠЎжқЎж¬ҫгҖӢ
еҒҮе®ҡжҲ‘们еңЁKubernetes жҢҮе®ҡдёӨдёӘworkerиҠӮзӮ№дёӯйғЁзҪІдәҶingress nginxжқҘдёәеҗҺз«Ҝзҡ„podеҒҡproxyпјҢиҝҷж—¶еҖҷжҲ‘们е°ұйңҖиҰҒйҖҡиҝҮkeepalivedе®һзҺ°й«ҳеҸҜз”ЁпјҢжҸҗдҫӣеҜ№еӨ–зҡ„VIP
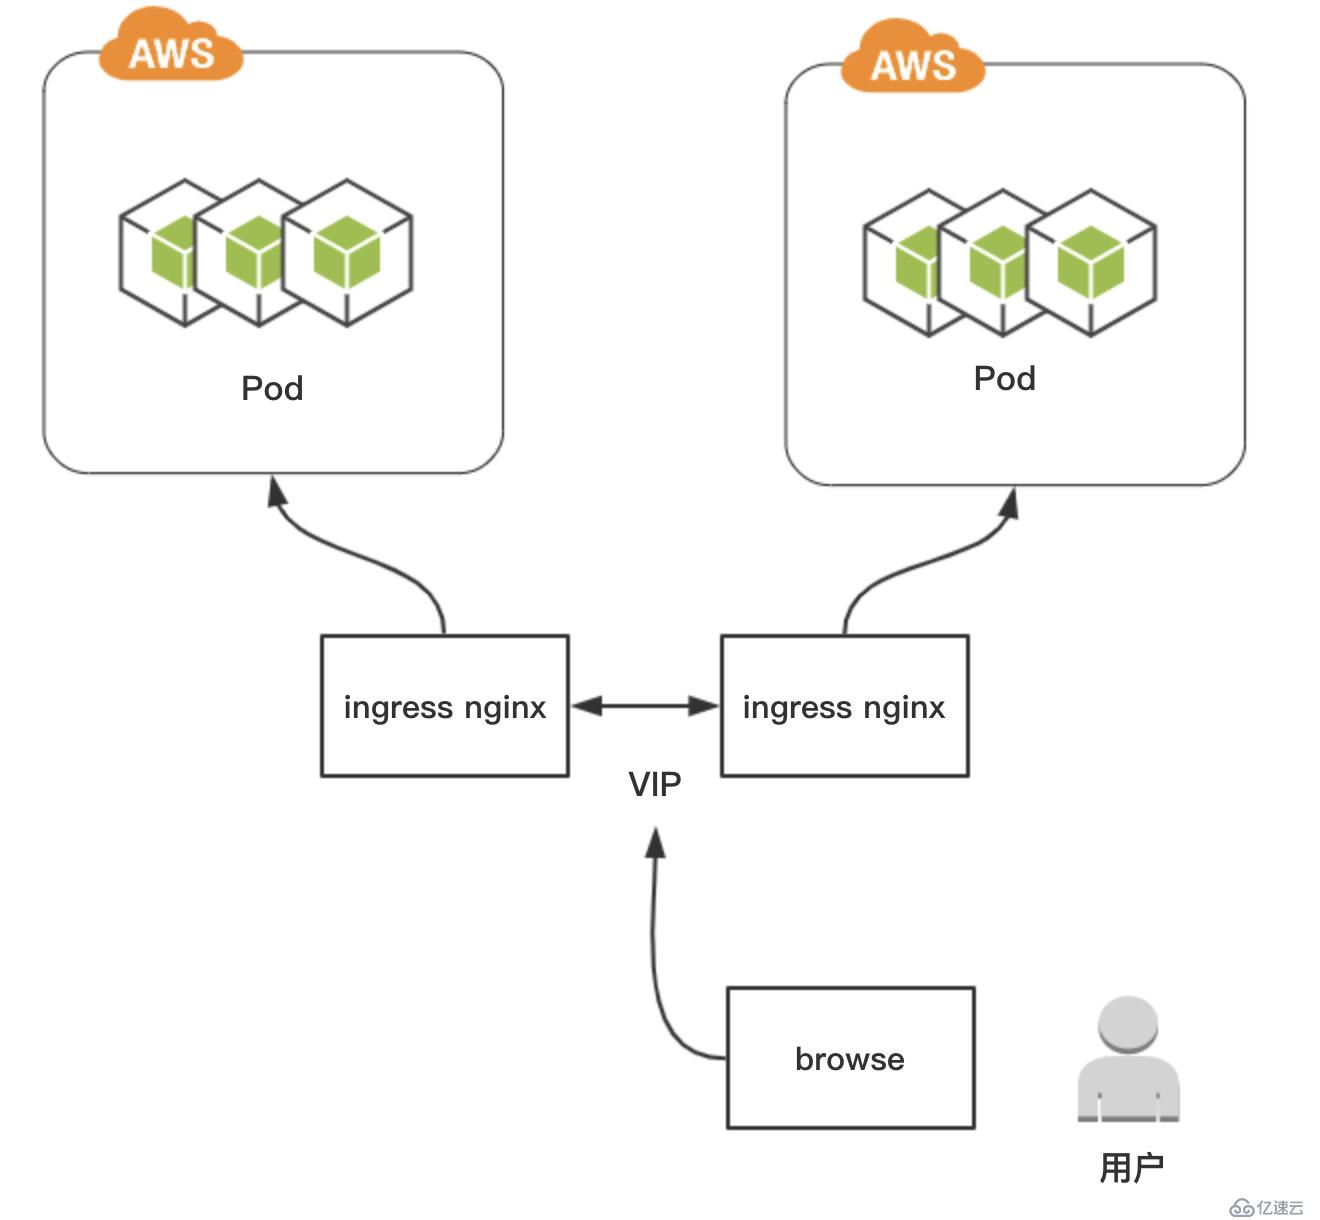
йҰ–е…ҲжҲ‘们иҰҒе…ҲзЎ®дҝқжңүдёӨдёӘworkerиҠӮзӮ№йғЁзҪІдәҶingress nginx
еңЁжң¬е®һйӘҢдёӯпјҢзҺҜеўғеҰӮдёӢпјҡ
| IPең°еқҖ | дё»жңәеҗҚ | жҸҸиҝ° |
|---|---|---|
| 10.0.0.31 | k8s-master01 | |
| 10.0.0.34 | k8s-node02 | ingress nginxгҖҒkeepalived |
| 10.0.0.35 | k8s-node03 | ingress nginxгҖҒkeepalived |
1гҖҒжҹҘзңӢingress nginxзҠ¶жҖҒ
[root@k8s-master01 Ingress]# kubectl get pod -n ingress-nginx -o wide
NAME                                        READY   STATUS    RESTARTS   AGE     IP          NODE         NOMINATED NODE   READINESS GATES
nginx-ingress-controller-85bd8789cd-8c4xh   1/1     Running   0          62s     10.0.0.34   k8s-node02   <none>           <none>
nginx-ingress-controller-85bd8789cd-mhd8n   0/1     Pending   0          3s      <none>      <none>       <none>           <none>
nginx-ingress-controller-85ff8dfd88-vqkhx 1/1 Running 0 3m56s 10.0.0.35 k8s-node03 <none> <none>еҲӣе»әдёҖдёӘз”ЁдәҺжөӢиҜ•зҺҜеўғзҡ„namespace
kubectl create namespace test2гҖҒйғЁзҪІдёҖдёӘDeploymentпјҲз”ЁдәҺжөӢиҜ•пјү
apiVersion: apps/v1
kind: Deployment
metadata:
name: myweb-deploy
# йғЁзҪІеңЁжөӢиҜ•зҺҜеўғ
namespace: test
spec:
replicas: 3
selector:
matchLabels:
name: myweb
type: test
template:
metadata:
labels:
name: myweb
type: test
spec:
containers:
- name: nginx
image: nginx:1.13
imagePullPolicy: IfNotPresent
ports:
- containerPort: 80
---
# service
apiVersion: v1
kind: Service
metadata:
name: myweb-svc
spec:
selector:
name: myweb
type: test
ports:
- port: 80
targetPort: 80
protocol: TCP
---
# ingress
жү§иЎҢkubectl create еҲӣе»әdeployment
kubectl create -f myweb-demo.yamlжҹҘзңӢdeploymentжҳҜеҗҰйғЁзҪІжҲҗеҠҹ
[root@k8s-master01 Project]# kubectl get pods -n test -o wide | grep "myweb"
myweb-deploy-6d586d7db4-2g5ll   1/1     Running   0          23s     10.244.3.240   k8s-node02   <none>           <none>
myweb-deploy-6d586d7db4-cf7w7   1/1     Running   0          4m2s    10.244.1.132   k8s-node01   <none>           <none>
myweb-deploy-6d586d7db4-rp5zc 1/1 Running 0 3m59s 10.244.2.5 k8s-node03 <none> <none>3гҖҒеңЁдёӨдёӘworkerиҠӮзӮ№йғЁзҪІkeepalived
VIPпјҡ10.0.0.130пјҢжҺҘеҸЈпјҡeth0
1.е®үиЈ…keepalived
yum -y install keepalived1.k8s-node03иҠӮзӮ№дҪңдёәmasterй…ҚзҪ®keepalived
[root@k8s-node03 ~]# cat /etc/keepalived/keepalived.conf
! Configuration File for keepalived

global_defs {
   notification_email_from Alexandre.Cassen@firewall.loc
   router_id k8s-node03
   vrrp_skip_check_adv_addr
   vrrp_strict
   vrrp_garp_interval 0
   vrrp_gna_interval 0
}

vrrp_instance VI_1 {
    state MASTER
    interface eth0
    virtual_router_id 51
    priority 110
    advert_int 1
    authentication {
        auth_type PASS
        auth_pass 1111
    }
    virtual_ipaddress {
        10.0.0.130/24 dev eth0 label eth0:1
    }
}2.k8s-node03иҠӮзӮ№дҪңдёәй…ҚзҪ®keepalived
[root@k8s-node03 ~]# cat /etc/keepalived/keepalived.conf
! Configuration File for keepalived

global_defs {
   router_id k8s-node03
   vrrp_skip_check_adv_addr
   vrrp_strict
   vrrp_garp_interval 0
   vrrp_gna_interval 0
}

vrrp_instance VI_1 {
    state MASTER
    interface eth0
    virtual_router_id 51
    priority 110
    advert_int 1
    authentication {
        auth_type PASS
        auth_pass 1111
    }
    virtual_ipaddress {
        10.0.0.130/24 dev eth0 label eth0:1
    }
}3.k8s-node02иҠӮзӮ№й…ҚзҪ®keeplived
[root@k8s-node02 ~]# cat /etc/keepalived/keepalived.conf
! Configuration File for keepalived

global_defs {
   router_id k8s-node02
   vrrp_skip_check_adv_addr
   vrrp_strict
   vrrp_garp_interval 0
   vrrp_gna_interval 0
}

vrrp_instance VI_1 {
    state BACKUP
    interface eth0
    virtual_router_id 51
    priority 100
    advert_int 1
    authentication {
        auth_type PASS
        auth_pass 1111
    }
    virtual_ipaddress {
      10.0.0.130/24 dev eth0 label eth0:1
    }
}4.дёӨдёӘиҠӮзӮ№еҗҜеҠЁkeepalived并еҠ е…ҘејҖжңәеҗҜеҠЁ
systemctl start keepalived.service
systemctl enable keepalived.service еҗҜеҠЁе®ҢжҲҗеҗҺжЈҖжҹҘk8s-node03зҡ„IPең°еқҖжҳҜеҗҰе·ІжңүVIP
[root@k8s-node03 ~]# ip add | grep "130"
inet 10.0.0.130/24 scope global secondary eth0:15.еңЁе®ҝдё»жңәдёҠй…ҚзҪ®hostsж–Ү件пјҢе®һзҺ°IPе’ҢеҹҹеҗҚзҡ„и§Јжһҗ
10.0.0.130 myweb.app.com6.жөҸи§ҲеҷЁжөӢиҜ•и®ҝй—®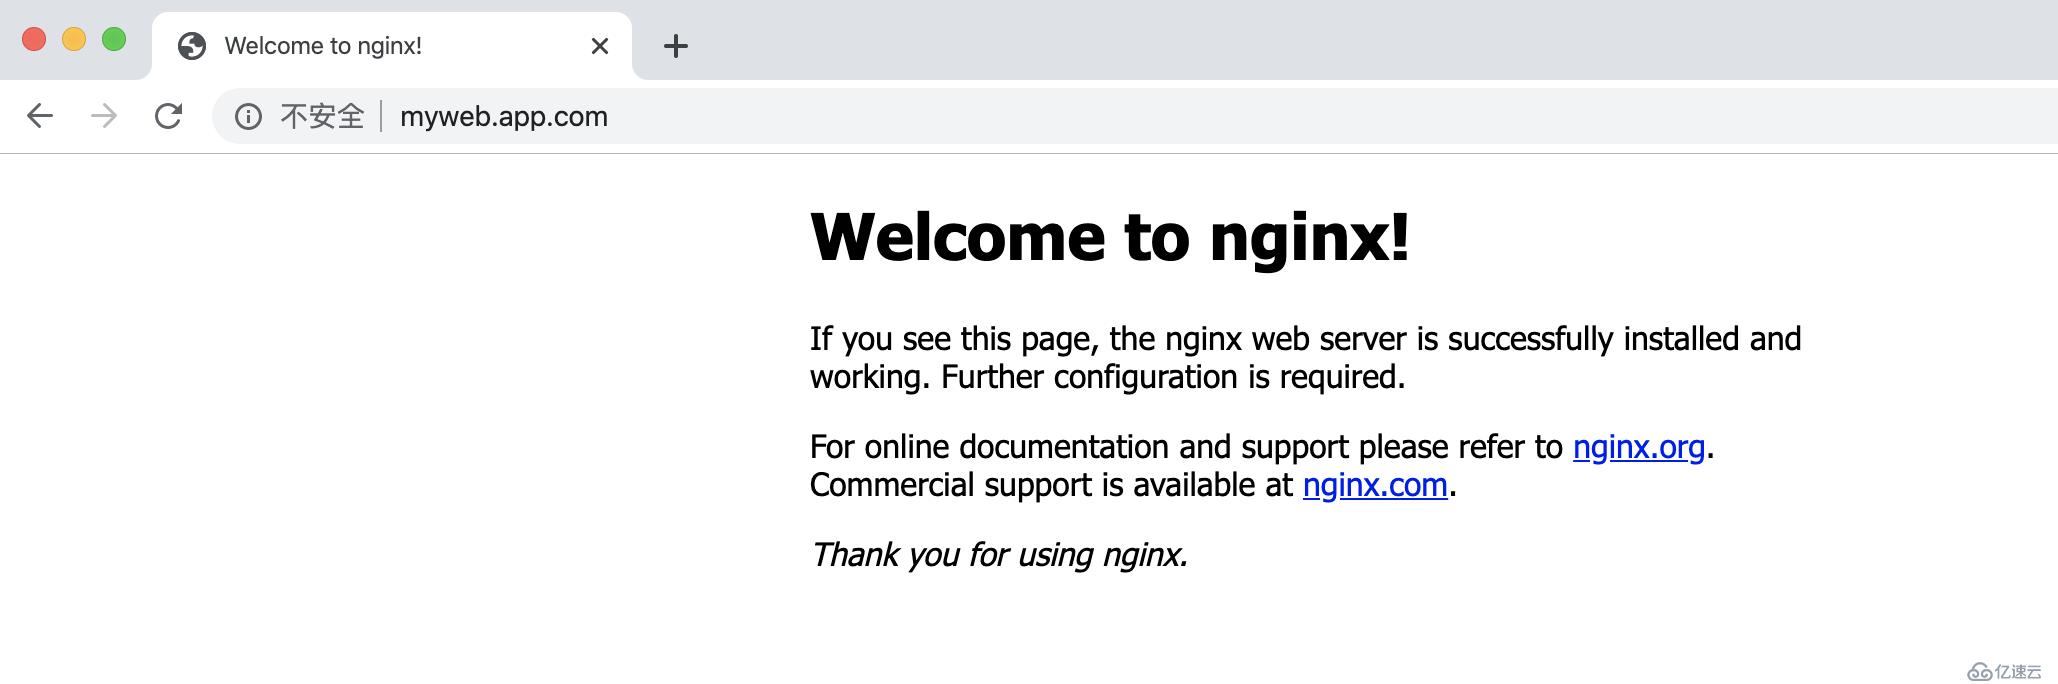
4.жөӢиҜ•vipжјӮ移
зҺ°еңЁжҲ‘е°Ҷk8s-node03зҡ„keepalivedиҝӣзЁӢе…ій—ӯпјҢйӮЈд№Ҳvipе°ұдјҡжјӮ移еҲ°k8s-node02
[root@k8s-node03 ~]# systemctl stop keepalived.service
// еңЁk8s-node02дёҠжҹҘзңӢVIP
[root@k8s-node02 ~]# ip add | grep "130"
inet 10.0.0.130/24 scope global secondary eth0:1еҶҚж¬Ўи®ҝй—®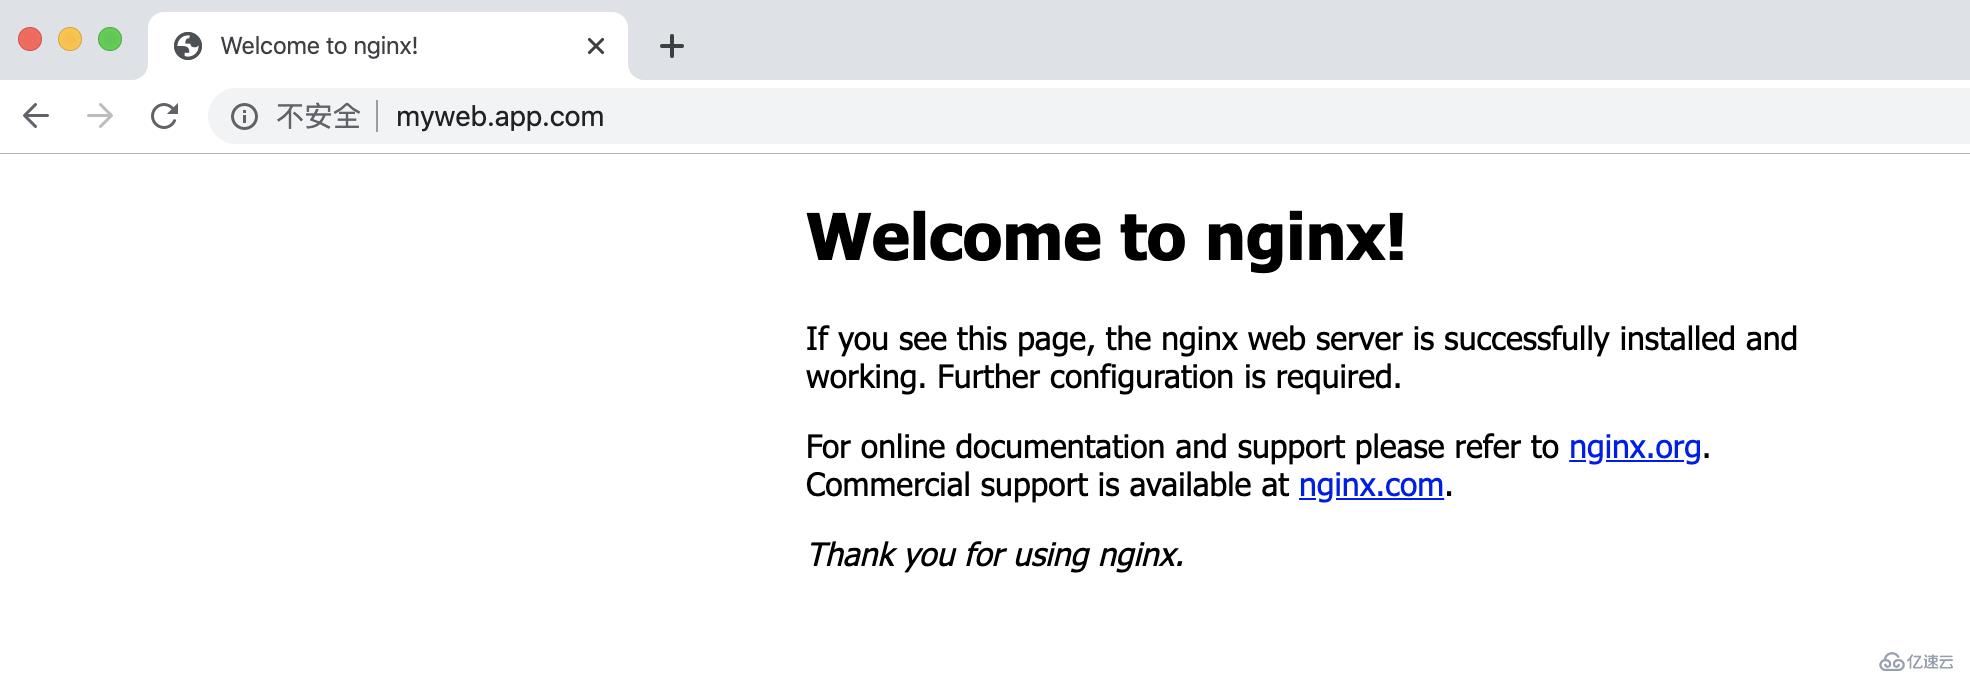
е…ҚиҙЈеЈ°жҳҺпјҡжң¬з«ҷеҸ‘еёғзҡ„еҶ…е®№пјҲеӣҫзүҮгҖҒи§Ҷйў‘е’Ңж–Үеӯ—пјүд»ҘеҺҹеҲӣгҖҒиҪ¬иҪҪе’ҢеҲҶдә«дёәдё»пјҢж–Үз« и§ӮзӮ№дёҚд»ЈиЎЁжң¬зҪ‘з«ҷз«ӢеңәпјҢеҰӮжһңж¶үеҸҠдҫөжқғиҜ·иҒ”зі»з«ҷй•ҝйӮ®з®ұпјҡis@yisu.comиҝӣиЎҢдёҫжҠҘпјҢ并жҸҗдҫӣзӣёе…іиҜҒжҚ®пјҢдёҖз»ҸжҹҘе®һпјҢе°Ҷз«ӢеҲ»еҲ йҷӨж¶үе«ҢдҫөжқғеҶ…е®№гҖӮ
жӮЁеҘҪпјҢзҷ»еҪ•еҗҺжүҚиғҪдёӢи®ўеҚ•е“ҰпјҒ