您好,登录后才能下订单哦!
密码登录
登录注册
点击 登录注册 即表示同意《亿速云用户服务条款》
JSP页面
<div class="easyui-layout" data-options="fit:true">
  <div data-options="region:'north',split:false"
   >
   <div title="角色分配" >
    <table cellpadding="12" cellspacing="0" >
      <tr>
       <td >角色名称:</td>
       <td><input id="roleName" class="easyui-textbox"
        ></td>
       <td >角色功能:</td>
       <td>
        <select id="roleFun" class="easyui-combobox" data-options="editable:false,multiple:true,panelHeight:'400px'" ></select>
        <div id="roleFunPanel">
         <ul id="roleFunTree" class="easyui-tree" data-options="animate: true,checkbox:true">
          <li>线路列表1</li>
          <li>线路列表2</li>
          <li>线路列表3</li>
         </ul>
        </div>
       </td>
       <td >
        <a href="javascript:void(0)" rel="external nofollow" rel="external nofollow" rel="external nofollow" class="easyui-linkbutton" data-options="iconCls:'icon-add',plain:true" onclick="newAppendRole()">添加</a>
       </td>
      </tr>
    </table>
    <table id="tblRoleDetail" ></table>
   </div>
  </div>
 </div>
  <div id="editRoleDialogFrame"></div>
JS部分代码
var grid = $("#tblRoleDetail").datagrid({
 border : false,
 striped : true,
 rownumbers : true,
  fitColumns : true,
  singleSelect : true,
  height: '90%',
  width: '100%',
  idField :'roleName',
  plain : true,
  fit : false, <span > </span>
  selectOnCheck:false,
  nowrap: true,
  onClickRow : tblRoleDetailOnClickRow ,
  columns:[[
   {field:'roleName',title:'角色名',width: '19%',align:'center'},
   {field:'funId',title:'权限名称',width: '70%',align:'left',
   formatter: function(value,row,index){
    return '<span title='+value+'>'+value+'</span>'
   }
   },
   {field:'opt',title:'操作',width:'10%',align:'center',
    formatter:function(value,rec)
    {
     var btn1 = '<a class="editcls" onclick="newRoleEdit(\''+rec.roleName+'\')" href="javascript:void(0)" rel="external nofollow" rel="external nofollow" rel="external nofollow" >编辑</a>';
     var btn2 = '<a class="delecls" onclick="removeRole(\''+rec.roleName+'\')" href="javascript:void(0)" rel="external nofollow" rel="external nofollow" rel="external nofollow" >删除</a>';
     return btn1+btn2;
    }
   }
  ]],
  onLoadSuccess:function(data){
   $('.editcls').linkbutton({text:'编辑',plain:true,iconCls:'icon-edit'});
   $('.delecls').linkbutton({text:'删除',plain:true,iconCls:'icon-remove'});
   $('#tblRoleDetail').datagrid('fixRowHeight'); //固定所有高度,避免行号和行数据错位
  }
 });
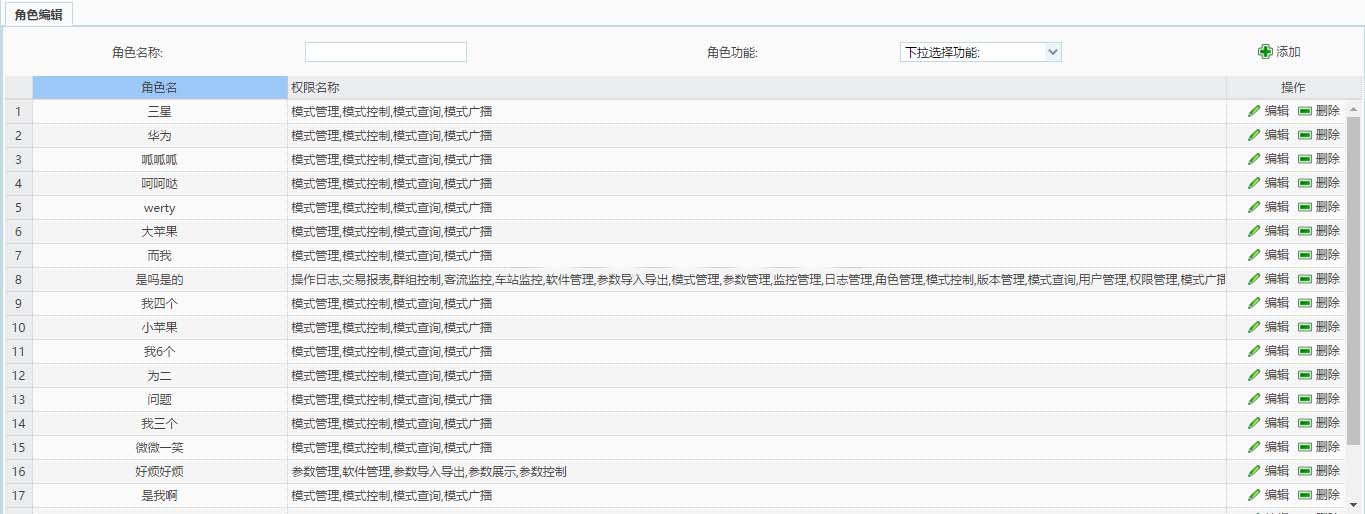
效果图
以上这篇Easyui使用Dialog行内按钮布局的实例就是小编分享给大家的全部内容了,希望能给大家一个参考,也希望大家多多支持亿速云。
免责声明:本站发布的内容(图片、视频和文字)以原创、转载和分享为主,文章观点不代表本网站立场,如果涉及侵权请联系站长邮箱:is@yisu.com进行举报,并提供相关证据,一经查实,将立刻删除涉嫌侵权内容。