您好,登录后才能下订单哦!
密码登录
登录注册
点击 登录注册 即表示同意《亿速云用户服务条款》
一、介绍
Snipe-IT 是一个免费的开源IT资产管理web应用程序。是一款基于Laravel5.4的免费的开源IT资产管理系统。Snipe-IT用于IT资产管理,IT部门可通过它能够跟踪谁拥有哪些笔记本电脑,何时购买、包含哪些软件许可证和可用的附件等。
主要的功能特性:可托管在云主机、强大的REST API、快速更新、保证APP和Platform的安全性、一键备份、LDAP登录/用户同步。
二、环境准备
此时安装使用的系统如下:
1、操作系统:
Centos7.6: CentOS Linux release 7.6.1810 (Core)
2、Apache
此系统搭建使用的是 Apache2.4.6
3、PHP
此系统搭建使用的是 PHP7.2
4、数据库
此系统搭建使用的数据库版本是:Mariadb5.5.60
三、安装前准备
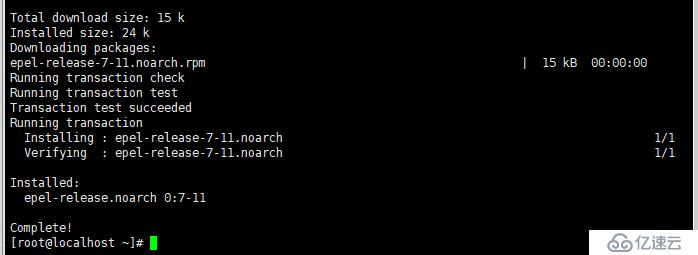
1、系统更新,在此用的系统是最小化安装的Centos7.6版本
yum -y install epel-release
yum update -y
2、使用yum安装Apache 2.4.6
yum install -y httpd httpd-devel
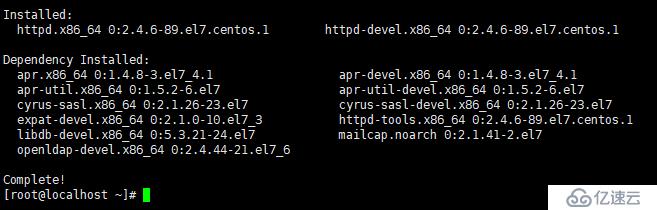
httpd -v

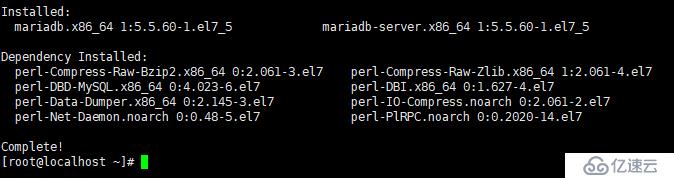
3、使用yum安装Mariadb 数据库
yum install -y mariadb mariadb-server
4、源码安装PHP、配置Apache支持
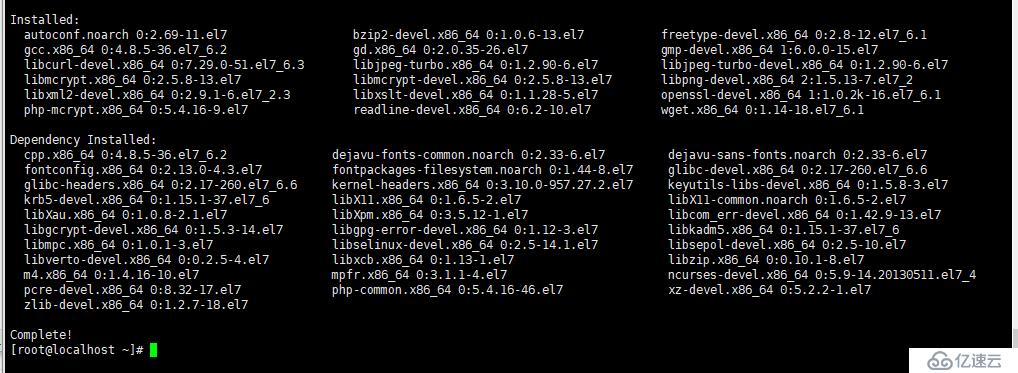
安装PHP所需要的依赖环境
yum install -y make gcc wget openssl readline-devel openssl-devel libxslt-devel gmp-devel bzip2-devel freetype-devel libjpeg-devel php-mcrypt libmcrypt libmcrypt-devel autoconf freetype gd jpegsrc libmcrypt libpng libpng-devel libjpeg libxml2 libxml2-devel zlib curl curl-devel
下载PHP安装包,并解压:
cd /home
wget http://cn2.php.net/get/php-7.2.3.tar.gz/from/this/mirror
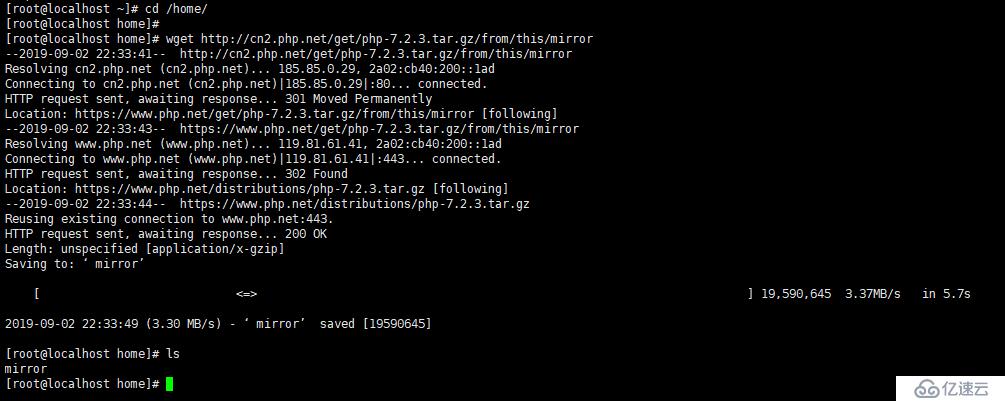
tar zxvf mirror
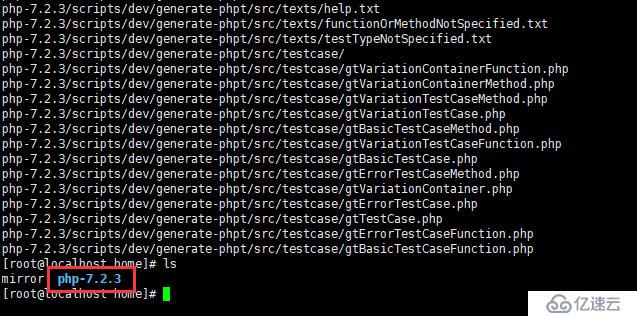
对PHP7.2.3 进行源码编译安装:
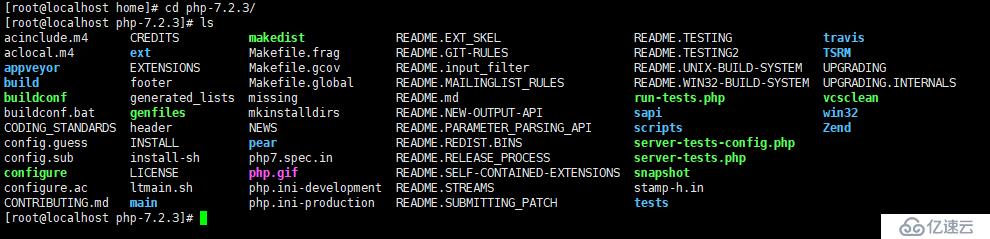
cd php-7.2.3
ls
进行检查配置:
./configure --prefix=/usr/local/php7.2.3 --with-config-file-path=/etc --enable-fpm --enable-inline-optimization --disable-debug --disable-rpath --enable-shared --enable-soap --with-apxs2=/usr/bin/apxs --with-libxml-dir --with-xmlrpc --with-openssl --with-mcrypt --with-mhash --with-pcre-regex --with-sqlite3 --with-zlib --enable-bcmath --with-iconv --with-bz2 --enable-calendar --with-curl --with-cdb --enable-dom --enable-exif --enable-fileinfo --enable-filter --with-pcre-dir --enable-ftp --with-gd --with-openssl-dir --with-jpeg-dir --with-png-dir --with-zlib-dir --with-freetype-dir --enable-gd-native-ttf --enable-gd-jis-conv --with-gettext --with-gmp --with-mhash --enable-json --enable-mbstring --enable-mbregex --enable-mbregex-backtrack --with-libmbfl --with-onig --enable-pdo --with-mysqli=mysqlnd --with-pdo-mysql=mysqlnd --with-zlib-dir --with-pdo-sqlite --with-readline --enable-session --enable-shmop --enable-simplexml --enable-sockets --enable-sysvmsg --enable-sysvsem --enable-sysvshm --enable-wddx --with-libxml-dir --with-xsl --enable-zip --enable-mysqlnd-compression-support --with-pear --enable-opcache
(PS:此操作步骤大概检查一分钟左右,只要不出错,就一直执行,直到出现下面界面:)
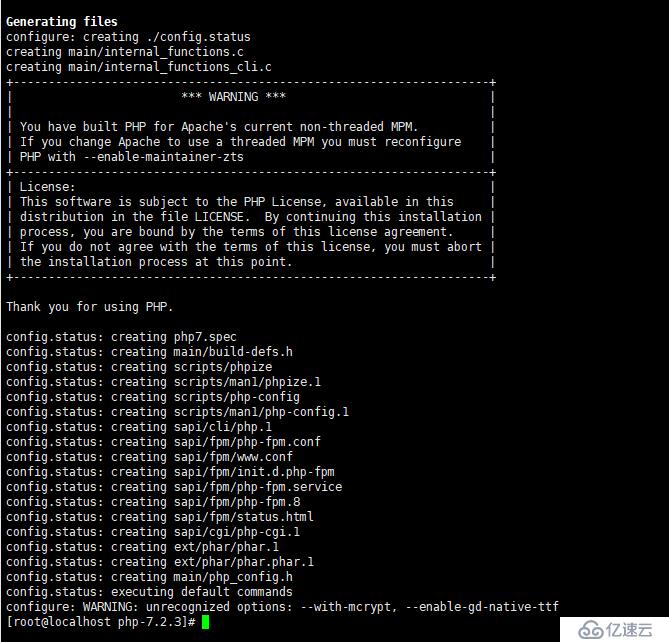
以上检查没有错误之后,下面就开始进行安装和编译了:
make && make install
(PS:此过程大概会持续三到五分钟左右,根据自己的设备性能决定,只要不报错,就等待自行安装,直至出现下面的界面:)
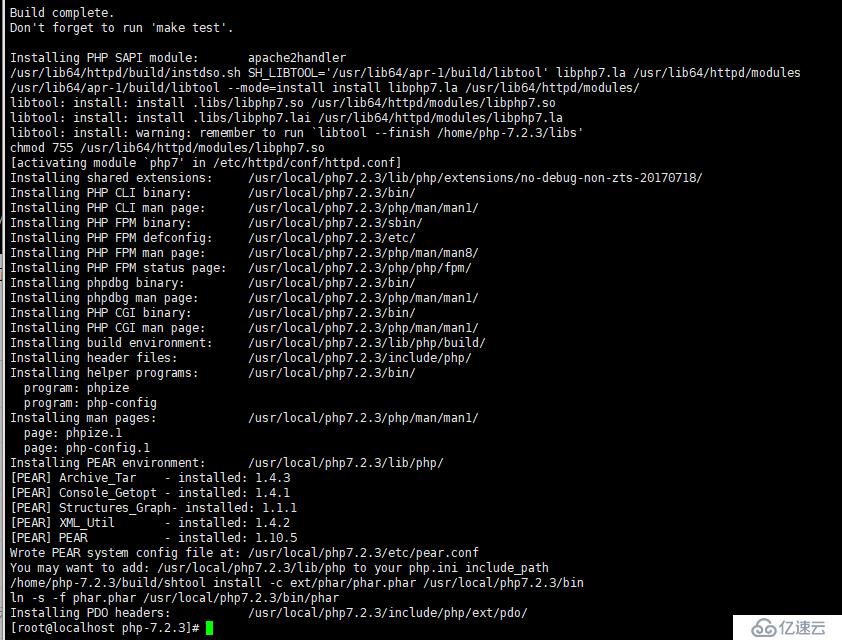
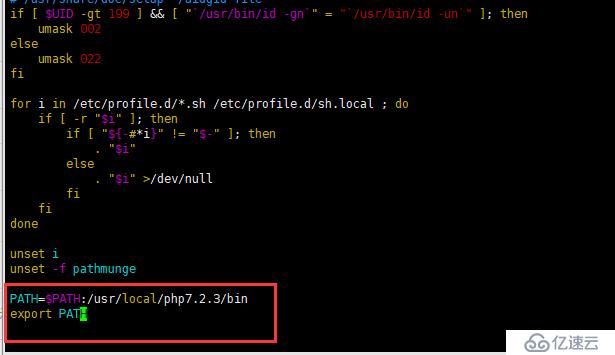
等待以上的安装完成后,下面需要配置php的环境变量:
vim /etc/profile
在该文件的最下面添加以下的信息:
PATH=$PATH:/usr/local/php7.2.3/bin
export PATH
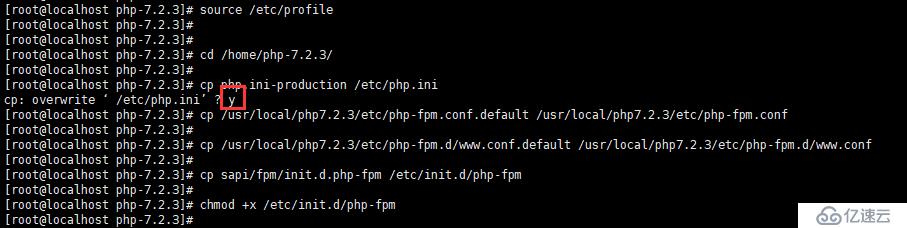
使其环境变量生效:
source /etc/profile
配置php-fpm,完成以下的操作:
cd /home/php-7.2.3
cp php.ini-production /etc/php.ini
cp /usr/local/php7.2.3/etc/php-fpm.conf.default /usr/local/php7.2.3/etc/php-fpm.conf
cp /usr/local/php7.2.3/etc/php-fpm.d/www.conf.default /usr/local/php7.2.3/etc/php-fpm.d/www.conf
cp sapi/fpm/init.d.php-fpm /etc/init.d/php-fpm
chmod +x /etc/init.d/php-fpm
启动 php-fpm
service php-fpm start

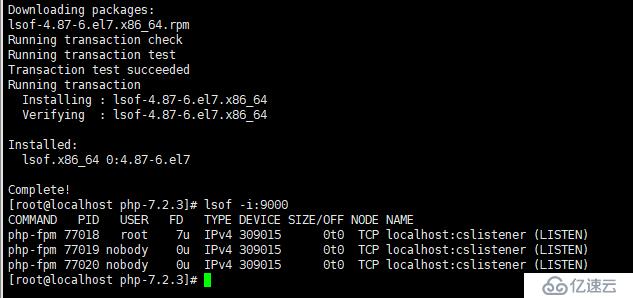
查看开启状态:
lsof -i:9000
(PS:此次未安装lsof,可使用yum先安装lsof)

修改httpd.conf文件
vim /etc/httpd/conf/httpd.conf
需要修改的信息如下:
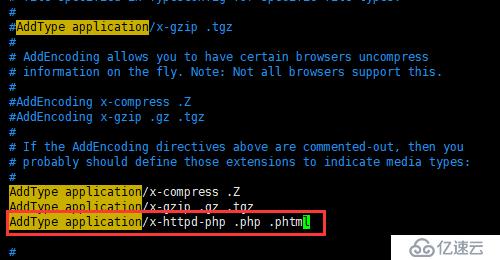
(1)在AddType application*后面加如下一行
AddType application/x-httpd-php .php .phtml
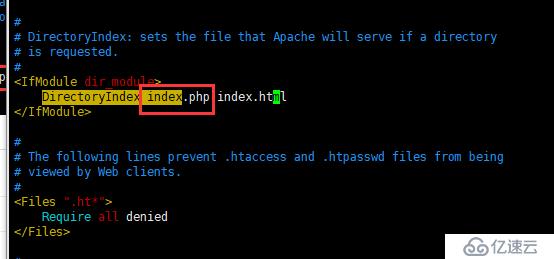
(2)在DirectoryIndex index.html加上index.php
DirectoryIndex index.php index.html
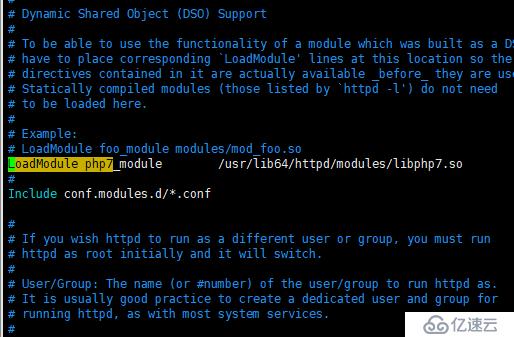
(3)确保httd.conf文件中包含以下字段,如不包含则加入此字段 (已存在,不存在需要加上)
LoadModule php7_module /usr/lib64/httpd/modules/libphp7.so
重启 httpd服务:
service httpd restart
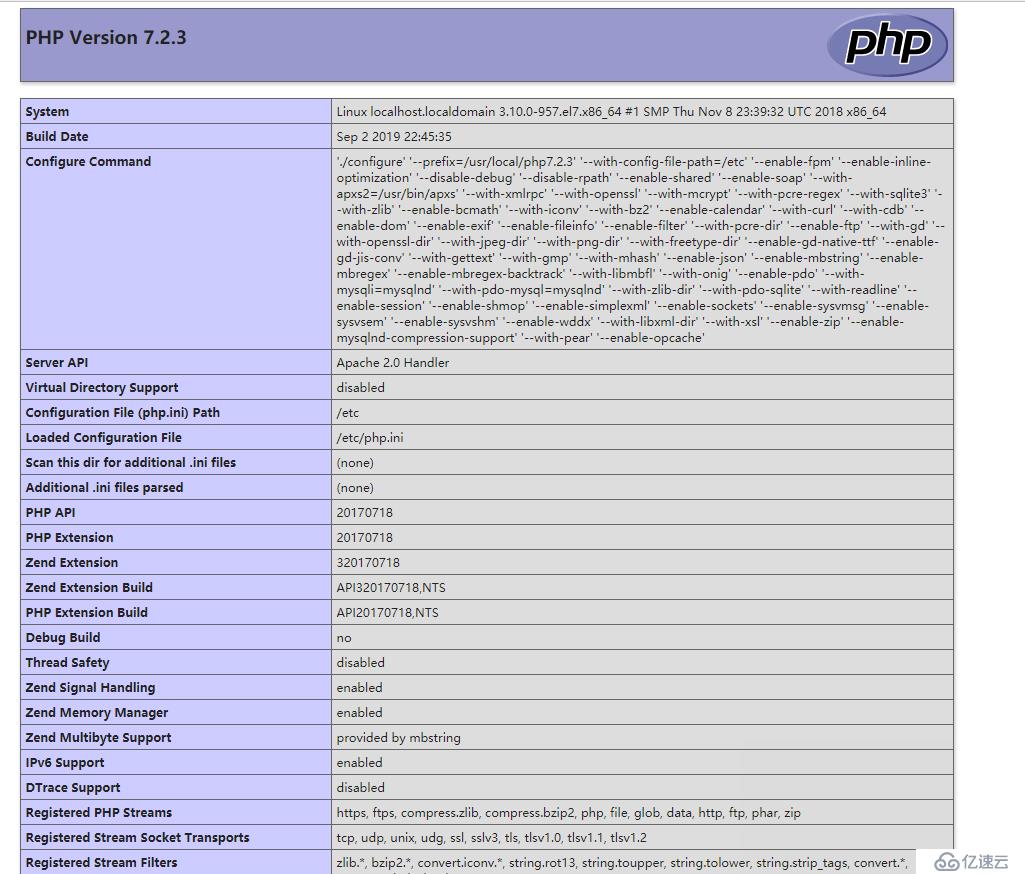
检验httpd的PHP支持和版本信息:
echo "<?php phpinfo(); ?>" >> /var/www/html/index.php
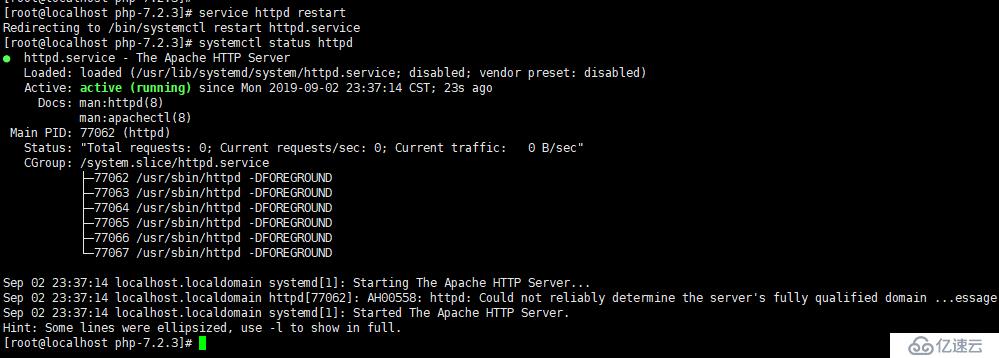
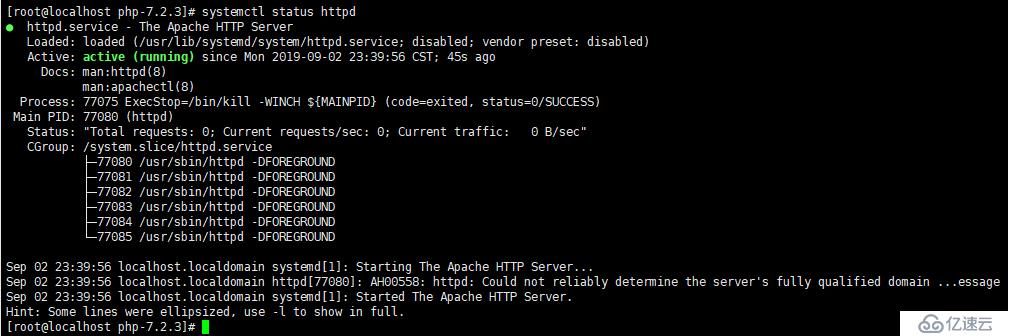
重启服务和查看httpd状态:
systemctl restart httpd
systemctl status httpd

浏览器输入服务器地址,检验PHP是否安装成功:
(PS:操作此步骤之前,需要关闭服务器的防火墙,或者添加一下命令:
firewall-cmd --permanent --zone=public --add-port=80/tcp
systemctl restart firewalld.service)否则浏览器不能正常显示。
三、安装Snipe-IT
1、初始化并创建snipeit数据库
service mariadb start # 启动maraidb服务

mysql_secure_installation #初始化数据库服务


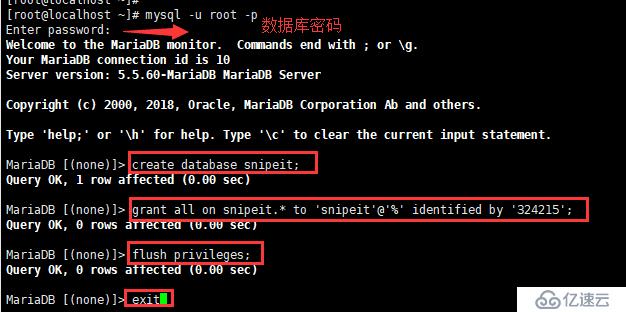
登陆数据库,创建对应用户及对应的数据库
mysql -u root -p
mysql> create database snipeit;
mysql> grant all on snipeit.* to 'snipeit'@'%' identified by '324215';
mysql> flush privileges;
mysql> exit
2、安装composer
什么是composer:
Composer 是由 Jordi Boggiano 和 Nils Aderman 创造的一个命令行工具,它的使命就是帮你为项目自动安装所依赖的开发包。Composer 中的很多理念都借鉴自 npm 和 Bundler,如果你对这两个工具有所了解的话,就会在 composer 中发现他们的身影。Composer 包含了一个依赖解析器,用来处理开发包之间复杂的依赖关系;另外,它还包含了下载器、安装器等有趣的东西。
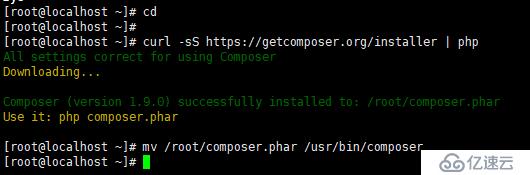
下载并安装compose:
cd
curl -sS https://getcomposer.org/installer | php
mv /root/composer.phar /usr/bin/composer
3、安装snipeit
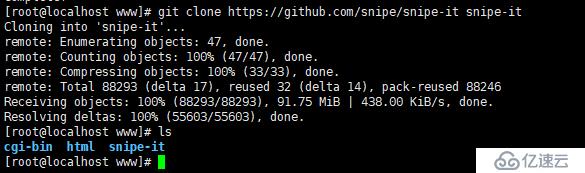
cd /var/www
yum install -y git
git clone https://github.com/snipe/snipe-it snipe-it

编辑配置文件
cd /var/www/snipe-it
sudo cp .env.example .env
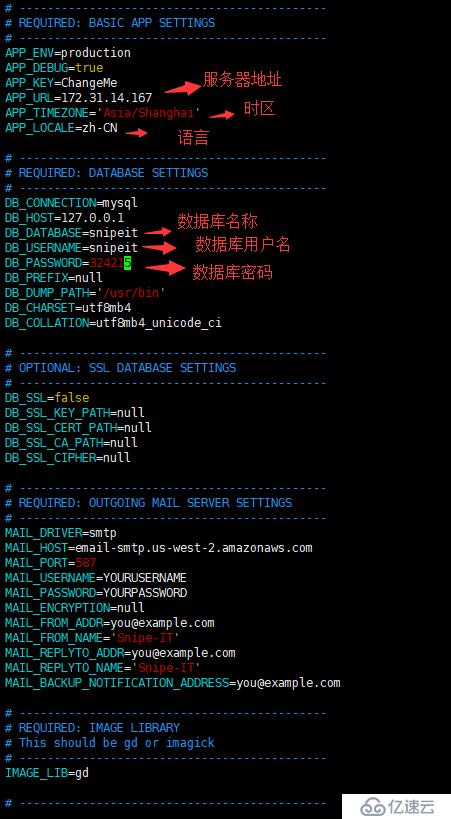
vim .env

cd /var/www
yum install -y git
git clone https://github.com/snipe/snipe-it snipe-it
APP_URL=192.168.201.102 #填入地址
APP_TIMEZONE='Asia/Shanghai' #填入国家地址
DB_DATABASE=snipeit #数据库名称
DB_USERNAME=snipeit #数据库用户名
DB_PASSWORD=324215 #数据库密码
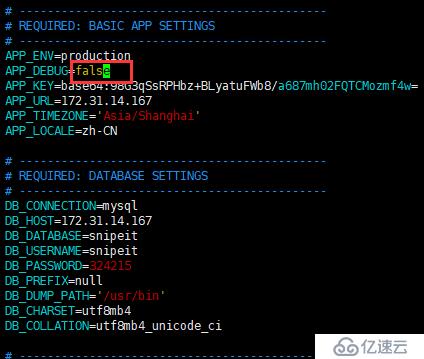
其中
APP_DEBUG=false
调试的时候请更改为true
更改目录权限:
chown -R apache:apache storage public/uploads
chmod -R 755 storage
chmod -R 755 public/uploads

使用composer安装PHP依赖
composer install --no-dev --prefer-source
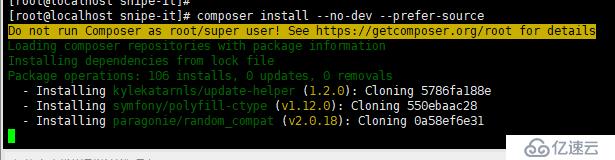
(PS:正在安装中,此步骤安装时间会较长,请耐心等待。。。)
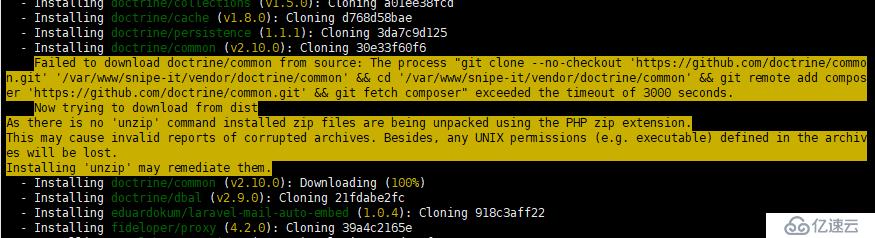
(中间可能会出现这样的一个错误,先不用理会,等待继续安装)

(PS:此过程安装了大概两个小时,终于安装成功了。出现以上界面)
如果安装时间过长,可以修改源之后重新安装尝试
composer config -g repo.packagist composer https://packagist.phpcomposer.com
生成 app_key
php artisan key:generate

4、修改Apache配置文件,创建虚拟主机
vim /etc/httpd/conf.d/snipeit.example.com.conf
具体配置信息如下:
<VirtualHost *:80>
ServerName snipeit.example.com
DocumentRoot /var/www/snipe-it/public
<Directory /var/www/snipe-it/public>
Options Indexes FollowSymLinks MultiViews
AllowOverride All
Order allow,deny
allow from all
</Directory>
</VirtualHost>

重启Apache 服务并查看Apache状态:
systemctl restart httpd
systemctl enable httpd
systemctl status httpd

目前,Snipe-IT已经安装完成,就下来需要进行查错和安装前配置检查
四、排除及遇到的问题
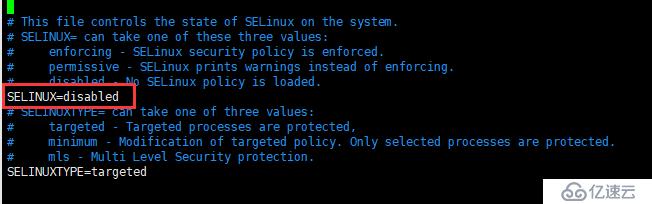
1、关闭系统的selinux:
vim /etc/sysconfig/selinux
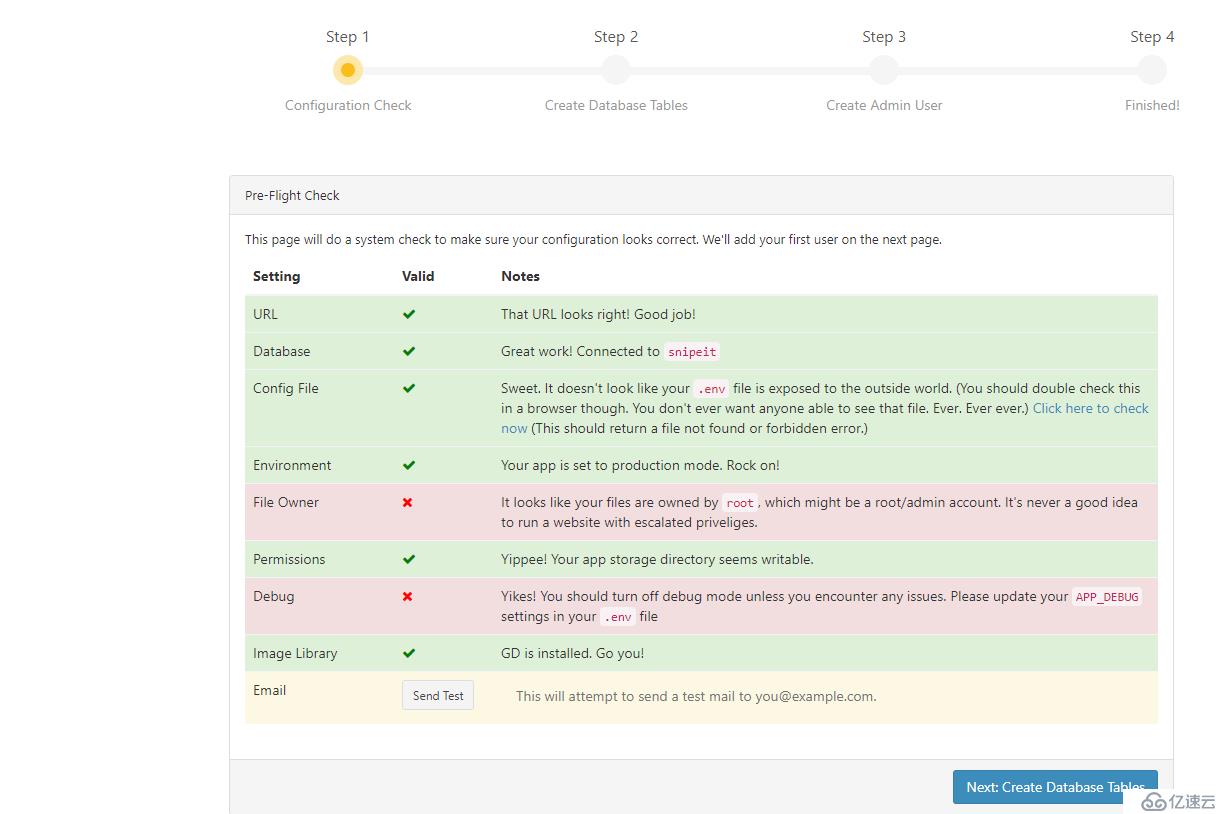
2、安装前检查报错
浏览器输入服务器IP地址:
3、创建用户, 处理错误:
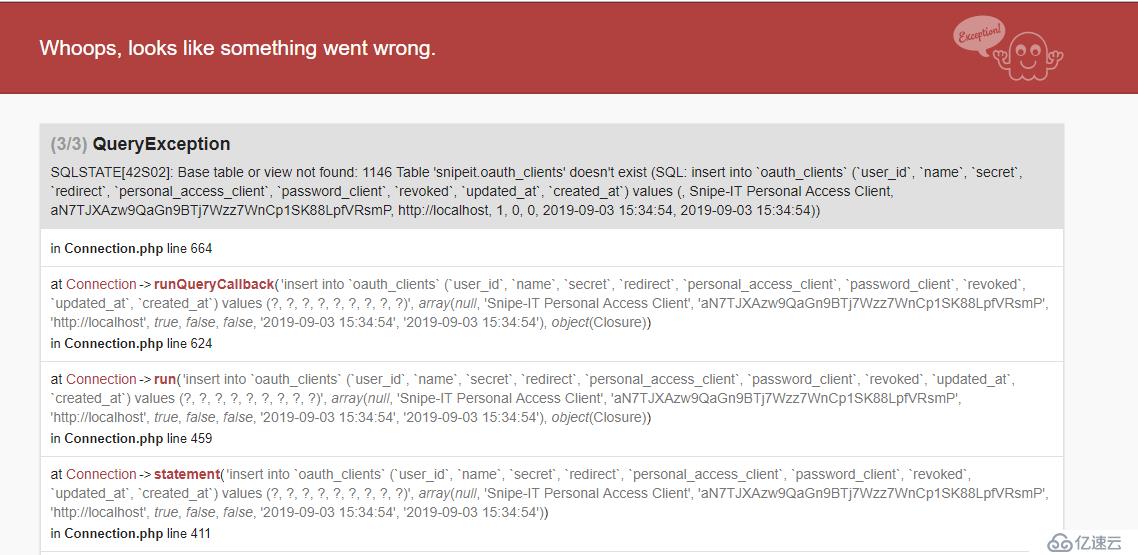
出现以上的错误,应该是数据库的问题,修改 .env 文件:
cd /var/www/snipe-it
vim .env
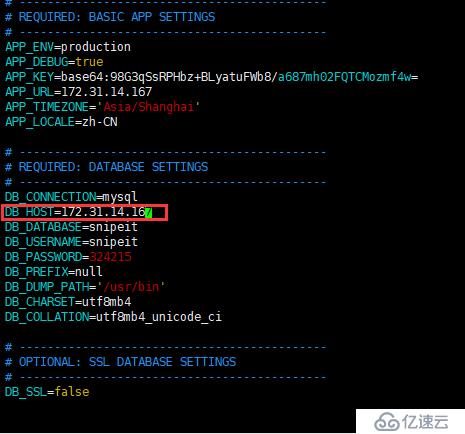
此篇文章的环境,数据库和服务器是安装再同一台服务器上,修改DB_HOST=172.31.14.167(服务器地址)
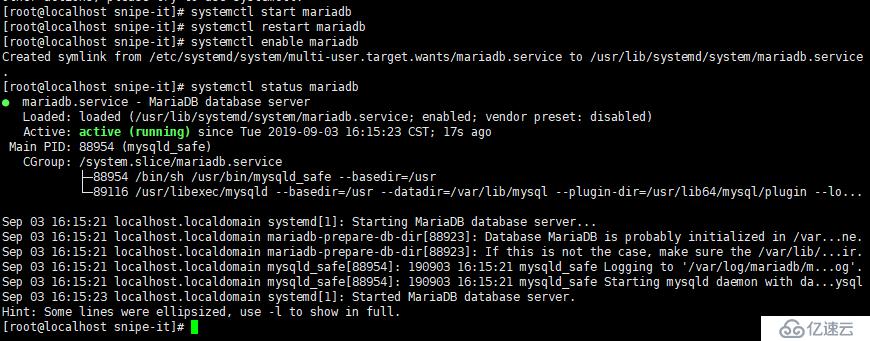
systemctl restart mariadb # 重启maraidb服务
systemctl enable mariadb
systemctl status mariadb
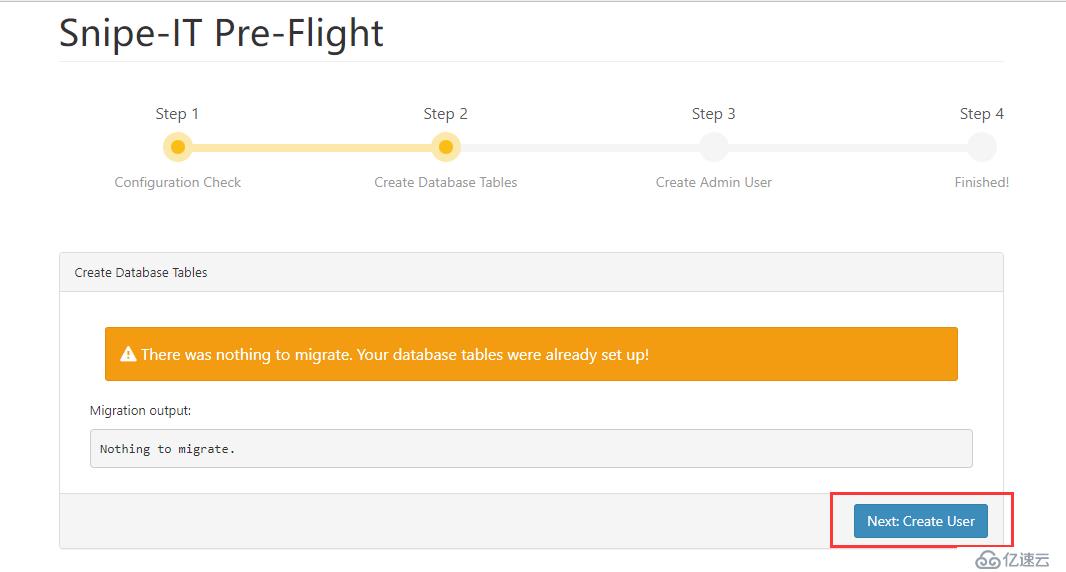
4、继续检查错误和创建用户
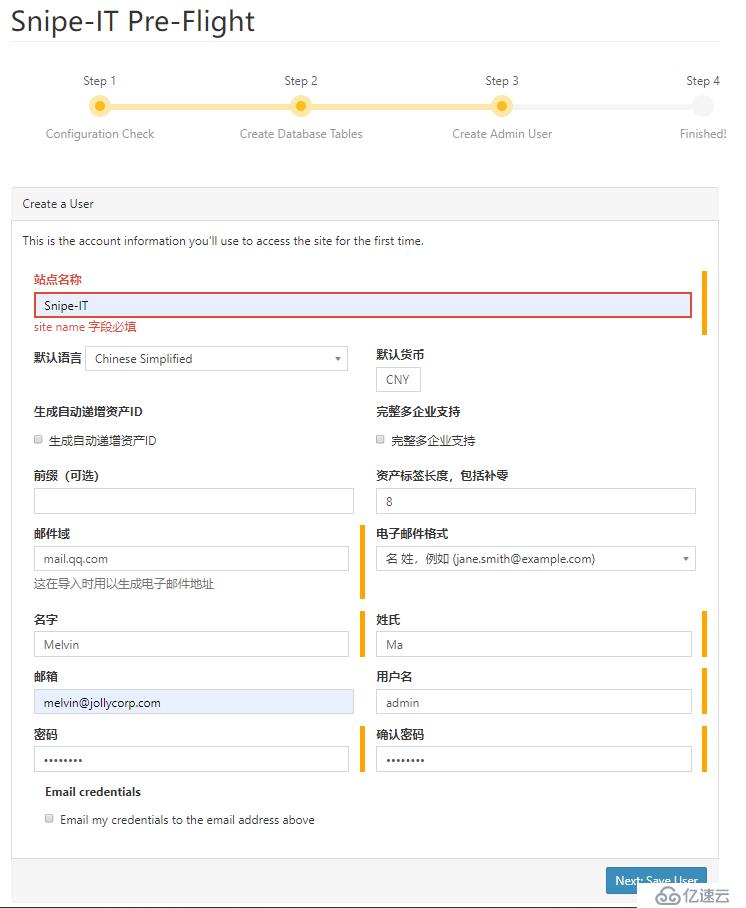
5、填写用户信息:
五、界面展示:
1、关闭调试模式:
cd /var/www/snipe-it
vim .env
2、重启httpd服务
systemctl restart httpd
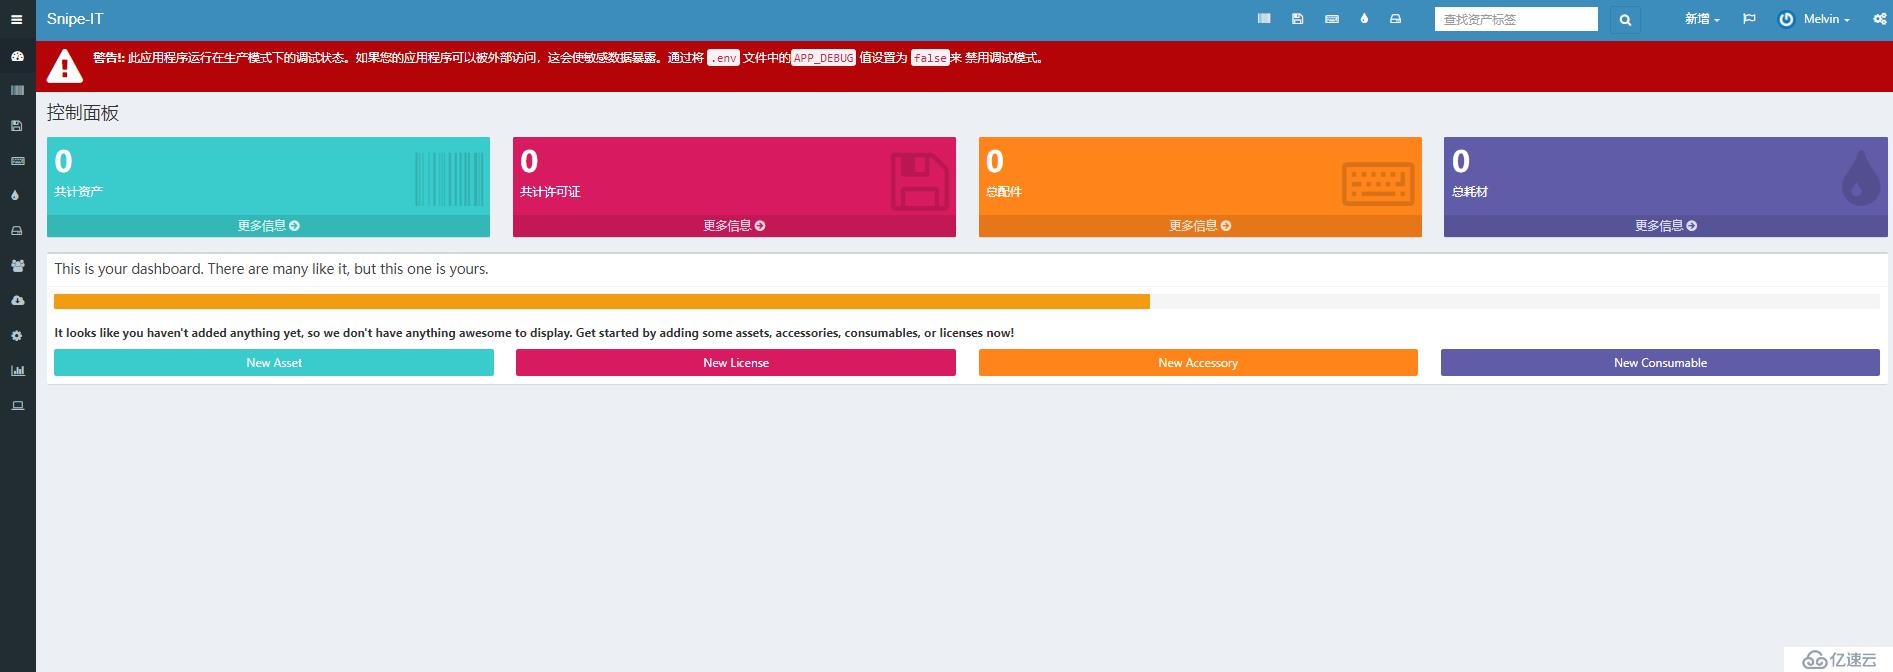
3、浏览器重新打开服务器地址:
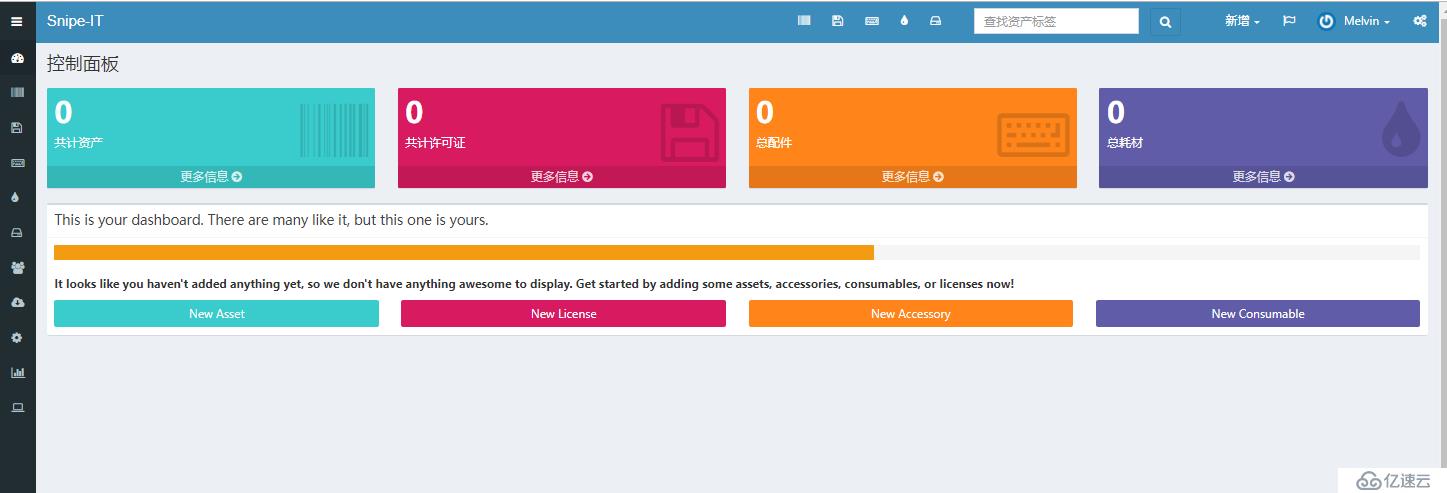
以上步骤已经将snipe-IT系统安装完成,已经能正常的显示为中文版本。
免责声明:本站发布的内容(图片、视频和文字)以原创、转载和分享为主,文章观点不代表本网站立场,如果涉及侵权请联系站长邮箱:is@yisu.com进行举报,并提供相关证据,一经查实,将立刻删除涉嫌侵权内容。