您好,登录后才能下订单哦!
密码登录
登录注册
点击 登录注册 即表示同意《亿速云用户服务条款》
小编给大家分享一下IOS图片原生Graphics的示例分析,相信大部分人都还不怎么了解,因此分享这篇文章给大家参考一下,希望大家阅读完这篇文章后大有收获,下面让我们一起去了解一下吧!
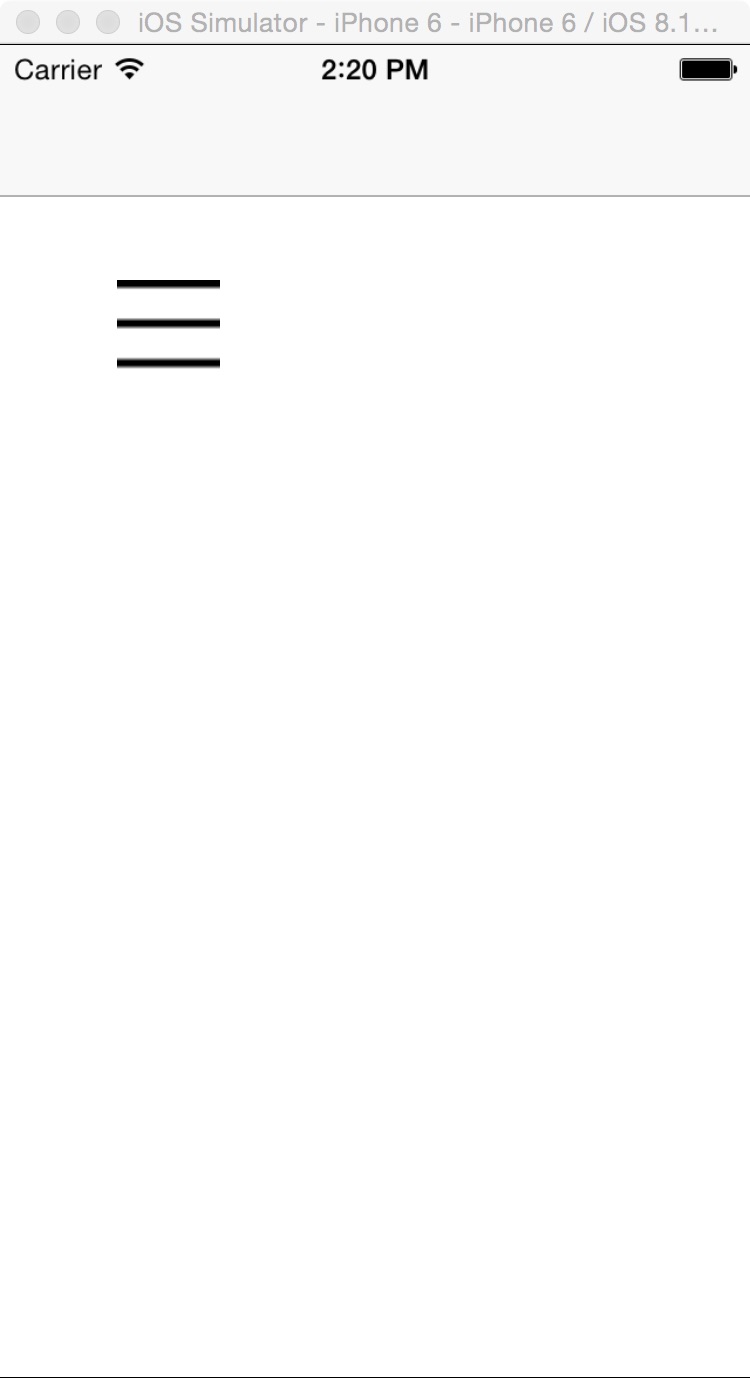
一,效果图。

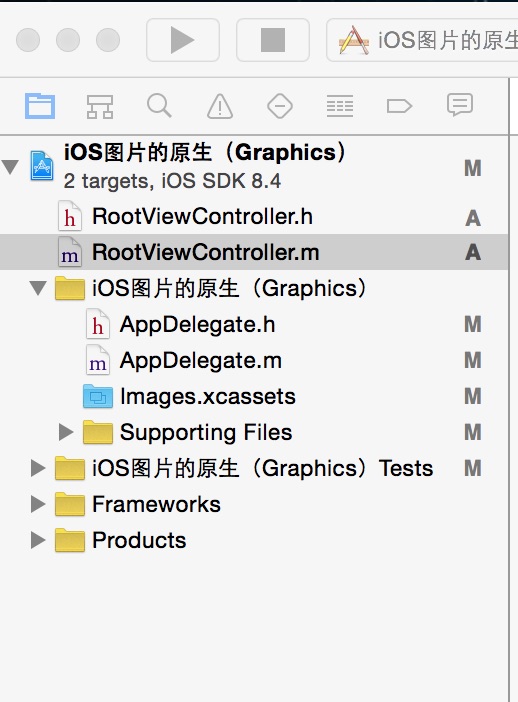
二,工程图。

三,代码。
RootViewController.h
#import <UIKit/UIKit.h>

@interface RootViewController : UIViewController

@end
RootViewController.m
#import "RootViewController.h"

@interface RootViewController ()

@end

@implementation RootViewController

- (id)initWithNibName:(NSString *)nibNameOrNil bundle:(NSBundle *)nibBundleOrNil
{
  self = [super initWithNibName:nibNameOrNil bundle:nibBundleOrNil];
  if (self) {
    // Custom initialization
  }
  return self;
}

- (void)viewDidLoad
{
  [super viewDidLoad];
  // Do any additional setup after loading the view.

  //背景图
  [self addView];

}

#pragma -mark -functions
//背景图
-(void)addView
{
  UIImageView *imageView=[[UIImageView alloc]initWithFrame:CGRectMake(50, 100, 44, 44)];
  imageView.image=[self defaultImage];
  [self.view addSubview:imageView];
}
//图片原生
-(UIImage *)defaultImage {

  static UIImage *defaultImage = nil;
  static dispatch_once_t onceToken;
  dispatch_once(&onceToken, ^{
    UIGraphicsBeginImageContextWithOptions(CGSizeMake(20.f, 13.f), NO, 0.0f);

    [[UIColor blackColor] setFill];
    [[UIBezierPath bezierPathWithRect:CGRectMake(0, 0, 20, 1)] fill];
    [[UIBezierPath bezierPathWithRect:CGRectMake(0, 5, 20, 1)] fill];
    [[UIBezierPath bezierPathWithRect:CGRectMake(0, 10, 20, 1)] fill];

    [[UIColor whiteColor] setFill];
    [[UIBezierPath bezierPathWithRect:CGRectMake(0, 1, 20, 2)] fill];
    [[UIBezierPath bezierPathWithRect:CGRectMake(0, 6, 20, 2)] fill];
    [[UIBezierPath bezierPathWithRect:CGRectMake(0, 11, 20, 2)] fill];

    defaultImage = UIGraphicsGetImageFromCurrentImageContext();
    UIGraphicsEndImageContext();

  });
  return defaultImage;
}

- (void)didReceiveMemoryWarning
{
  [super didReceiveMemoryWarning];
  // Dispose of any resources that can be recreated.
}
以上是“IOS图片原生Graphics的示例分析”这篇文章的所有内容,感谢各位的阅读!相信大家都有了一定的了解,希望分享的内容对大家有所帮助,如果还想学习更多知识,欢迎关注亿速云行业资讯频道!
免责声明:本站发布的内容(图片、视频和文字)以原创、转载和分享为主,文章观点不代表本网站立场,如果涉及侵权请联系站长邮箱:is@yisu.com进行举报,并提供相关证据,一经查实,将立刻删除涉嫌侵权内容。