您好,登录后才能下订单哦!
密码登录
登录注册
点击 登录注册 即表示同意《亿速云用户服务条款》
这篇文章给大家介绍怎么在Java中利用OpenCV3.2播放视频,内容非常详细,感兴趣的小伙伴们可以参考借鉴,希望对大家能有所帮助。
实现思路
首先用OpenCV相关API读取视频流或者视频文件的每一帧,然后通过Swing JComponent组件实现视频每一帧的更新显示,我模仿了C++的HIGHGUI里面创建窗口与显示图像接口,基于Swing实现了一个视频播放窗口类,把读取到的每一帧都传给它就可以实现连续显示即播放。每帧之间相隔100毫秒,我是通过Java线程Sleep方法实现。
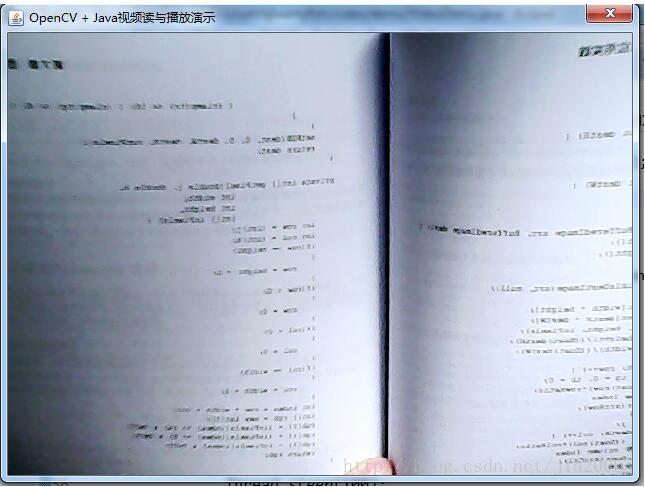
运行效果 - USB摄像头读取每帧

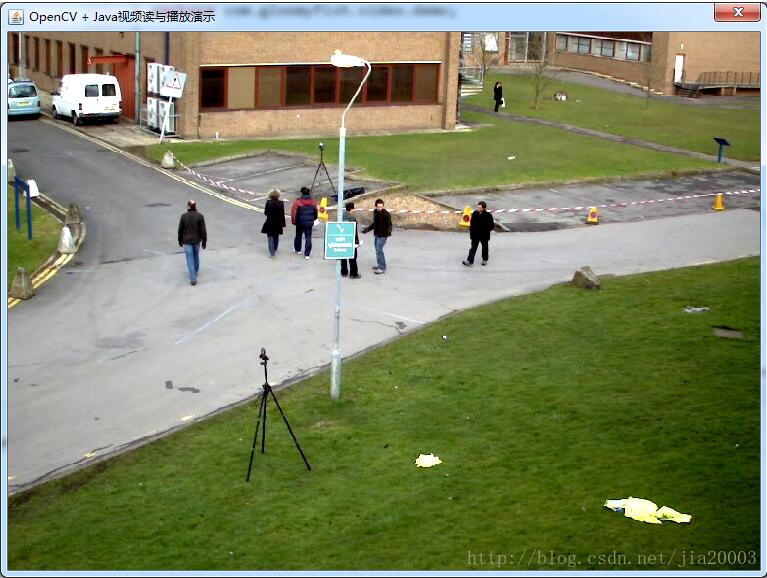
运行效果 - 视频文件读取每帧

代码实现
视频文件读取
package com.gloomyfish.video.demo;

import java.awt.Dimension;
import java.awt.image.BufferedImage;

import org.opencv.core.Core;
import org.opencv.core.Mat;
import org.opencv.videoio.VideoCapture;

public class VideoDemo {

  public static void main(String[] args) {
    System.loadLibrary(Core.NATIVE_LIBRARY_NAME);
    // 打开摄像头或者视频文件
    VideoCapture capture = new VideoCapture();
    //capture.open(0);
    capture.open("D:/vcprojects/images/768x576.avi");
    if(!capture.isOpened()) {
      System.out.println("could not load video data...");
      return;
    }
    int frame_width = (int)capture.get(3);
    int frame_height = (int)capture.get(4);
    ImageGUI gui = new ImageGUI();
    gui.createWin("OpenCV + Java视频读与播放演示", new Dimension(frame_width, frame_height));
    Mat frame = new Mat();
    while(true) {
      boolean have = capture.read(frame);
      Core.flip(frame, frame, 1);// Win上摄像头
      if(!have) break;
      if(!frame.empty()) {
        gui.imshow(conver2Image(frame));
        gui.repaint();
      }
      try {
        Thread.sleep(100);
      } catch (InterruptedException e) {
        e.printStackTrace();
      }
    }

  }

  public static BufferedImage conver2Image(Mat mat) {
    int width = mat.cols();
    int height = mat.rows();
    int dims = mat.channels();
    int[] pixels = new int[width*height];
    byte[] rgbdata = new byte[width*height*dims];
    mat.get(0, 0, rgbdata);
    BufferedImage image = new BufferedImage(width, height, BufferedImage.TYPE_INT_ARGB);
    int index = 0;
    int r=0, g=0, b=0;
    for(int row=0; row<height; row++) {
      for(int col=0; col<width; col++) {
        if(dims == 3) {
          index = row*width*dims + col*dims;
          b = rgbdata[index]&0xff;
          g = rgbdata[index+1]&0xff;
          r = rgbdata[index+2]&0xff;
          pixels[row*width+col] = ((255&0xff)<<24) | ((r&0xff)<<16) | ((g&0xff)<<8) | b&0xff;
        }
        if(dims == 1) {
          index = row*width + col;
          b = rgbdata[index]&0xff;
          pixels[row*width+col] = ((255&0xff)<<24) | ((b&0xff)<<16) | ((b&0xff)<<8) | b&0xff;
        }
      }
    }
    setRGB( image, 0, 0, width, height, pixels);
    return image;
  }

  /**
   * A convenience method for setting ARGB pixels in an image. This tries to avoid the performance
   * penalty of BufferedImage.setRGB unmanaging the image.
   */
  public static void setRGB( BufferedImage image, int x, int y, int width, int height, int[] pixels ) {
    int type = image.getType();
    if ( type == BufferedImage.TYPE_INT_ARGB || type == BufferedImage.TYPE_INT_RGB )
      image.getRaster().setDataElements( x, y, width, height, pixels );
    else
      image.setRGB( x, y, width, height, pixels, 0, width );
  }

}
视频与图像显示窗口类
package com.gloomyfish.video.demo;

import java.awt.BorderLayout;
import java.awt.Color;
import java.awt.Dimension;
import java.awt.Graphics;
import java.awt.Graphics2D;
import java.awt.image.BufferedImage;

import javax.swing.JComponent;
import javax.swing.JDialog;

public class ImageGUI extends JComponent {
  /**
   *
   */
  private static final long serialVersionUID = 1L;
  private BufferedImage image;

  public ImageGUI() {

  }

  @Override
  protected void paintComponent(Graphics g) {
    Graphics2D g2d = (Graphics2D)g;
    if(image == null) {
      g2d.setPaint(Color.BLACK);
      g2d.fillRect(0, 0, this.getWidth(), this.getHeight());
    } else {
      g2d.drawImage(image, 0, 0, this.getWidth(), this.getHeight(), null);
      System.out.println("show frame...");
    }
  }

  public void createWin(String title) {
    JDialog ui = new JDialog();
    ui.setTitle(title);
    ui.getContentPane().setLayout(new BorderLayout());
    ui.getContentPane().add(this, BorderLayout.CENTER);
    ui.setSize(new Dimension(330, 240));
    ui.setVisible(true);
  }

  public void createWin(String title, Dimension size) {
    JDialog ui = new JDialog();
    ui.setTitle(title);
    ui.getContentPane().setLayout(new BorderLayout());
    ui.getContentPane().add(this, BorderLayout.CENTER);
    ui.setSize(size);
    ui.setVisible(true);
  }

  public void imshow(BufferedImage image) {
    this.image = image;
    this.repaint();
  }

}
关于怎么在Java中利用OpenCV3.2播放视频就分享到这里了,希望以上内容可以对大家有一定的帮助,可以学到更多知识。如果觉得文章不错,可以把它分享出去让更多的人看到。
免责声明:本站发布的内容(图片、视频和文字)以原创、转载和分享为主,文章观点不代表本网站立场,如果涉及侵权请联系站长邮箱:is@yisu.com进行举报,并提供相关证据,一经查实,将立刻删除涉嫌侵权内容。