您好,登录后才能下订单哦!
密码登录
登录注册
点击 登录注册 即表示同意《亿速云用户服务条款》
这期内容当中小编将会给大家带来有关如何在Flutter中捕获错误,文章内容丰富且以专业的角度为大家分析和叙述,阅读完这篇文章希望大家可以有所收获。
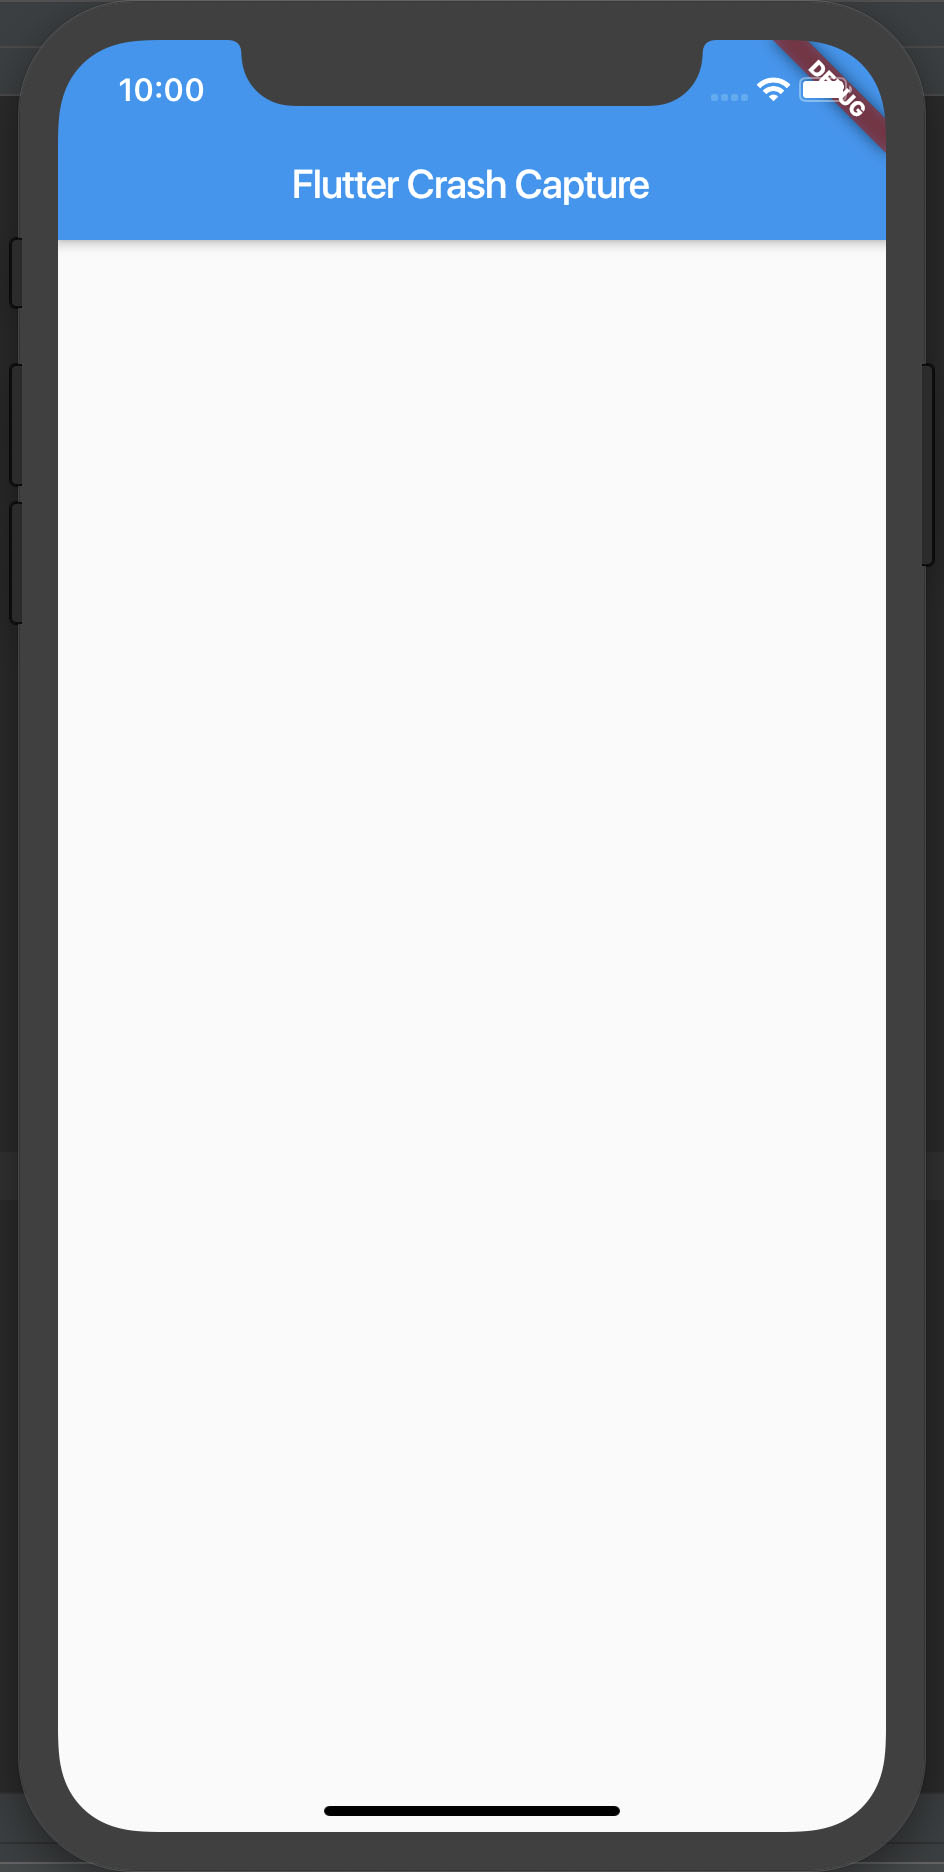
Demo 初始状态
首先我们新建 Flutter 项目,修改 main.dart 代码如下:
import 'package:flutter/material.dart';

void main() => runApp(MyApp());

class MyApp extends StatelessWidget {
 // This widget is the root of your application.
 @override
 Widget build(BuildContext context) {
  return MaterialApp(
   home: Scaffold(
    appBar: AppBar(title: Text('Flutter Crash Capture'),),
    body: MyHomePage(),
   ),
  );
 }
}

class MyHomePage extends StatelessWidget {
 @override
 Widget build(BuildContext context) {
  return Container();
 }
}
效果如下:
捕获错误
我们修改 MyHomePage,添加一个 List 然后进行越界访问,改动部分代码如下:
class MyHomePage extends StatelessWidget {
 @override
 Widget build(BuildContext context) {
  List<String> numList = ['1', '2'];
  print(numList[6]);
  return Container();
 }
}
可以看到控制台报错如下:
flutter: ══╡ EXCEPTION CAUGHT BY WIDGETS LIBRARY ╞═══════════════════════════════════════════════════════════
flutter: The following RangeError was thrown building MyHomePage(dirty):
flutter: RangeError (index): Invalid value: Not in range 0..1, inclusive: 6
当然这些错误信息在界面上也有显示(debug 模式)。
那么我们如何捕获呢?
其实很简单,有个通用模板,模板为:
import 'dart:async';

import 'package:flutter/material.dart';

Future<Null> main() async {
 FlutterError.onError = (FlutterErrorDetails details) async {
  Zone.current.handleUncaughtError(details.exception, details.stack);
 };

 runZoned<Future<void>>(() async {
  runApp(MyApp());
 }, onError: (error, stackTrace) async {
  await _reportError(error, stackTrace);
 });
}

Future<Null> _reportError(dynamic error, dynamic stackTrace) async {
 // TODO
}
在 TODO 里面就可以执行埋点上报操作或者其他处理了。
完整例子如下:
import 'dart:async';

import 'package:flutter/material.dart';

Future<Null> main() async {
 FlutterError.onError = (FlutterErrorDetails details) async {
  Zone.current.handleUncaughtError(details.exception, details.stack);
 };

 runZoned<Future<void>>(() async {
  runApp(MyApp());
 }, onError: (error, stackTrace) async {
  await _reportError(error, stackTrace);
 });
}

Future<Null> _reportError(dynamic error, dynamic stackTrace) async {
 print('catch error='+error);
}

class MyApp extends StatelessWidget {
 // This widget is the root of your application.
 @override
 Widget build(BuildContext context) {
  return MaterialApp(
   home: Scaffold(
    appBar: AppBar(title: Text('Flutter Crash Capture'),),
    body: MyHomePage(),
   ),
  );
 }
}

class MyHomePage extends StatelessWidget {
 @override
 Widget build(BuildContext context) {
  List<String> numList = ['1', '2'];
  print(numList[6]);
  return Container();
 }
}
运行可以看到控制台捕获到错误如下:
flutter: catch error=RangeError (index): Invalid value: Not in range 0..1, inclusive: 6
assert 妙用
我们知道,一般错误上报都是在打包发布到市场后才需要。
平时调试的时候如果遇到错误,我们是会定位问题并修复的。
因此在 debug 模式下,我们不希望上报错误,而是希望直接打印到控制台。
那么,这个时候就需要一种方式来区分现在是 debug 模式还是 release 模式,怎么区分呢?
这个时候就需要用到 assert 了。
bool get isInDebugMode {
 // Assume you're in production mode.
 bool inDebugMode = false;

 // Assert expressions are only evaluated during development. They are ignored
 // in production. Therefore, this code only sets `inDebugMode` to true
 // in a development environment.
 assert(inDebugMode = true);

 return inDebugMode;
}
从注释也可以知道,assert 表达式只在开发环境下会起作用,在生产环境下会被忽略。
因此利用这一个,我们就可以实现我们的需求。
上面的结论要验证也很简单,我们就不演示了。
完整模板
import 'dart:async';

import 'package:flutter/material.dart';

Future<Null> main() async {
 FlutterError.onError = (FlutterErrorDetails details) async {
  if (isInDebugMode) {
   FlutterError.dumpErrorToConsole(details);
  } else {
   Zone.current.handleUncaughtError(details.exception, details.stack);
  }
 };

 runZoned<Future<void>>(() async {
  runApp(MyApp());
 }, onError: (error, stackTrace) async {
  await _reportError(error, stackTrace);
 });
}

Future<Null> _reportError(dynamic error, dynamic stackTrace) async {
 // TODO
}

bool get isInDebugMode {
 // Assume you're in production mode.
 bool inDebugMode = false;

 // Assert expressions are only evaluated during development. They are ignored
 // in production. Therefore, this code only sets `inDebugMode` to true
 // in a development environment.
 assert(inDebugMode = true);

 return inDebugMode;
}
上述就是小编为大家分享的如何在Flutter中捕获错误了,如果刚好有类似的疑惑,不妨参照上述分析进行理解。如果想知道更多相关知识,欢迎关注亿速云行业资讯频道。
免责声明:本站发布的内容(图片、视频和文字)以原创、转载和分享为主,文章观点不代表本网站立场,如果涉及侵权请联系站长邮箱:is@yisu.com进行举报,并提供相关证据,一经查实,将立刻删除涉嫌侵权内容。