您好,登录后才能下订单哦!
密码登录
登录注册
点击 登录注册 即表示同意《亿速云用户服务条款》
这篇文章主要介绍了使用Android实现截图和分享功能的案例,具有一定借鉴价值,感兴趣的朋友可以参考下,希望大家阅读完这篇文章之后大有收获,下面让小编带着大家一起了解一下。
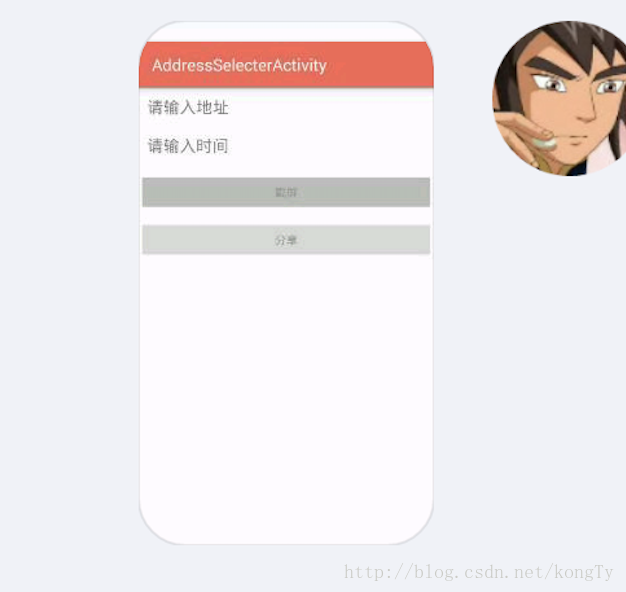
先给大家展示下效果图吧

直接上代码:
xml的布局:
<Button
 android:id="@+id/btn_jp"
 android:layout_marginTop="10dip"
 android:layout_width="match_parent"
 android:layout_height="wrap_content"
 android:gravity="center"
 android:text="截屏"
 android:textColor="#ff999999" />
<Button
 android:id="@+id/btn_share"
 android:layout_marginTop="10dip"
 android:layout_width="match_parent"
 android:layout_height="wrap_content"
 android:gravity="center"
 android:text="分享"
 android:textColor="#ff999999" />
activity的方法:
private String imagePath;
//截屏
  btnJp.setOnClickListener(new View.OnClickListener() {
   @Override
   public void onClick(View v) {
//    image = ScreenShot.shoot(AddressSelecterActivity.this);
    screenshot();
//    Bitmap bitmap = getBitmapByView(scrollView);
//    savePic(bitmap);
   }
  });
  //分享
  btnShare.setOnClickListener(new View.OnClickListener() {
   @Override
   public void onClick(View v) {
    if (imagePath != null){
     Intent intent = new Intent(Intent.ACTION_SEND); // 启动分享发送的属性
     File file = new File(imagePath);
     intent.putExtra(Intent.EXTRA_STREAM, Uri.fromFile(file));// 分享的内容
     intent.setType("image/*");// 分享发送的数据类型
     Intent chooser = Intent.createChooser(intent, "Share screen shot");
     if(intent.resolveActivity(getPackageManager()) != null){
      startActivity(chooser);
     }
    } else {
     Toast.makeText(AddressSelecterActivity.this, "先截屏,再分享", Toast.LENGTH_SHORT).show();
    }
   }
  });
截取工具:
//截取屏幕的方法
private void screenshot() {
 // 获取屏幕
 View dView = getWindow().getDecorView();
 dView.setDrawingCacheEnabled(true);
 dView.buildDrawingCache();
 Bitmap bmp = dView.getDrawingCache();
 if (bmp != null)
 {
  try {
   // 获取内置SD卡路径
   String sdCardPath = Environment.getExternalStorageDirectory().getPath();
   // 图片文件路径
   imagePath = sdCardPath + File.separator + "screenshot.png";
   File file = new File(imagePath);
   FileOutputStream os = new FileOutputStream(file);
   bmp.compress(Bitmap.CompressFormat.PNG, 100, os);
   os.flush();
   os.close();
  } catch (Exception e) {
  }
 }
}
感谢你能够认真阅读完这篇文章,希望小编分享的“使用Android实现截图和分享功能的案例”这篇文章对大家有帮助,同时也希望大家多多支持亿速云,关注亿速云行业资讯频道,更多相关知识等着你来学习!
免责声明:本站发布的内容(图片、视频和文字)以原创、转载和分享为主,文章观点不代表本网站立场,如果涉及侵权请联系站长邮箱:is@yisu.com进行举报,并提供相关证据,一经查实,将立刻删除涉嫌侵权内容。