您好,登录后才能下订单哦!
密码登录
登录注册
点击 登录注册 即表示同意《亿速云用户服务条款》
本篇文章为大家展示了在spring boot项目中如何实现使用thymeleaf实现页面跳转,内容简明扼要并且容易理解,绝对能使你眼前一亮,通过这篇文章的详细介绍希望你能有所收获。
前言
在学习springboot 之后想结合着html做个小demo,无奈一直没掌握窍门,在多番的搜索和尝试下终于找到了配置的方法,使用thymeleaf做事前端页面模板,不能使用纯html.
thymeleaf介绍
Thymeleaf是面向Web和独立环境的现代服务器端Java模板引擎。
Thymeleaf的主要目标是为您的开发工作流程带来优雅的自然模板 - 可以在浏览器中正确显示HTML,还可以作为静态原型工作,从而在开发团队中进行更强大的协作。
使用Spring Framework的模块,与您最喜爱的工具进行大量集成,以及插入自己的功能的能力,Thymeleaf是现代HTML5 JVM Web开发的理想选择,尽管它可以做的更多。
实战
项目结构

thymeleaf pom依赖
<dependency>
    <groupId>org.springframework.boot</groupId>
    <artifactId>spring-boot-starter-web</artifactId>
  </dependency>

 <dependency>
    <groupId>org.springframework.boot</groupId>
    <artifactId>spring-boot-starter-thymeleaf</artifactId>
 </dependency>
模板页面
注意使用模板作为页面时候必须要把模板页面放在templates文件夹下
index.html
<!DOCTYPE HTML>
<html xmlns:th="http://www.thymeleaf.org">
<head>
  <title>demo</title>
  <meta http-equiv="Content-Type" content="text/html; charset=UTF-8" />
</head>
<body>
<h2>my thymeleaf indexpage</h2>
<a href="/info/more" rel="external nofollow" >更多详情</a>
</body>
</html>
controller
@Controller
public class PageController {
@RequestMapping("/page")
public String page3(Model model){
model.addAttribute("userName","张三");
return "hello";
}
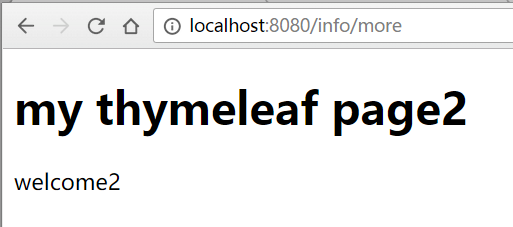
@RequestMapping("info/more")
public String page2(){
return "hello2";
}
@RequestMapping("sys/index")
public String page(){
return "sys/index";
}
}测试
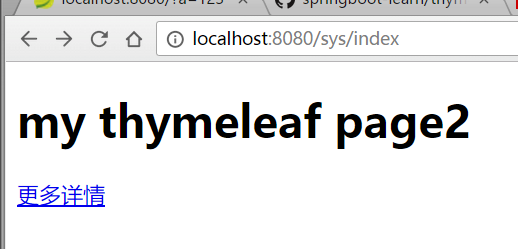
点击更多详情
上述内容就是在spring boot项目中如何实现使用thymeleaf实现页面跳转,你们学到知识或技能了吗?如果还想学到更多技能或者丰富自己的知识储备,欢迎关注亿速云行业资讯频道。
免责声明:本站发布的内容(图片、视频和文字)以原创、转载和分享为主,文章观点不代表本网站立场,如果涉及侵权请联系站长邮箱:is@yisu.com进行举报,并提供相关证据,一经查实,将立刻删除涉嫌侵权内容。