您好,登录后才能下订单哦!
密码登录
登录注册
点击 登录注册 即表示同意《亿速云用户服务条款》
SpringSecurity如何实现自定义成功处理器?针对这个问题,这篇文章详细介绍了相对应的分析和解答,希望可以帮助更多想解决这个问题的小伙伴找到更简单易行的方法。
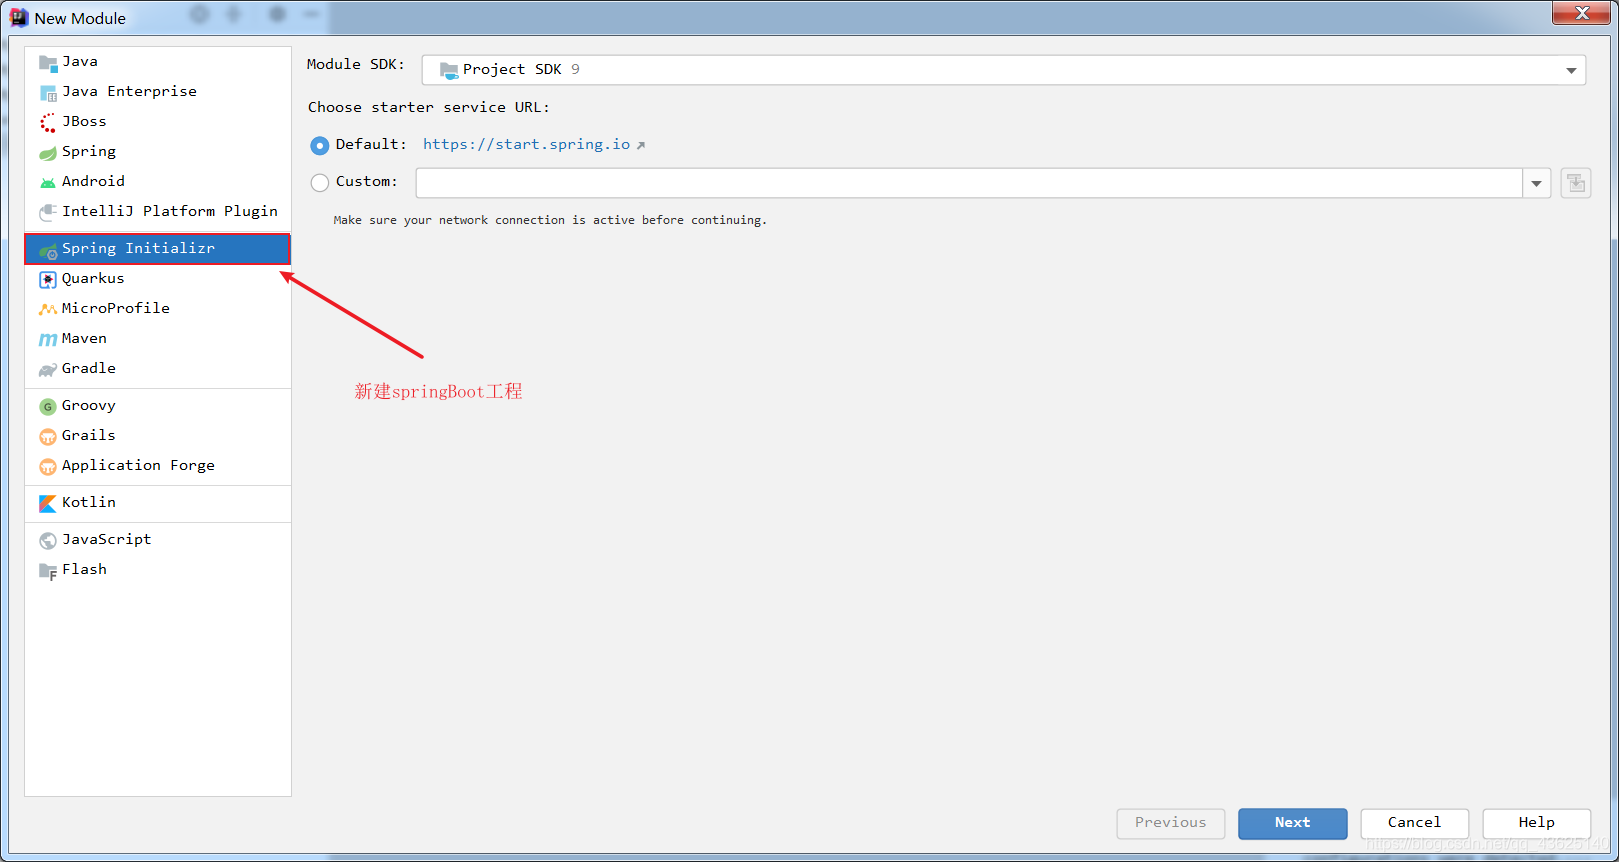
1. 新建SpringBoot工程

2. 项目依赖
<dependencies>
  <!-- security -->
  <dependency>
    <groupId>org.springframework.boot</groupId>
    <artifactId>spring-boot-starter-security</artifactId>
  </dependency>
  <!-- thymeleaf -->
  <dependency>
    <groupId>org.springframework.boot</groupId>
    <artifactId>spring-boot-starter-thymeleaf</artifactId>
  </dependency>
  <!-- web -->
  <dependency>
    <groupId>org.springframework.boot</groupId>
    <artifactId>spring-boot-starter-web</artifactId>
  </dependency>
  <!-- tomcat -->
  <dependency>
    <groupId>org.springframework.boot</groupId>
    <artifactId>spring-boot-starter-tomcat</artifactId>
    <scope>provided</scope>
  </dependency>
  <!-- lombok -->
  <dependency>
    <groupId>org.projectlombok</groupId>
    <artifactId>lombok</artifactId>
  </dependency>
  <!-- test -->
  <dependency>
    <groupId>org.springframework.boot</groupId>
    <artifactId>spring-boot-starter-test</artifactId>
  </dependency>
</dependencies>
3. 定义登录成功处理器
package zw.springboot.controller;

import lombok.SneakyThrows;
import org.json.JSONObject;
import org.springframework.security.core.Authentication;
import org.springframework.security.web.authentication.AuthenticationSuccessHandler;
import org.springframework.stereotype.Component;
import javax.servlet.ServletException;
import javax.servlet.http.HttpServletRequest;
import javax.servlet.http.HttpServletResponse;
import java.io.IOException;
import java.io.PrintWriter;

/**
 * @className LoginSuccessHandler
 * @description 登录成功处理器
 * @author 周威
 * @date 2020-09-03 13:50
 **/
@Component
public class LoginSuccessHandler implements AuthenticationSuccessHandler
{

  @SneakyThrows
  @Override
  public void onAuthenticationSuccess(HttpServletRequest request, HttpServletResponse response, Authentication authentication) throws IOException, ServletException
  {
    // 设置response缓冲区字符集
    response.setCharacterEncoding("UTF-8");
    // 定义一个JSONObject对象
    JSONObject object = new JSONObject();
    // 填写登录成功响应信息
    object.put("code", 1);
    object.put("msg", "登录成功");
    // 设置响应头
    response.setContentType("application/json;charset=utf-8");
    // 获得打印输出流
    PrintWriter pw = response.getWriter();
    // 向客户端写入一个字符串
    pw.print(object.toString());
    // 关闭流资源
    pw.close();
  }
}
4. 定义登录失败处理器新建一个类实现AuthenticationFailureHandler接口重写onAuthenticationFailure方法
package zw.springboot.controller;

import lombok.SneakyThrows;
import org.json.JSONObject;
import org.springframework.security.core.AuthenticationException;
import org.springframework.security.web.authentication.AuthenticationFailureHandler;
import org.springframework.stereotype.Component;
import javax.servlet.ServletException;
import javax.servlet.http.HttpServletRequest;
import javax.servlet.http.HttpServletResponse;
import java.io.IOException;
import java.io.PrintWriter;

/**
 * @className LoginErrorHandler
 * @description 登录失败处理器
 * @author 周威
 * @date 2020-09-03 13:57
 **/
@Component
public class LoginErrorHandler implements AuthenticationFailureHandler
{
  @SneakyThrows
  @Override
  public void onAuthenticationFailure(HttpServletRequest request, HttpServletResponse response, AuthenticationException authenticationException) throws IOException, ServletException
  {
    // 设置response缓冲区字符集
    response.setCharacterEncoding("UTF-8");
    // 定义一个JSONObject对象
    JSONObject object = new JSONObject();
    // 填写登录失败响应信息
    object.put("code", -1);
    object.put("msg", "登录失败");
    // 设置响应头
    response.setContentType("application/json;charset=utf-8");
    // 获得打印输出流
    PrintWriter pw = response.getWriter();
    // 向客户端写入一个字符串
    pw.print(object.toString());
    // 关闭流资源
    pw.close();
  }
}
5. 安全认证配置类
package zw.springboot.config;

import org.springframework.beans.factory.annotation.Autowired;
import org.springframework.context.annotation.Bean;
import org.springframework.security.config.annotation.web.builders.HttpSecurity;
import org.springframework.security.config.annotation.web.configuration.EnableWebSecurity;
import org.springframework.security.config.annotation.web.configuration.WebSecurityConfigurerAdapter;
import org.springframework.security.core.userdetails.User;
import org.springframework.security.core.userdetails.UserDetailsService;
import org.springframework.security.crypto.bcrypt.BCryptPasswordEncoder;
import org.springframework.security.crypto.password.PasswordEncoder;
import org.springframework.security.provisioning.InMemoryUserDetailsManager;
import org.springframework.security.web.authentication.AuthenticationFailureHandler;
import org.springframework.security.web.authentication.AuthenticationSuccessHandler;

/**
 * @className SpringSecurityConfig
 * @description 安全人认证配置类
 * @author 周威
 * @date 2020-09-03 13:42
 **/
@EnableWebSecurity
public class SpringSecurityConfig extends WebSecurityConfigurerAdapter
{
  @Autowired
  private AuthenticationSuccessHandler loginSuccessHandler;

  @Autowired
  private AuthenticationFailureHandler loginErrorHandler;

  // 定义用户信息服务
  @Bean
  @Override
  protected UserDetailsService userDetailsService()
  {
    InMemoryUserDetailsManager manager = new InMemoryUserDetailsManager();
    // 模拟两个用户身份
    manager.createUser(User.withUsername("admin").password(passwordEncoder().encode("123456")).authorities("p1").build());
    manager.createUser(User.withUsername("user").password(passwordEncoder().encode("654321")).authorities("p2").build());
    return manager;
  }

  // 定义密码加密器
  @Bean
  public PasswordEncoder passwordEncoder()
  {
    return new BCryptPasswordEncoder();
  }

  // 定义拦截机制
  @Override
  protected void configure(HttpSecurity http) throws Exception
  {
    http
        .authorizeRequests()
        // 设置哪些请求需要认证
        .antMatchers("/**").authenticated()
    .and()
        // 启用表单登录认证
        .formLogin()
        // 指定登录成功处理器
        .successHandler(loginSuccessHandler)
        // 指定登录失败处理器
        .failureHandler(loginErrorHandler);
  }
}
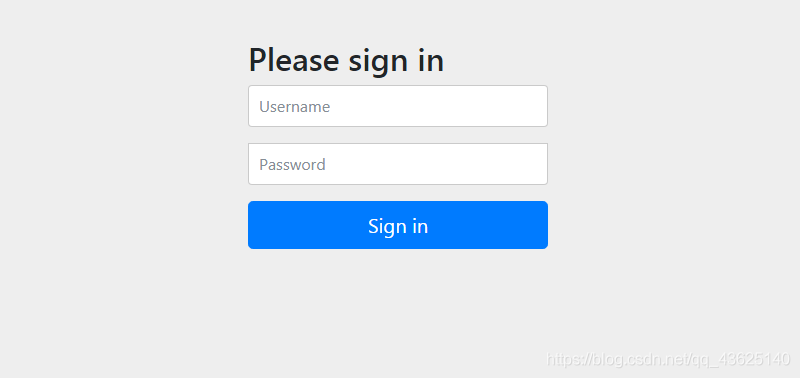
6. 项目运行测试

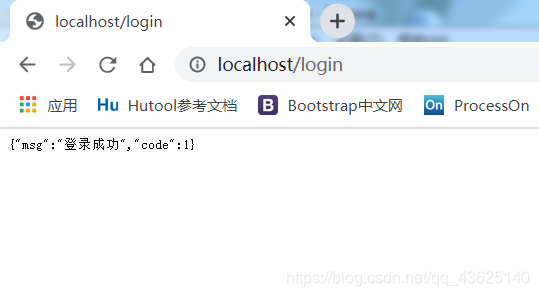
7. 登录成功测试

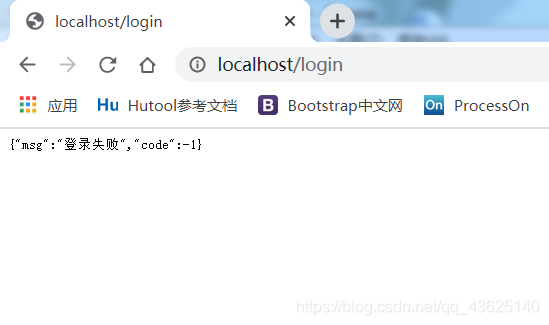
8. 登录失败测试

关于SpringSecurity如何实现自定义成功处理器问题的解答就分享到这里了,希望以上内容可以对大家有一定的帮助,如果你还有很多疑惑没有解开,可以关注亿速云行业资讯频道了解更多相关知识。
免责声明:本站发布的内容(图片、视频和文字)以原创、转载和分享为主,文章观点不代表本网站立场,如果涉及侵权请联系站长邮箱:is@yisu.com进行举报,并提供相关证据,一经查实,将立刻删除涉嫌侵权内容。