您好,登录后才能下订单哦!
一、准备环境
1、系统版本
[root@Webserver01 ~]# cat /proc/version
Linux version 3.10.0-514.16.1.el7.x86_64
2、关防火墙
[root@Webserver01 ~]# systemctl disable firewalld
3、准备yum源
[root@Webserver01 ~]# rpm -ivh http://dl.fedoraproject.org/pub/epel/7/x86_64/e/epel-release-7-5.noarch.rpm
或
[root@Webserver01 ~]# rpm -ivh http://mirrors.aliyun.com/epel/epel-release-latest-7.noarch.rpm
4、安装基础工具
[root@Webserver01 ~]# yum install -y net-tools vim lrzsz tree screen lsof tcpdump nc nmap
5、关掉SELINUX
[root@Webserver01 ~]# vim /etc/sysconfig/selinux
SELINUX=disabled
6、更新并重启
[root@Webserver01 ~]# yum update -y && reboot
二、开始安装LAMP组建
LAMP至少需要以下组建:
httpd (提供 Apache 主程序)
mysql (MySQL 客戶端程序)
mysql-server (MySQL 服务器程序)
php (PHP 主程序含给 apache 使用的模块)
php-devel (PHP 的开发工具,这个与PHP 外挂的加速软件有关)
php-mysql (提供给PHP 程序读取 MySQL 资料库的模块)
可以用以下命令一次安装;
[root@Webserver01 ~]# yum install httpd mysql mysql-server php php-mysql
为了看的更详细,我们一个一个安装
1、利用yum命令安装Apache
[root@Webserver01 ~]# yum -y install httpd
启动httpd并且设置为开机启动
[root@Webserver01 ~]# systemctl start httpd.service
[root@Webserver01 ~]# systemctl enable httpd.service
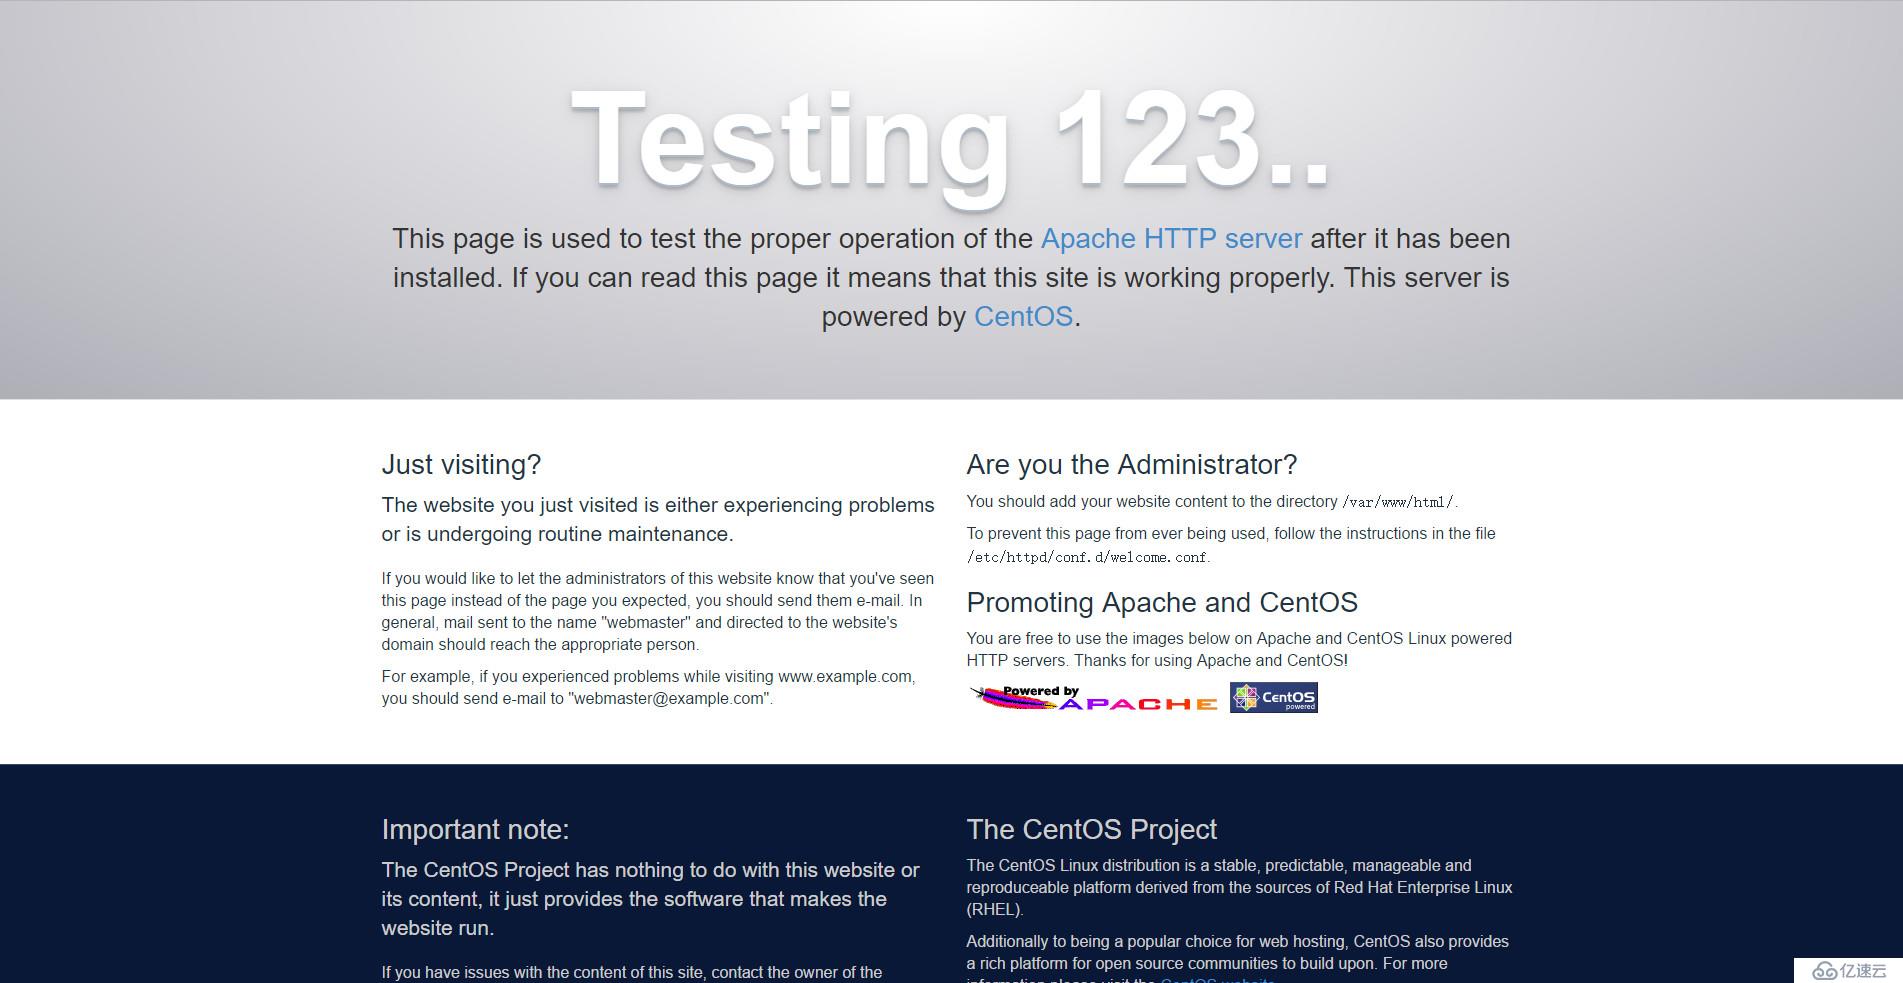
输入网址,查看测试页

2、安装Mariadb
利用yum命令进行安装,并且配置开机启动同样还是利用yum命令进行安装,并且配置开机启动
[root@Webserver01 ~]# yum -y install mariadb-server mariadb
[root@Webserver01 ~]# systemctl start mariadb.service
[root@Webserver01 ~]# systemctl enable mariadb.service
配置root密码
[root@Webserver01 ~]# mysql_secure_installation
安装过程中会有几个选项,大家根据自己的需要进行配置就好了
Enter current password for root (enter for none):(输入原始root密码,若无enter)
OK, successfully used password, moving on...
Setting the root password ensures that nobody can log into the MariaDB
root user without the proper authorisation.
Set root password? [Y/n] (是否设置root密码)
New password:
Re-enter new password:
Password updated successfully!
Reloading privilege tables..
 ... Success!
Remove anonymous users? [Y/n] (是否移除匿名用户)
 ... Success!
Disallow root login remotely? [Y/n] (是否禁止远程root登陆)
 ... skipping.
Remove test database and access to it? [Y/n] (是否删除测试数据库)
Reload privilege tables now? [Y/n] (重新载入)
 ... Success!
Cleaning up...
All done!  If you've completed all of the above steps, your MariaDB
installation should now be secure.
Thanks for using MariaDB!
登录数据库测试一下
[root@Webserver01 ~]# mysql -u root -p
Enter password:
Welcome to the MariaDB monitor.  Commands end with ; or \g.
Your MariaDB connection id is 13
Server version: 5.5.52-MariaDB MariaDB Server
Copyright (c) 2000, 2016, Oracle, MariaDB Corporation Ab and others.
Type 'help;' or '\h' for help. Type '\c' to clear the current input statement.
MariaDB [(none)]> show databases;
+--------------------+
| Database           |
+--------------------+
| information_schema |
| mysql              |
| performance_schema |
+--------------------+
3 rows in set (0.00 sec)
MariaDB [(none)]> exit
Bye
3、安装PHP
[root@Webserver01 ~]# yum -y install php
安装所需组件
[root@Webserver01 ~]# yum -y install php-mysql php-gd php-ldap php-odbc php-pear php-xml php-xmlrpc php-mbstring php-snmp php-soap curl curl-devel
启动服务并设置开机自动启动
[root@Webserver01 ~]# systemctl start httpd.service
[root@Webserver01 ~]# systemctl enable httpd.service
查看80端口和3306端口是否处于监听状态:
[root@Webserver01 ~]# netstat -ntlp
测试php是否正常工作
编辑/etc/httpd/conf/httpd.conf文件,在DirectoryIndex后面填写index.php,定义默认主页为index.php
[root@Webserver01 ~]# vim /etc/httpd/conf/httpd.conf

重载httpd配置文件
[root@Webserver01 ~]# systemctl reload httpd.service
[root@Webserver01 ~]# vim /var/www/html/index.php
制作默认主页/var/www/html/index.php,编写如下内容
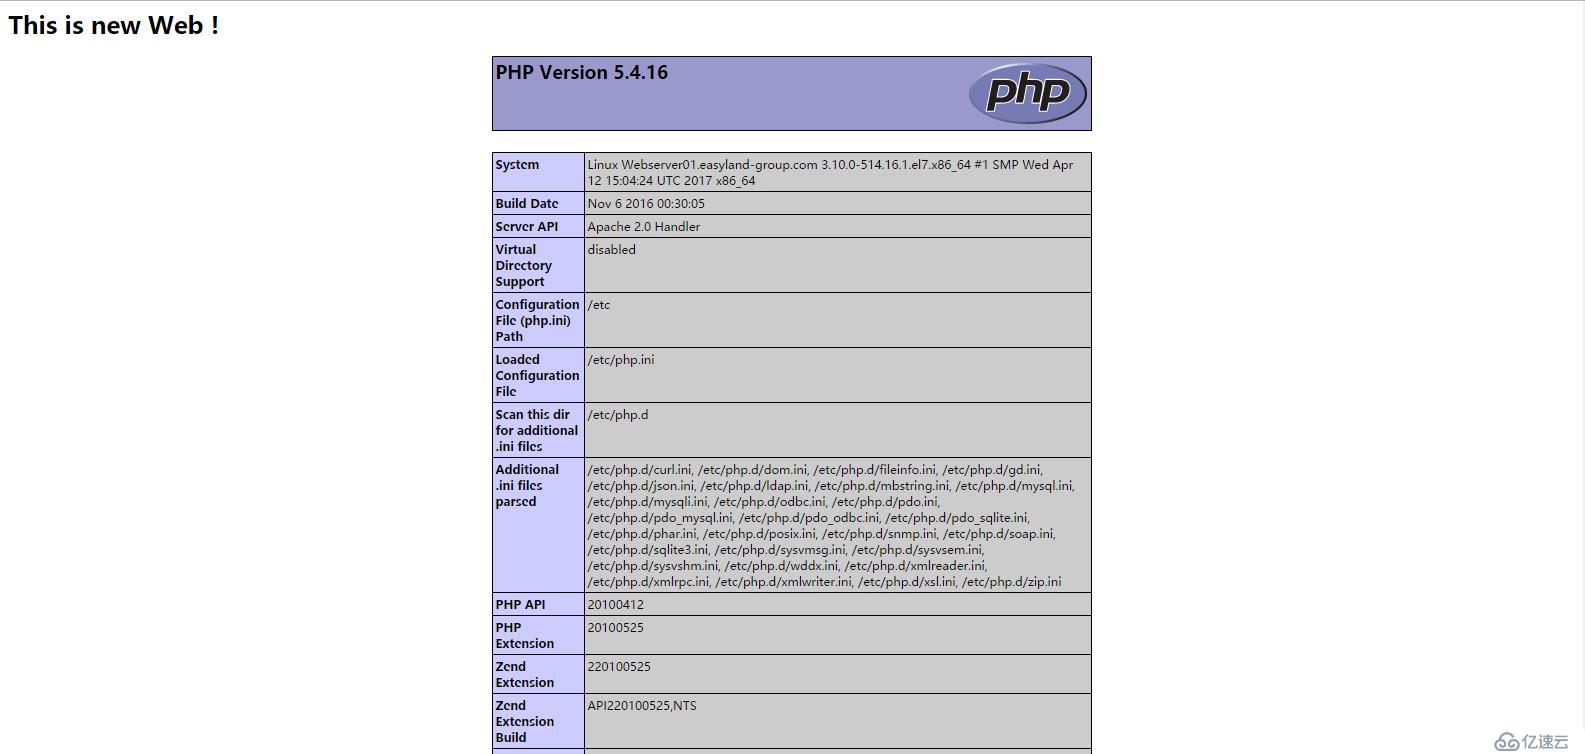
<h2>This is new Web !</h2>
       <?php
              phpinfo();
       ?>
重启httpd服务
[root@Webserver01 ~]# systemctl restart httpd.service
好了,该验证最后是否成功了
打开网址 http://x.x.x.x/info.php 进行查看

看到这个页面,我们就可以收工了,LAMP环境搭建结束!
免责声明:本站发布的内容(图片、视频和文字)以原创、转载和分享为主,文章观点不代表本网站立场,如果涉及侵权请联系站长邮箱:is@yisu.com进行举报,并提供相关证据,一经查实,将立刻删除涉嫌侵权内容。