您好,登录后才能下订单哦!
话不多说,直接上详细步骤:
首先,你得先有个WindowAzure的账号;
创建一个Linux的虚拟机,本次我们使用CentOS6.5 A4的机器
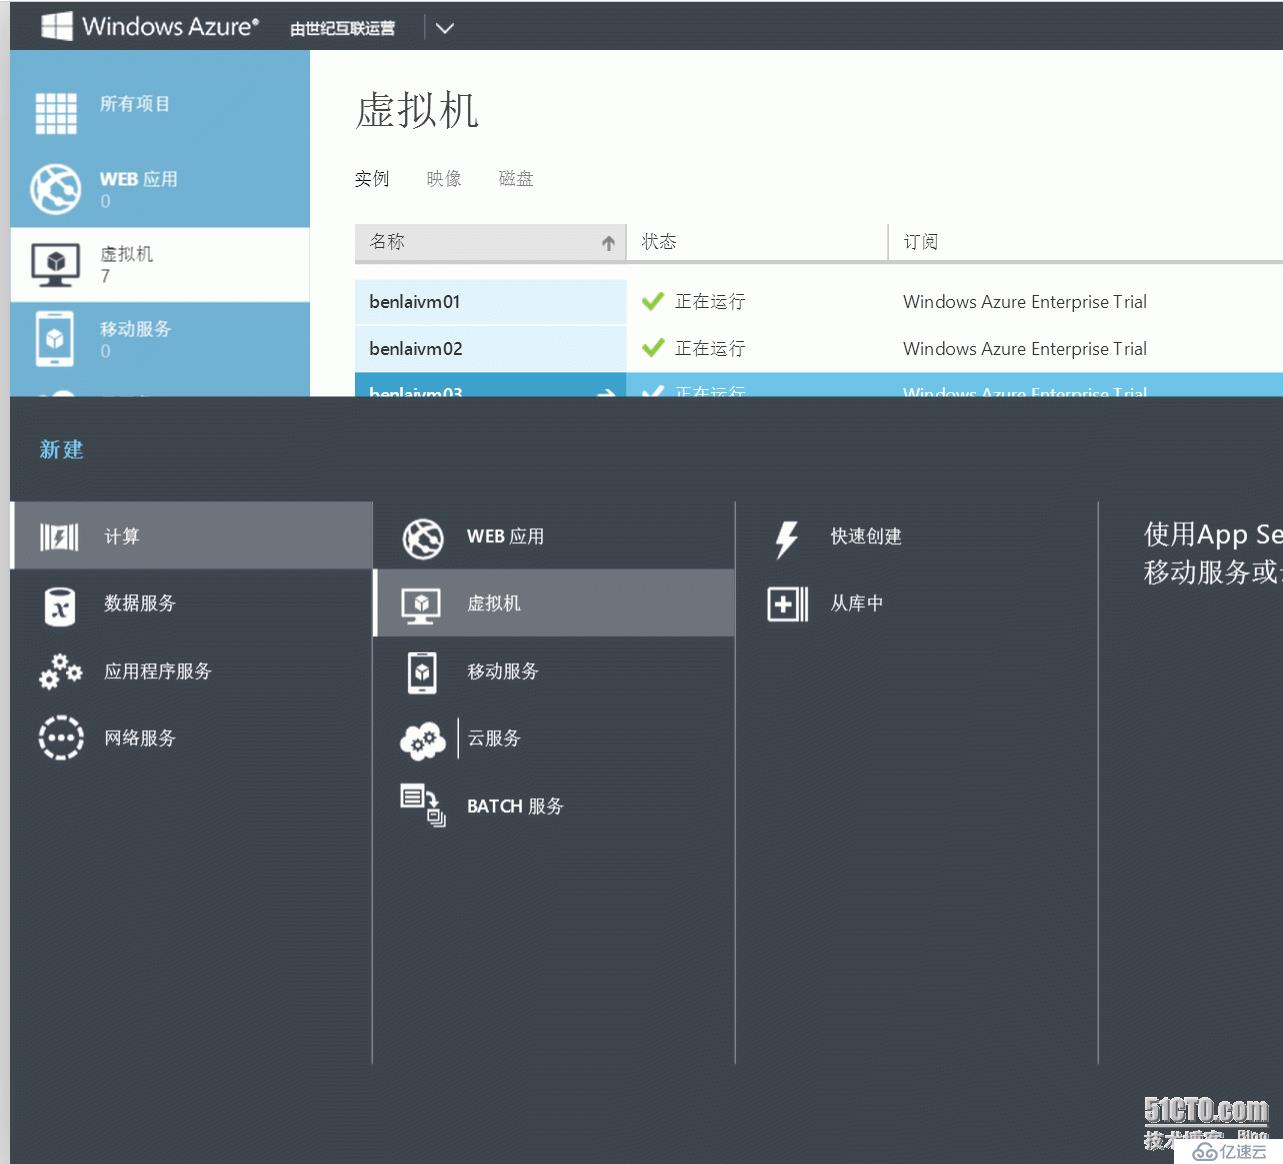
选择从库中,标准镜像。
从百度下载PuTTY工具,打开PuTTY
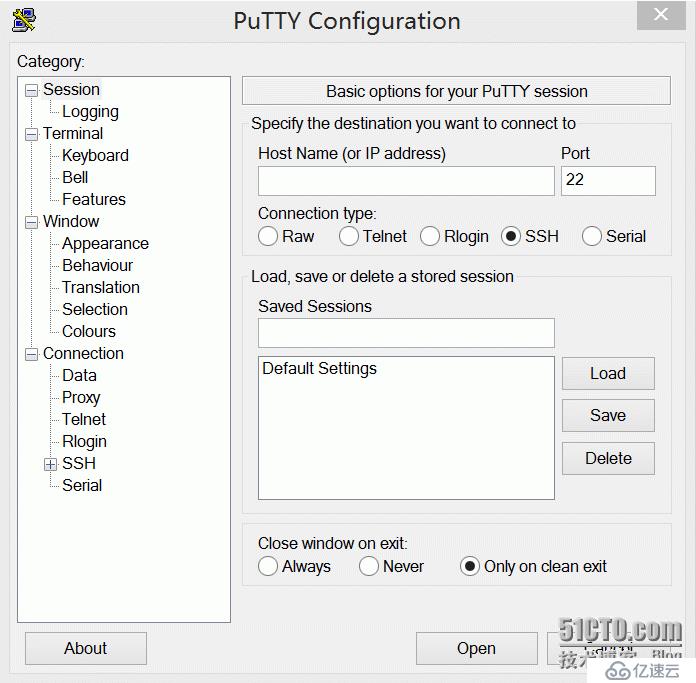
4, 在PuTTY里面输入刚建立机器的公网IP地址,那么如何找到刚刚的机器IP地址(公网)呢?
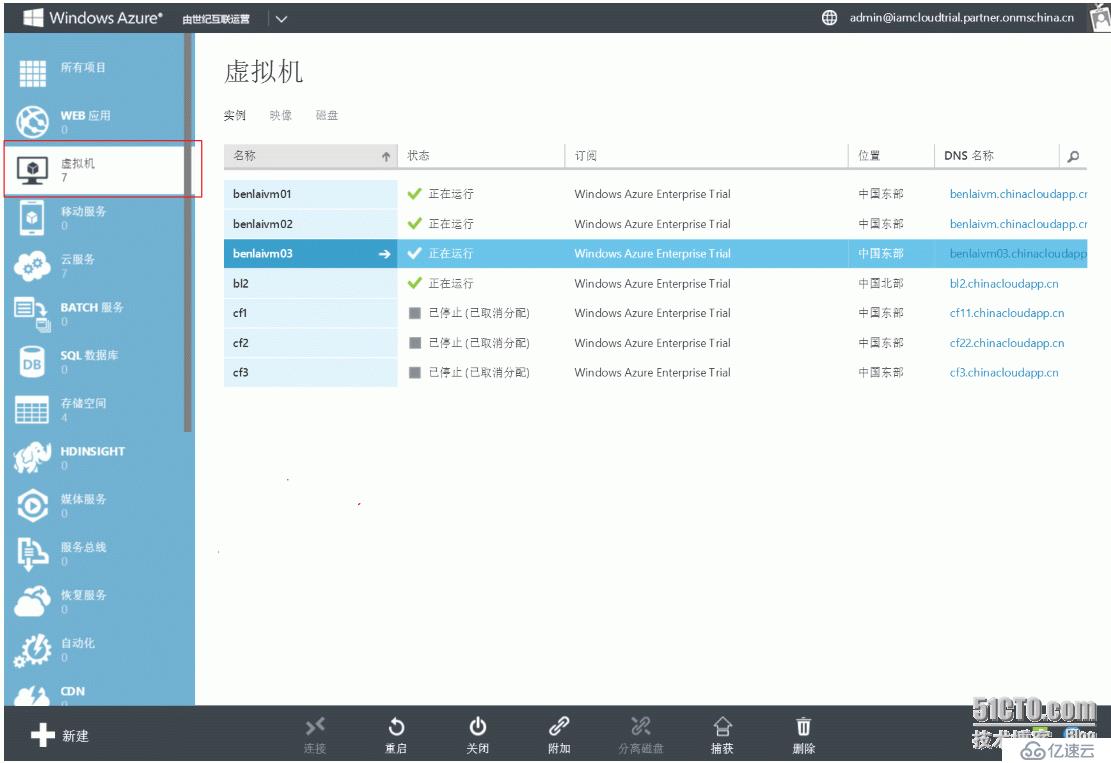
进入主页面,点击虚拟机,选中刚刚的机器。
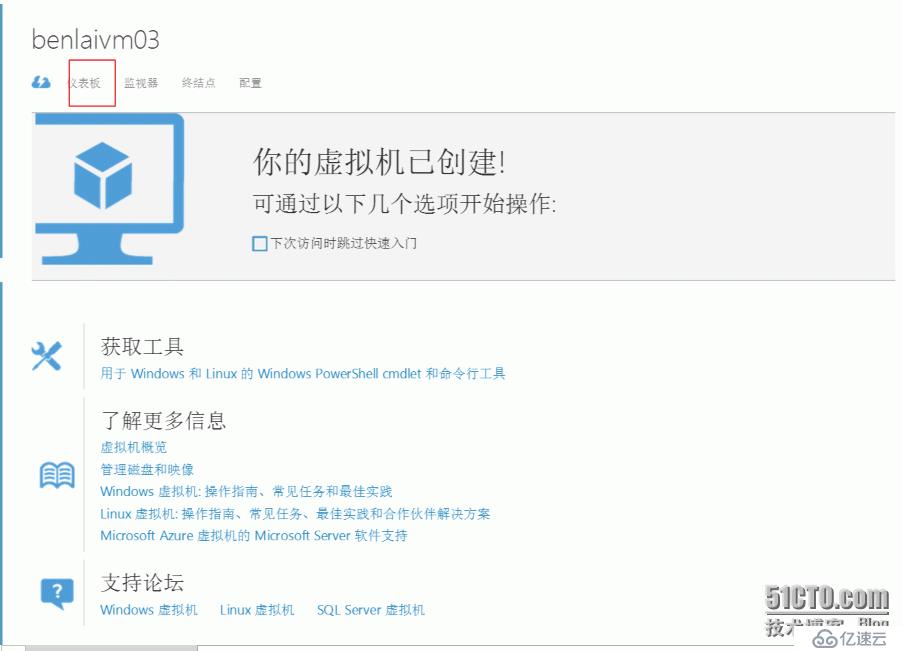
点击仪表板,右手边中间就是公网IP啦~记下来输入到PuTTY里面,然后点击“OPEN”。

5,PuTTY开始连接你的虚拟机。输入你的用户名和密码。直接输入即可。

6, 登陆成功啦~~
首先是要进入azure portal挂上磁盘,然后再格式化磁盘,在此就不演示格式化磁盘了。
敲入命令sudo wget http://byte-unixbench.googlecode.com/files/unixbench-5.1.2.tar.gz
tar xvfzunixbench-5.1.2.tar.gz
cd unixbench-5.1.2

7,敲入vi test.sh新建文本文档。敲入sudo sh test.sh 在虚机里面新建文本文档。

8,建立成功后,就是最后一步啦·
直接敲入
#!/bin/bash
yum install -y perl-Time-HiRes #for centos 6.5
yum install -y gccyum-plugin-priorities git
yum install -y http://mirrors.ustc.edu.cn/fedora/epel/6/x86_64/epel-release-6-8.noarch.rpm
git clone https://github.com/kdlucas/byte-unixbench.git
cd byte-unixbench/UnixBench/
make
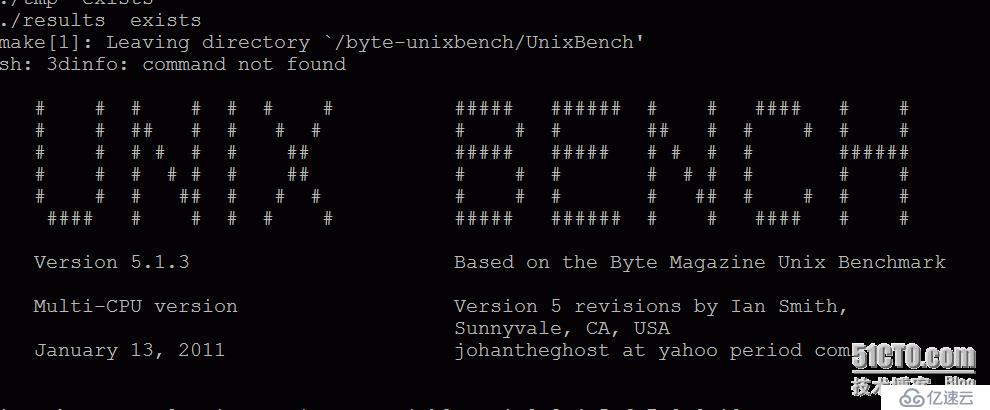
./Run | tee ../../UnixBench.txt
cd ../..
yum install -y fio
fio --filename=/dev/sdc1 --direct=1--rw=read --ioengine=psync --size=100% --bs=1024k --runtime=30--group_reporting --name=read | tee io-throughput-read.txt
fio --filename=/dev/sdc1 --direct=1--rw=write --ioengine=psync --size=100% --bs=1024k --runtime=30--group_reporting --name=write | tee io-throughput-write.txt
fio --filename=/dev/sdc1 --direct=1--ioengine=libaio --iodepth=32 --thread --numjobs=1 --rw=randread --bs=4k--size=100% --runtime=30s --group_reporting --name=randread | teeio-random-read.txt
fio --filename=/dev/sdc1 --direct=1--ioengine=libaio --iodepth=32 --thread --numjobs=1 --rw=randwrite --bs=4k--size=100% --runtime=30s --group_reporting --name=randwrite | teeio-random-write.txt
紧接着就是漫长的等待
免责声明:本站发布的内容(图片、视频和文字)以原创、转载和分享为主,文章观点不代表本网站立场,如果涉及侵权请联系站长邮箱:is@yisu.com进行举报,并提供相关证据,一经查实,将立刻删除涉嫌侵权内容。