您好,登录后才能下订单哦!
密码登录
登录注册
点击 登录注册 即表示同意《亿速云用户服务条款》
Command+alt+TCommand+/alt+shift+↑alt+shift+↓Command+alt+LCommand+shift+VCommand+DCommand+deleteControl+Shift+Jshift+回车Command+shift+UCommand+Walt+单击Command+OCommand+shift+OCommand+LCommand+单击Command+YCommand+F12control+VCommand+FCommand+RCommand+shift+FCommand+shift+RF5F6shift+F6Command+,Control+Shift+RControl+MControl+GControl+Command+GOption+F12Command+D

快捷键:Commond+shift+K


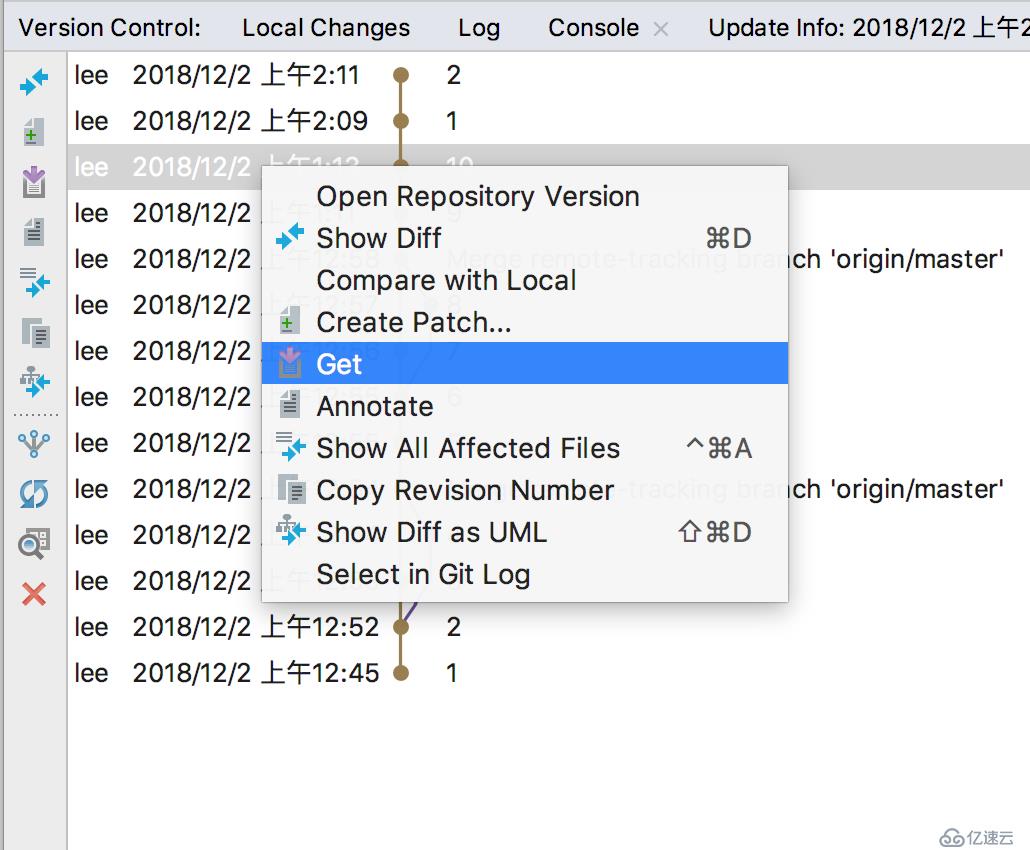
快捷键:control+V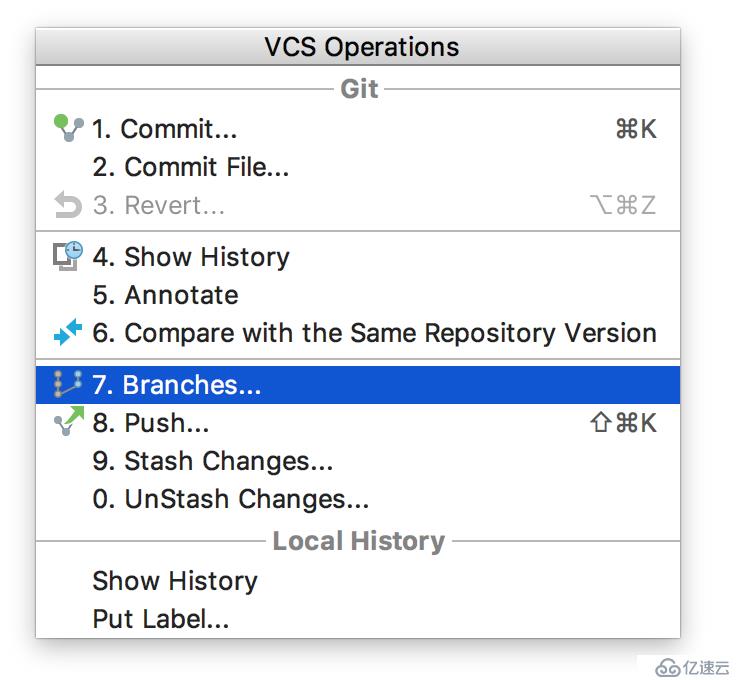

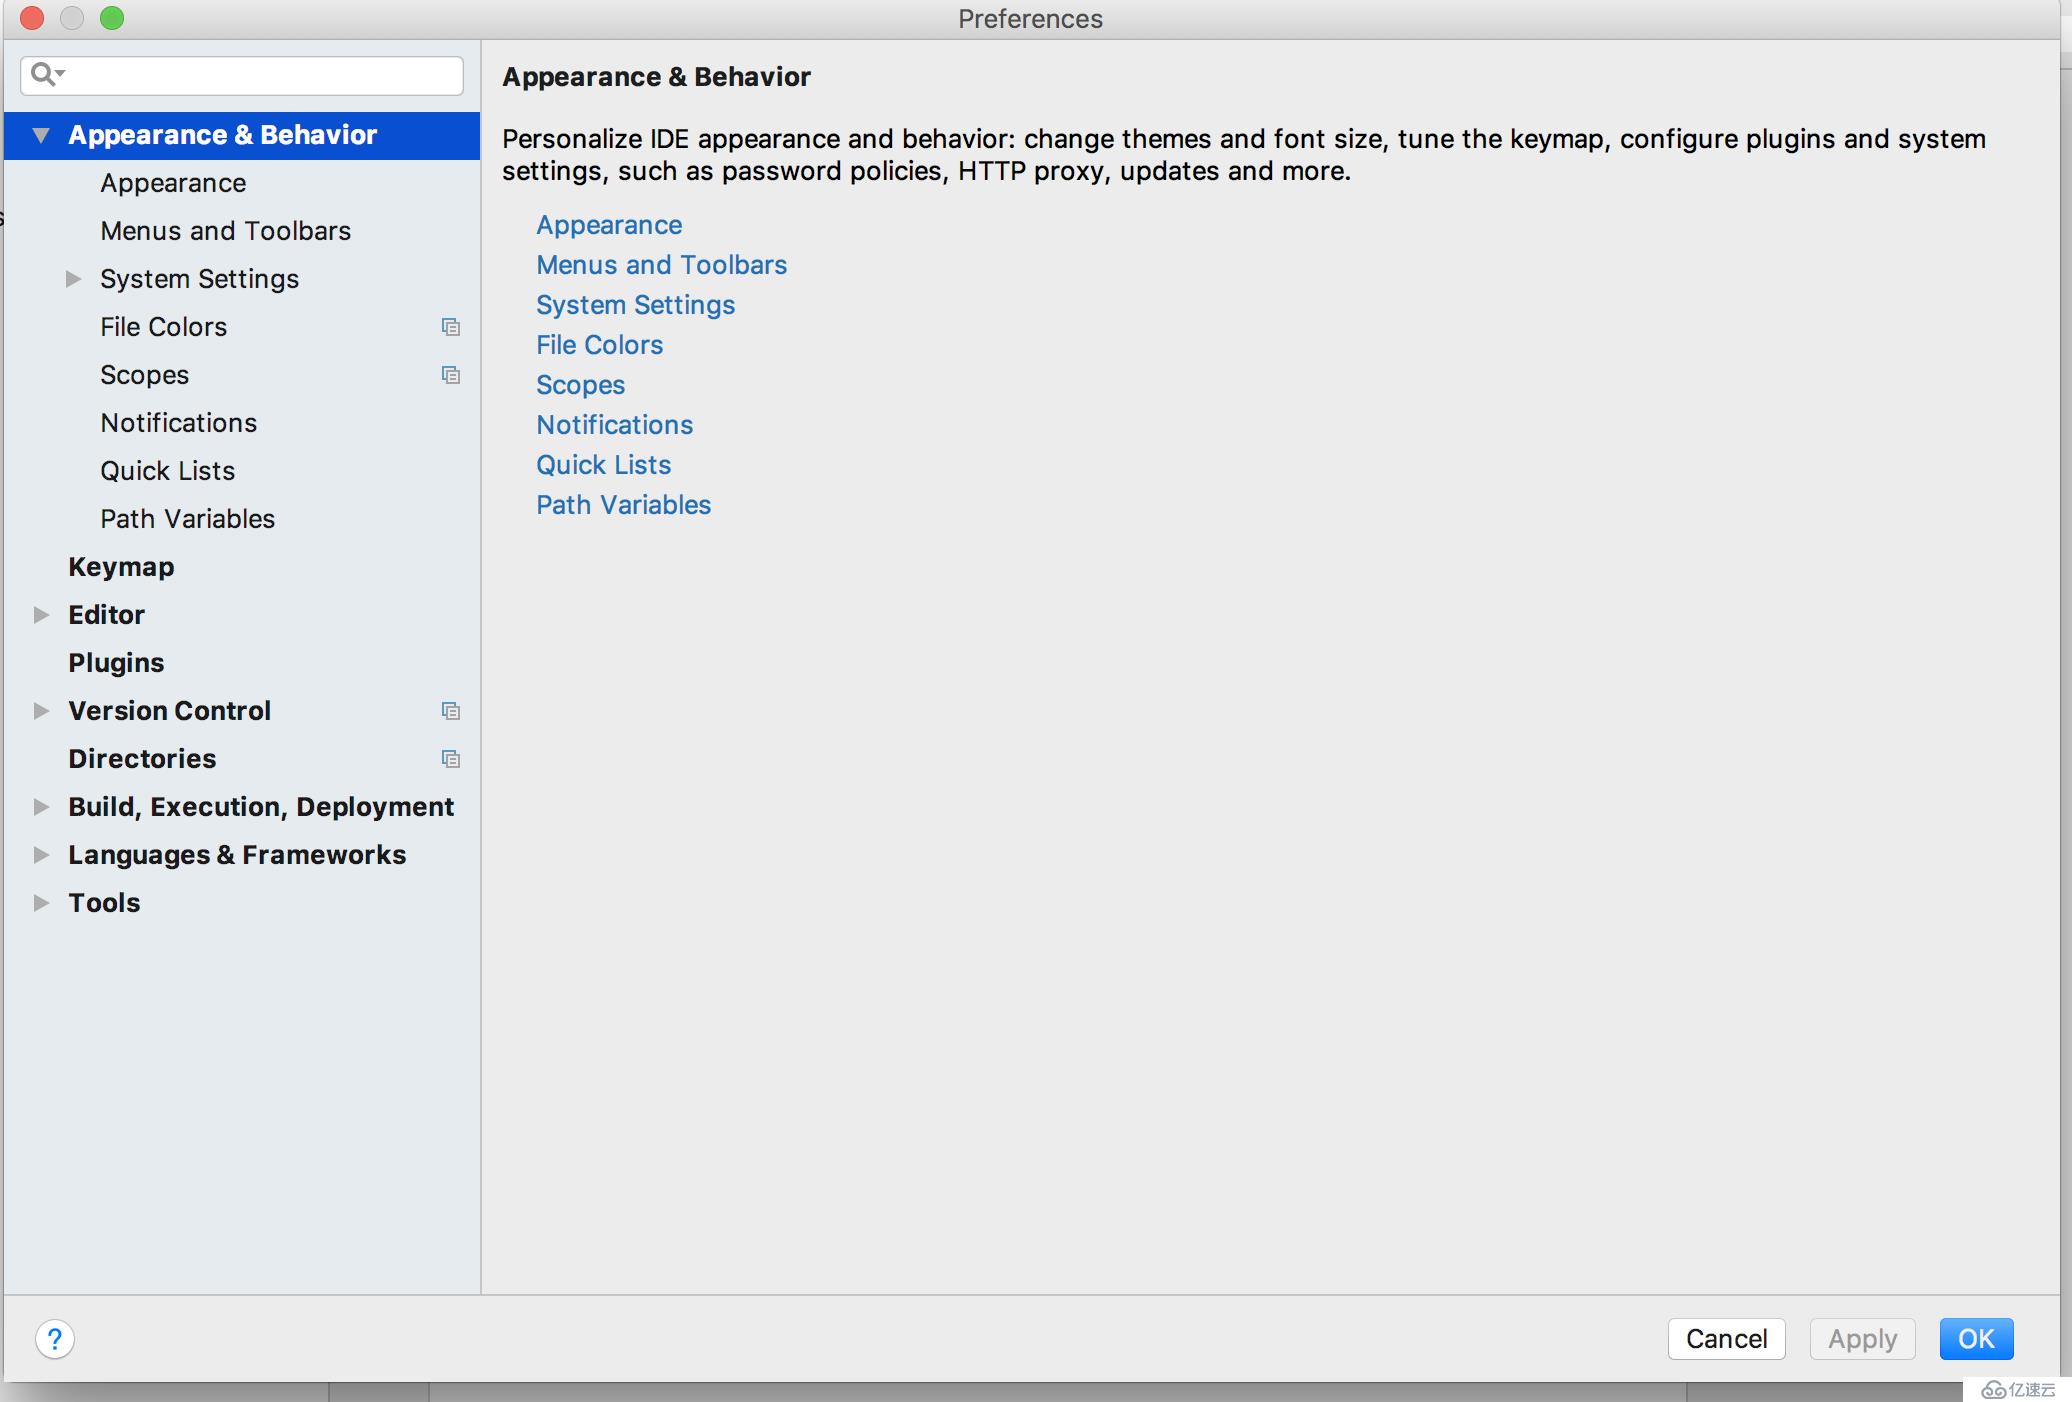
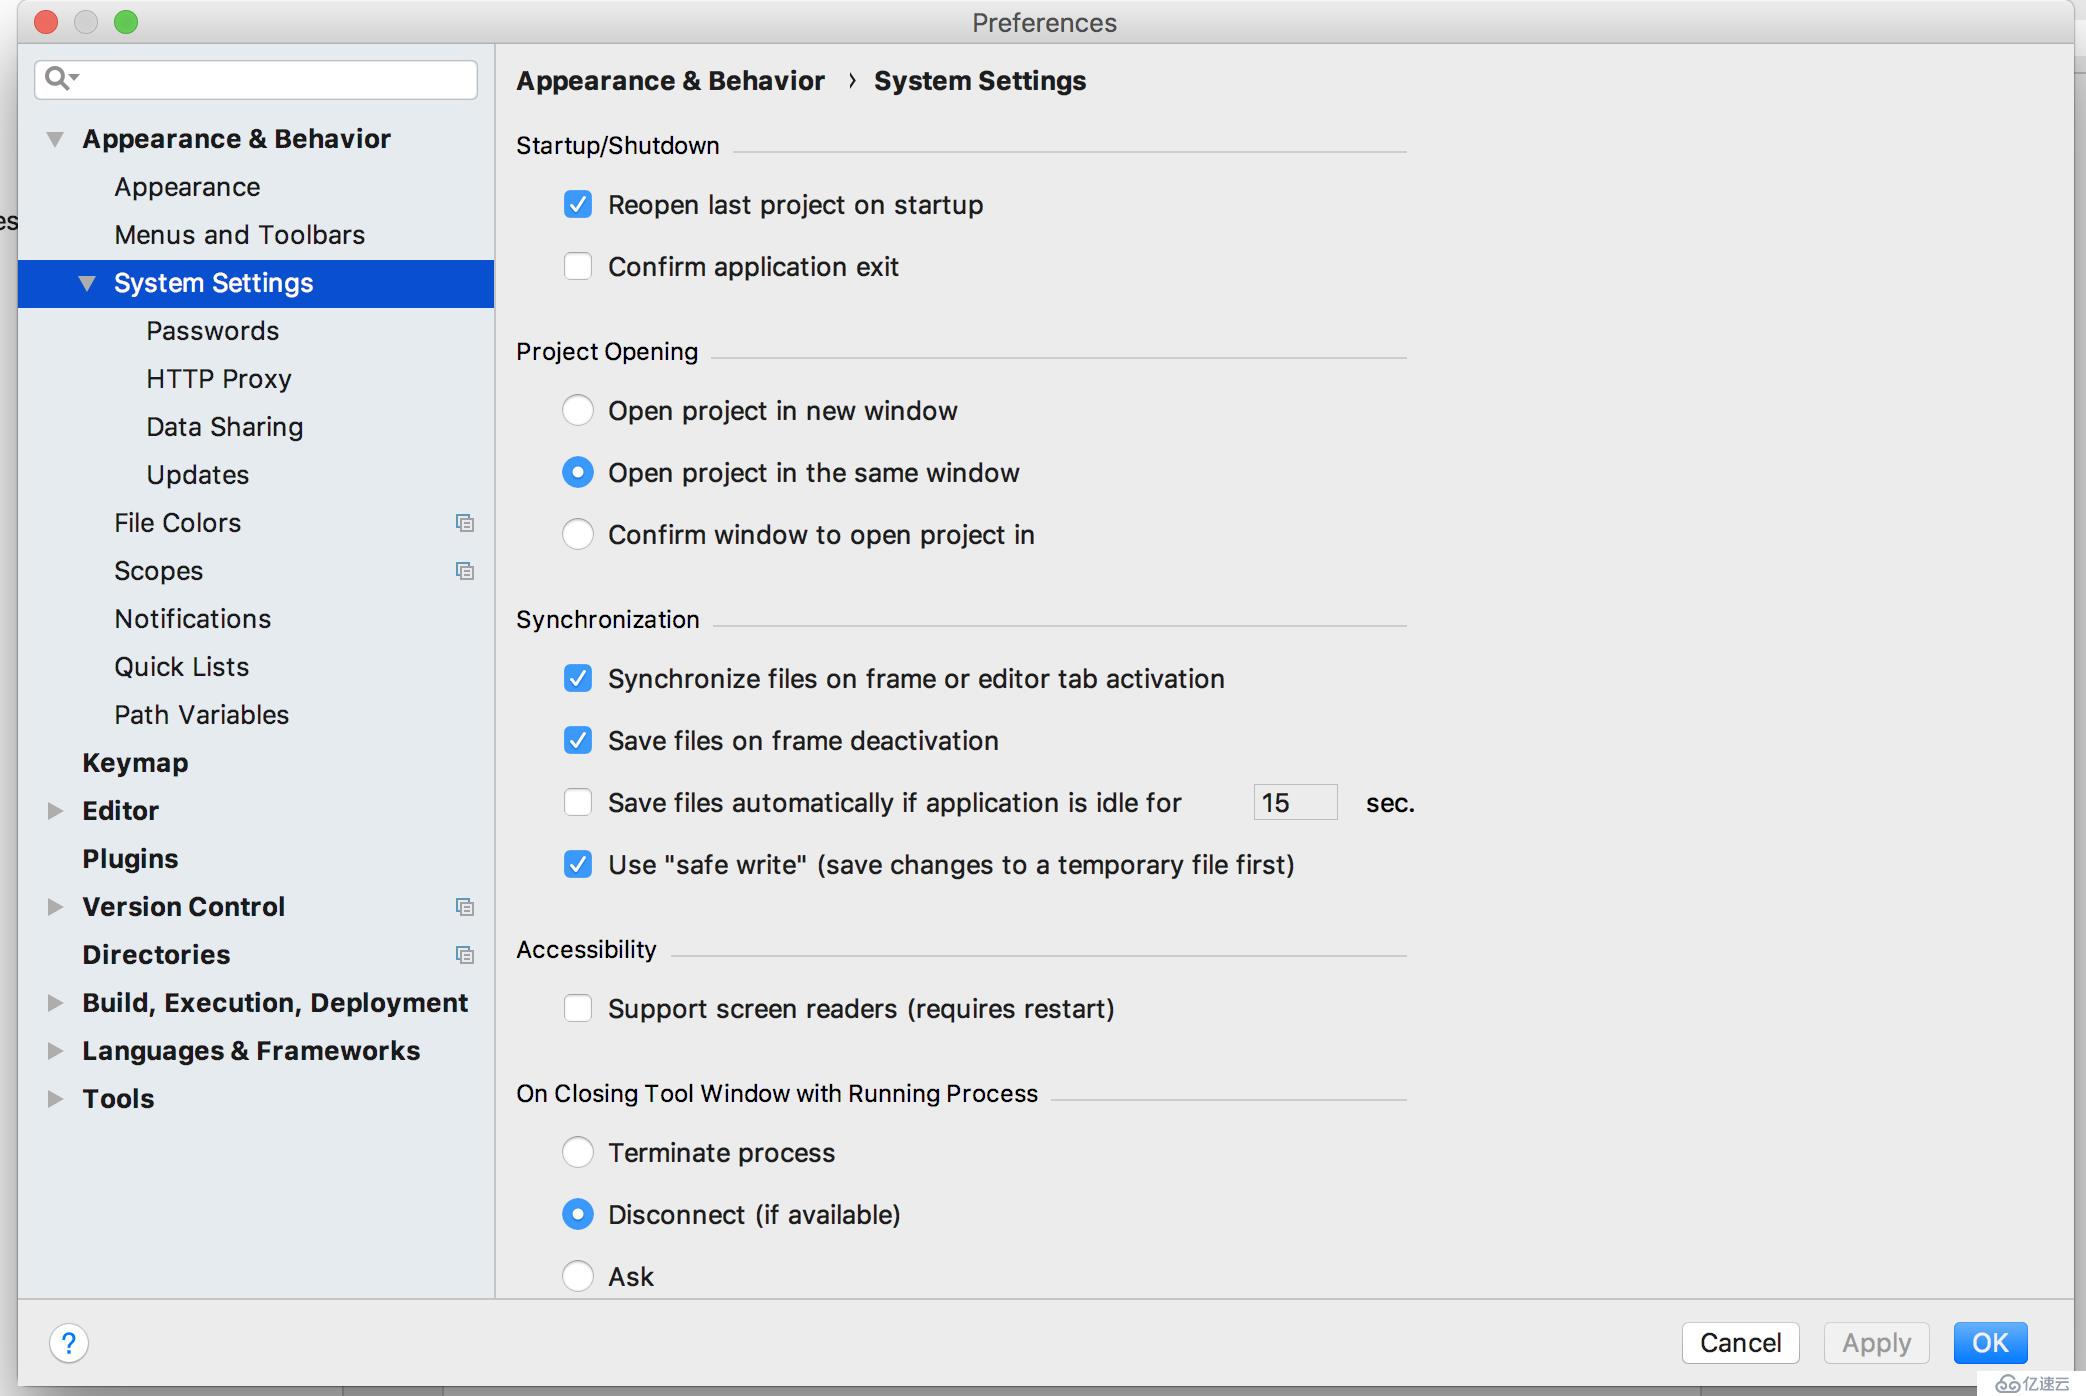
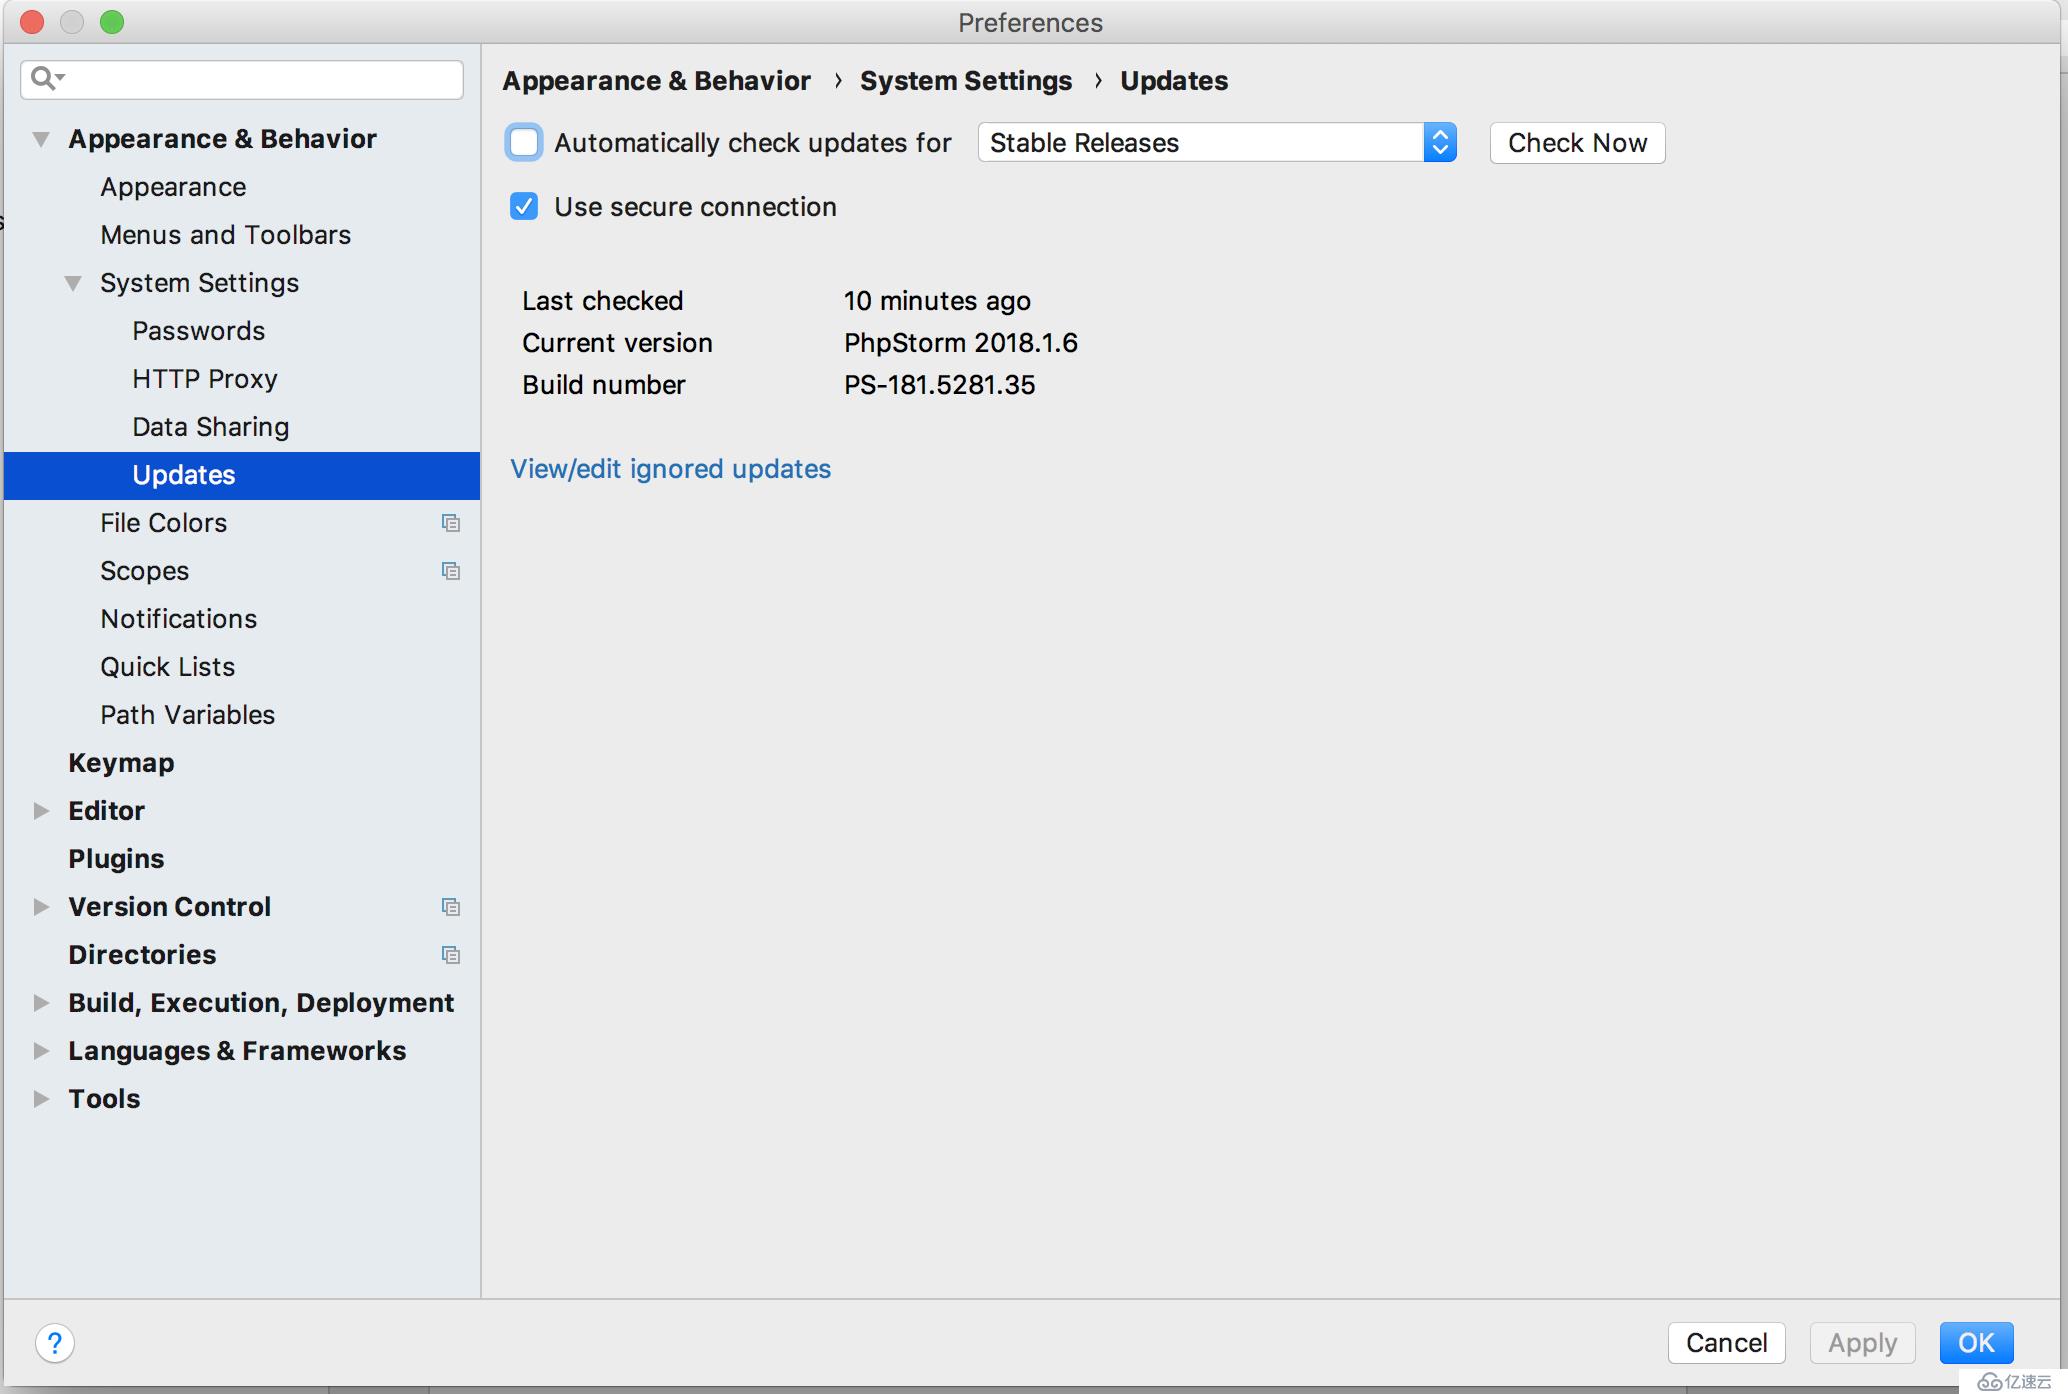
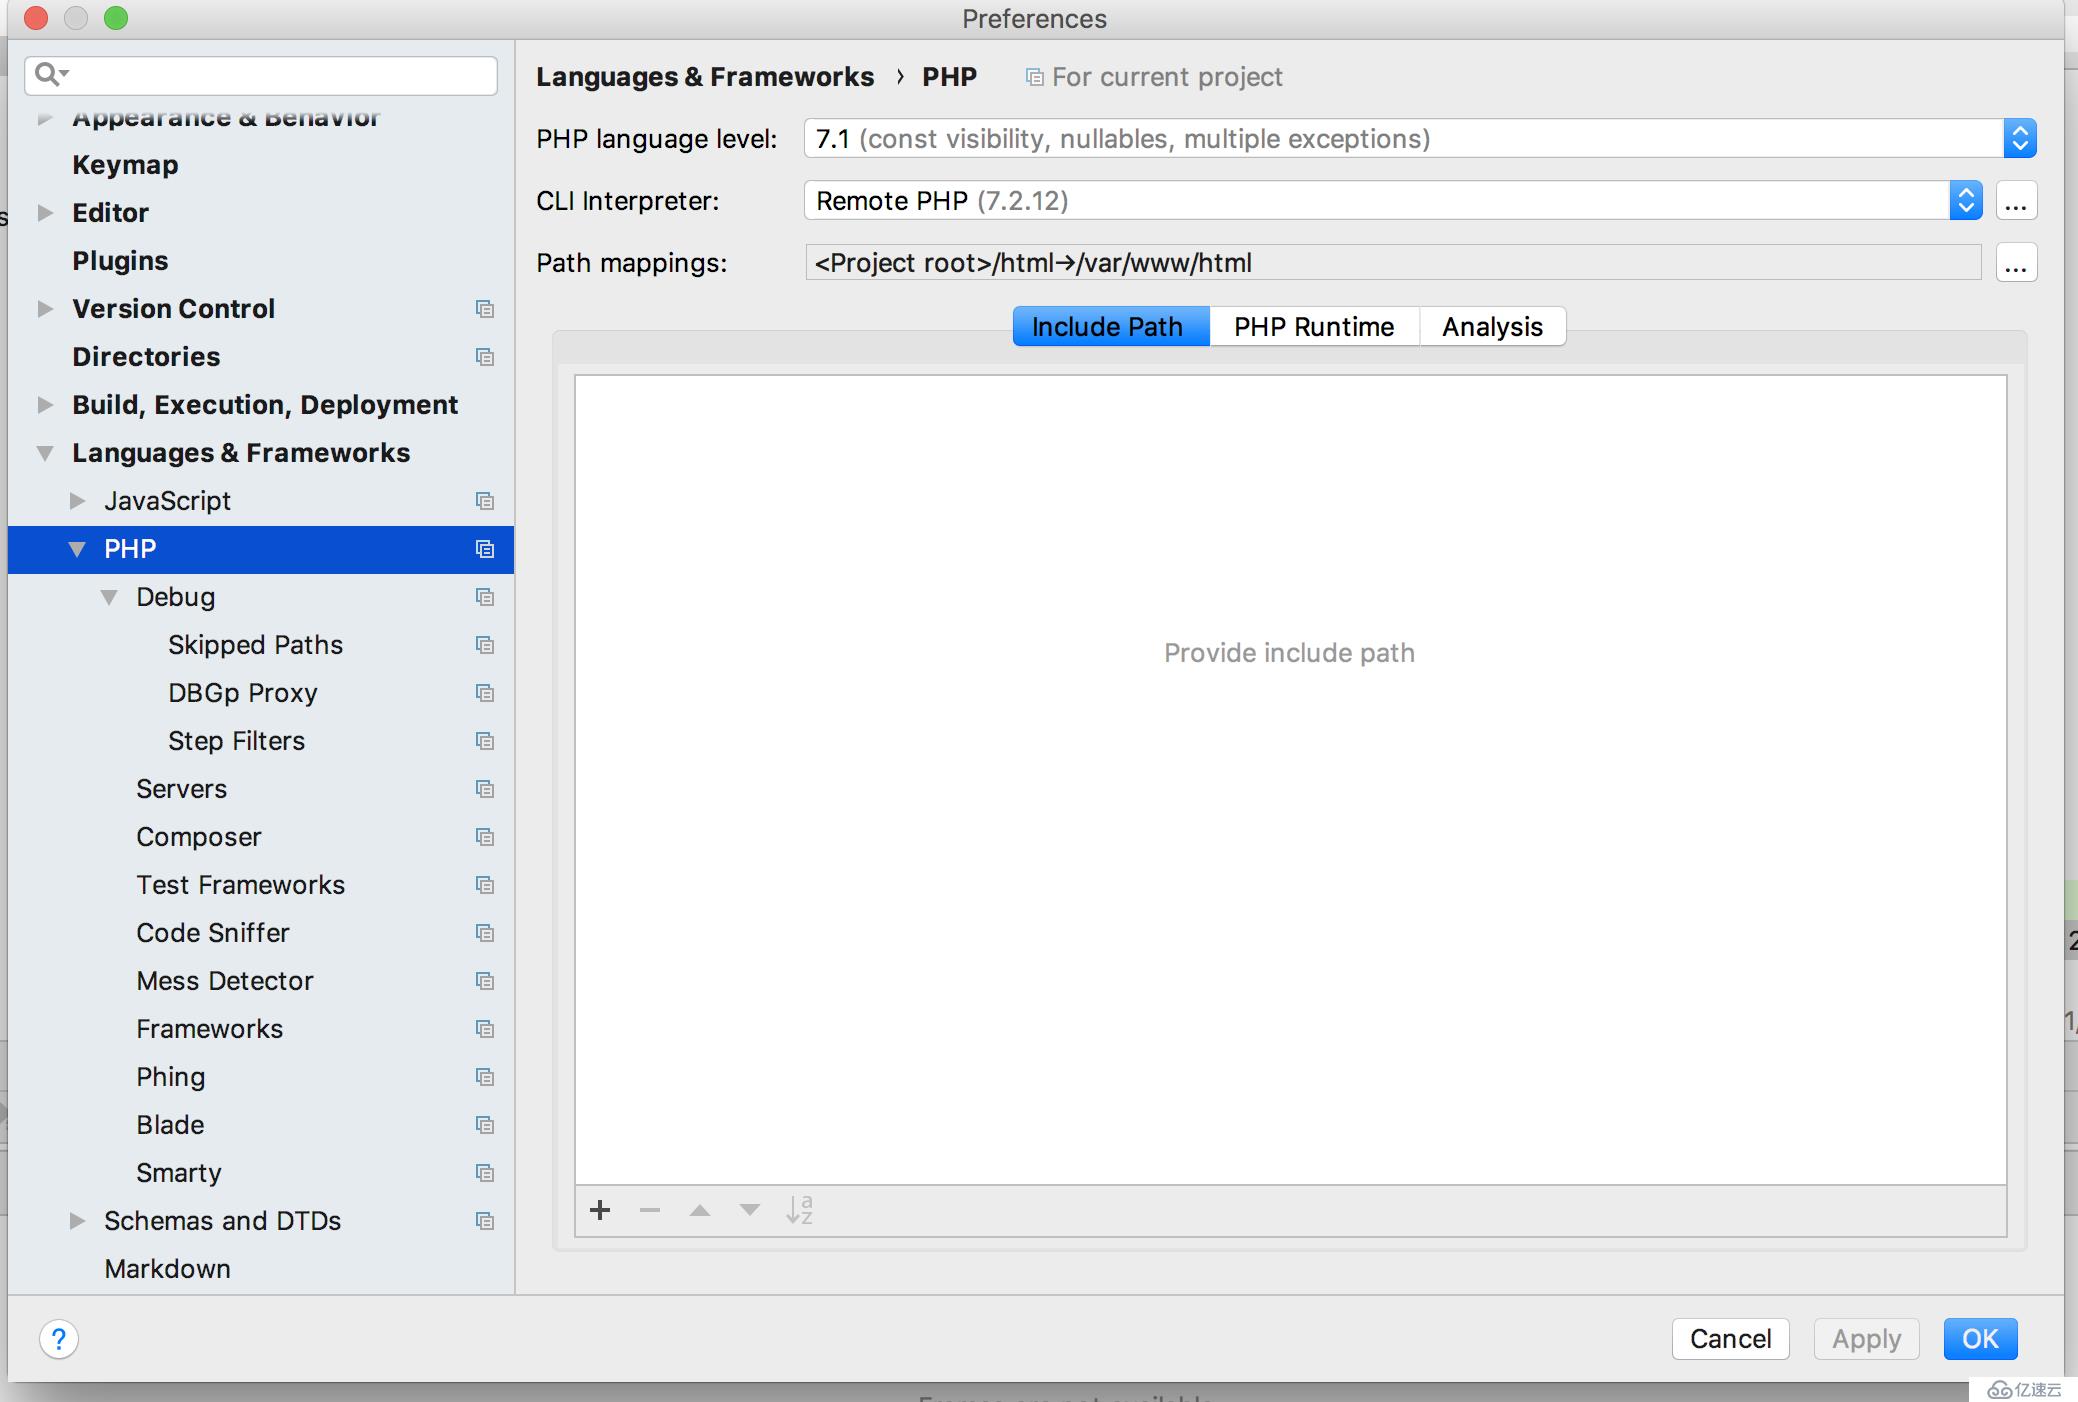
Command+,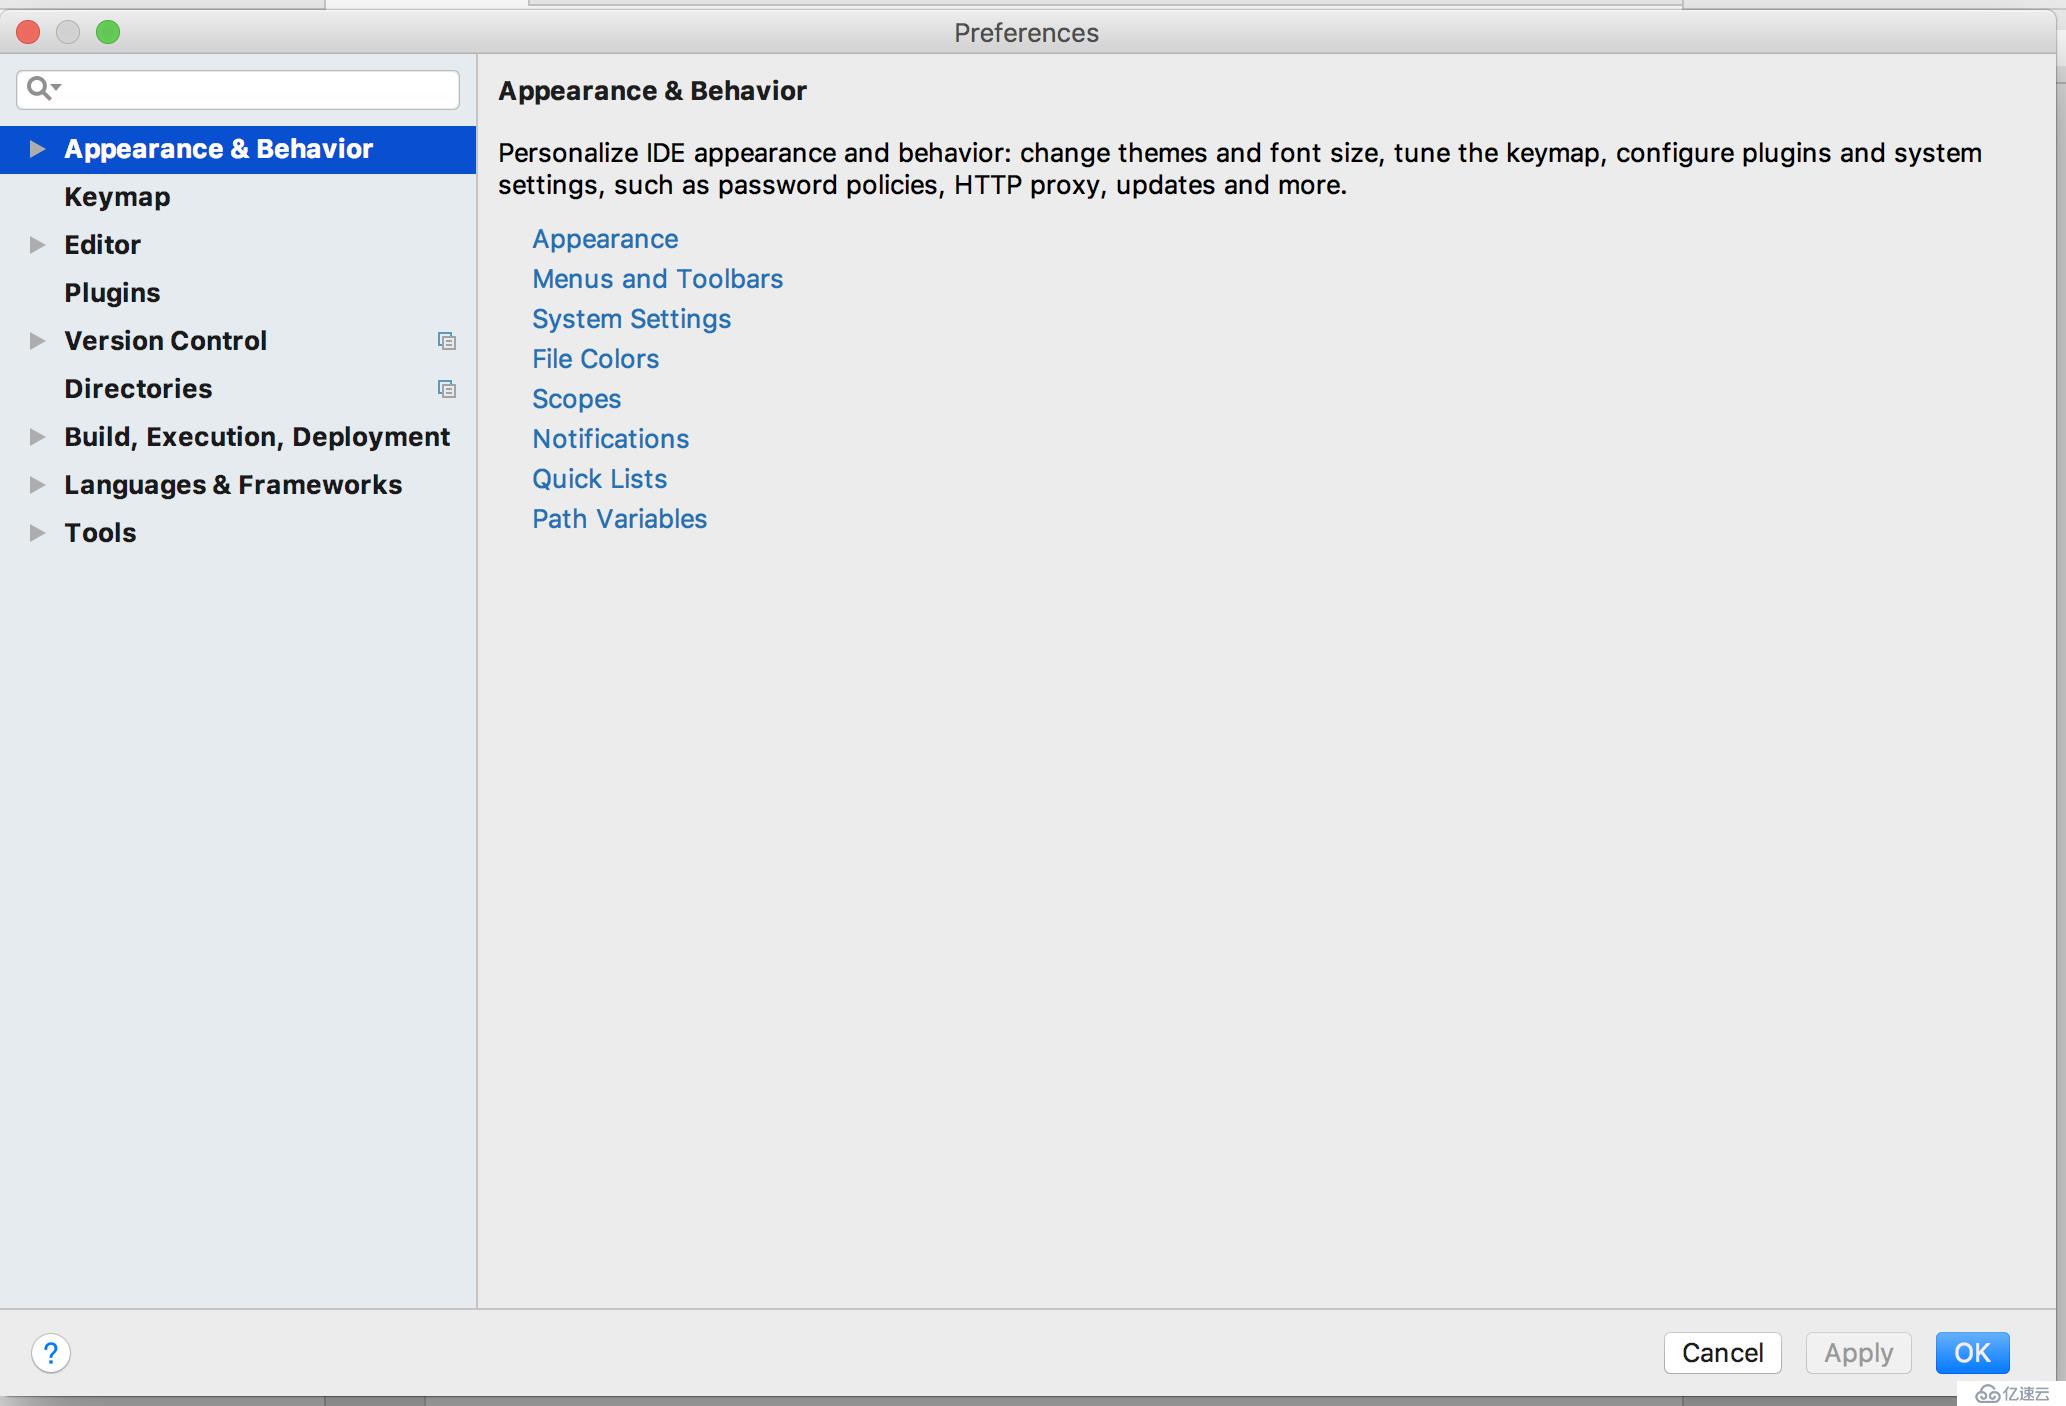

[xdebug]
zend_extension=/usr/local/php/lib/php/extensions/no-debug-zts-20170718/xdebug.so
xdebug.remote_enable=1
xdebug.remote_host=127.0.0.1
xdebug.remote_port=9000
1-2. 重启web服务器(略)
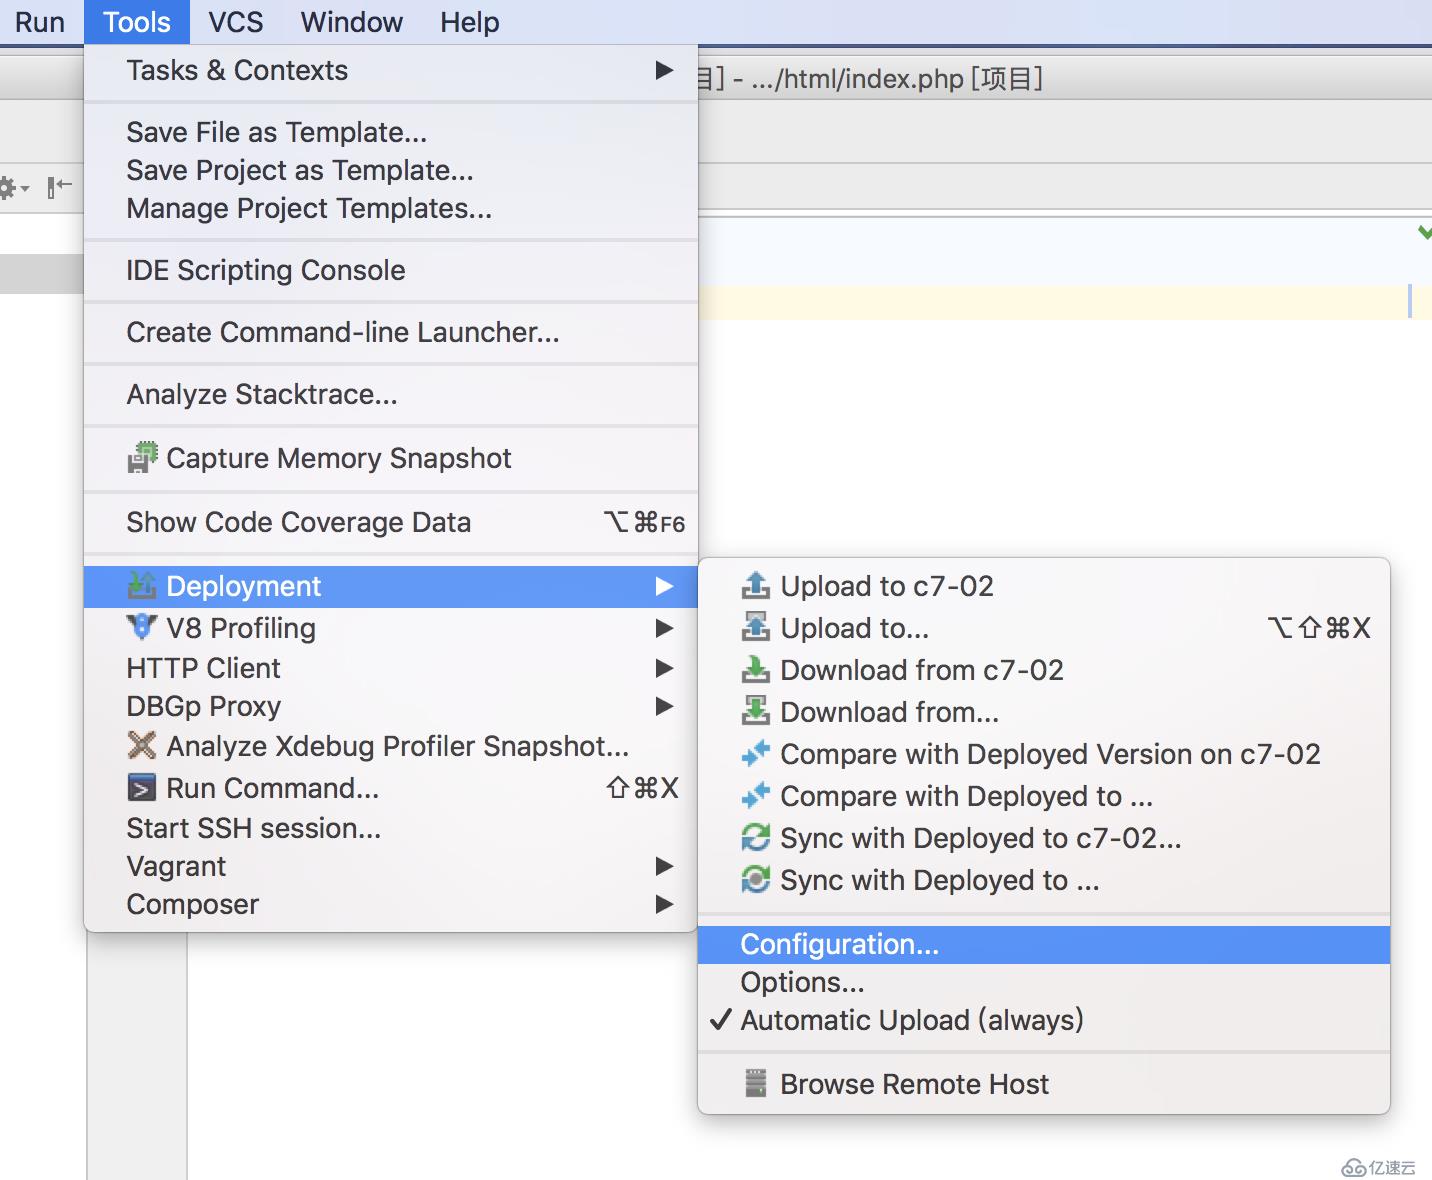
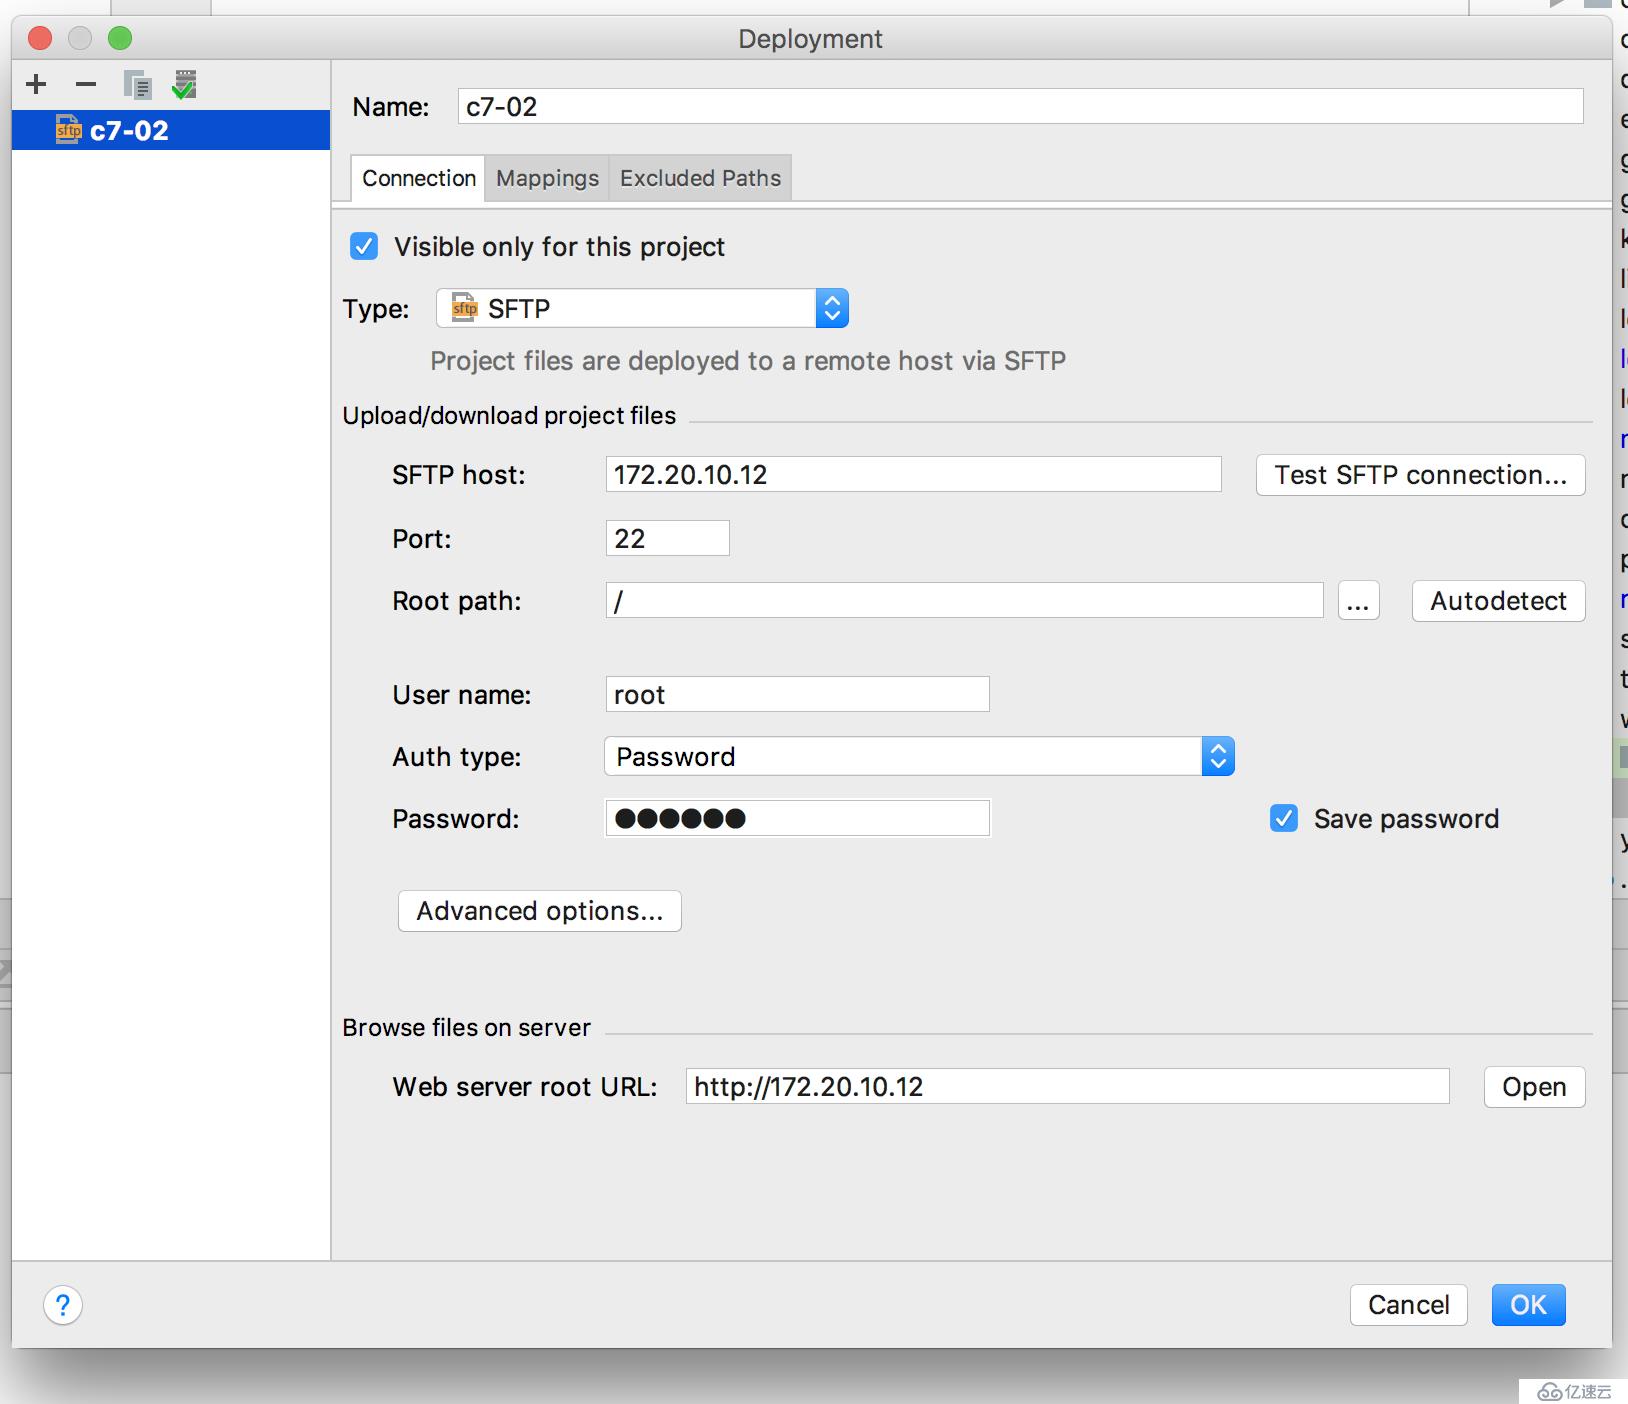
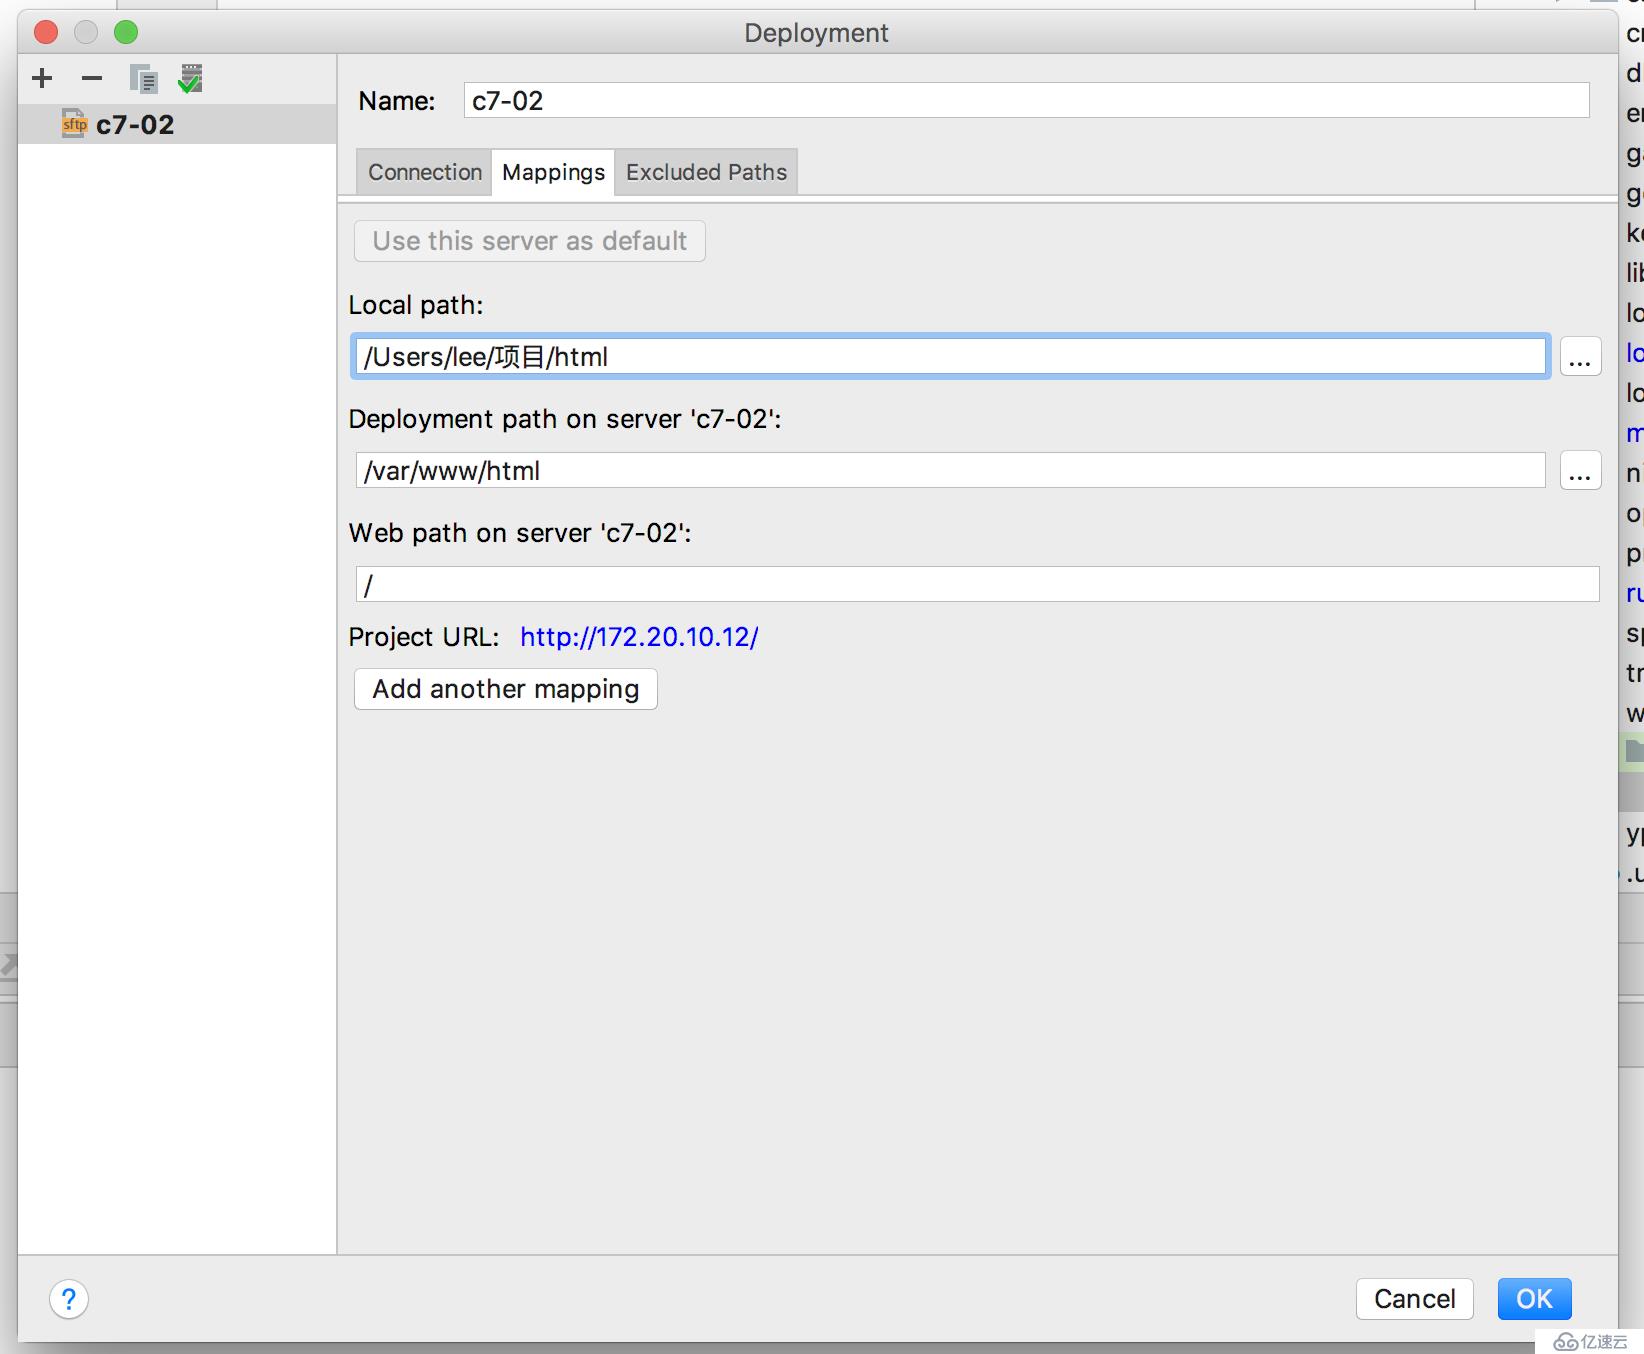
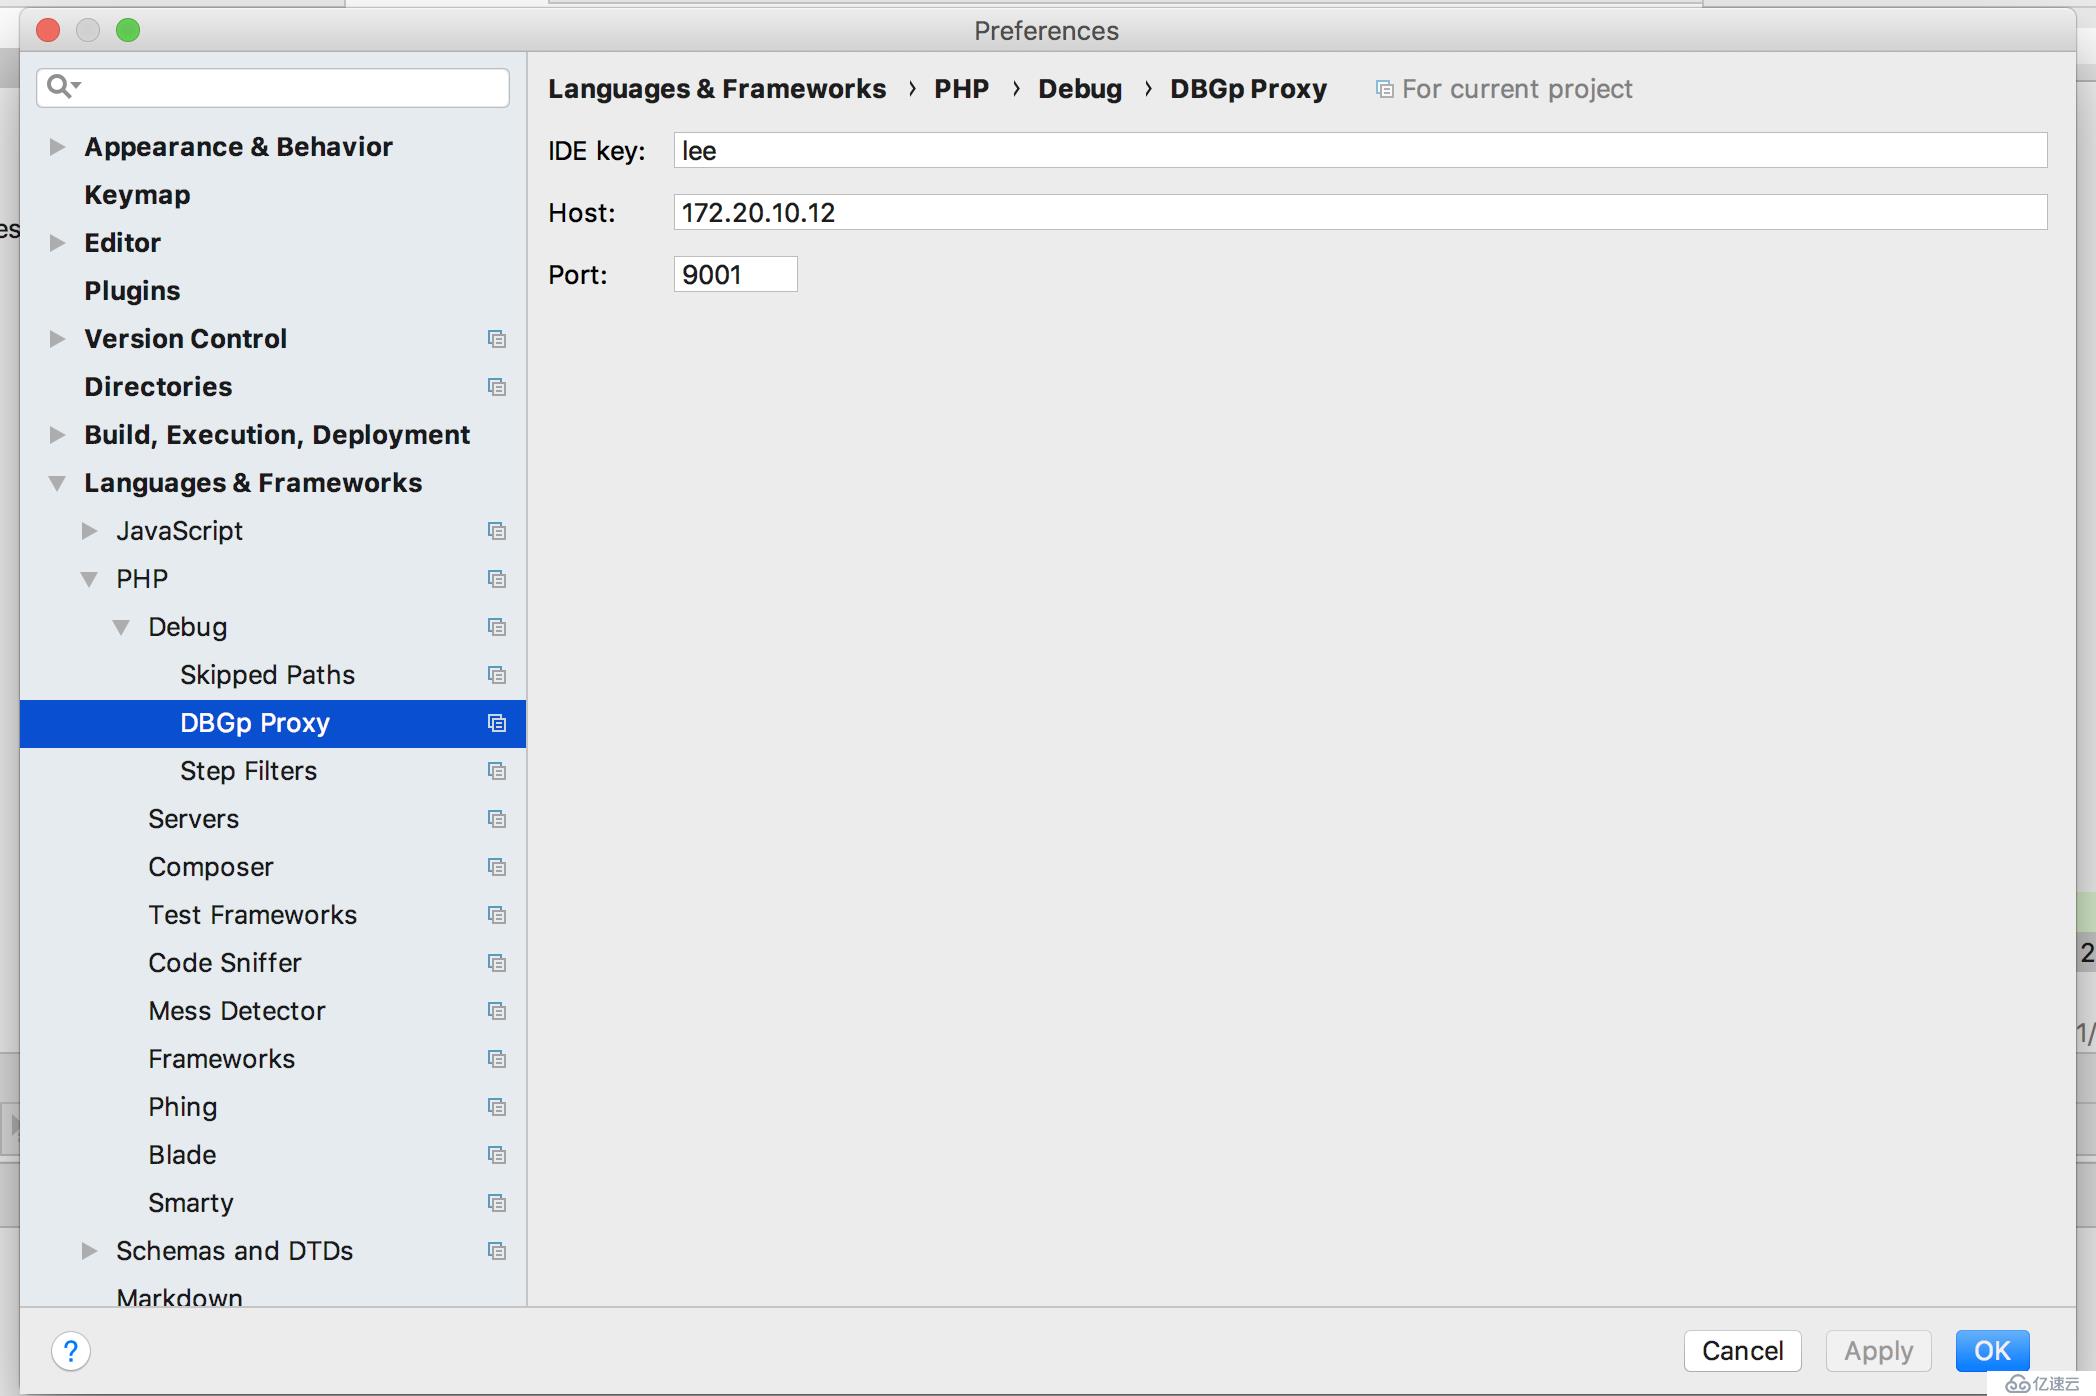
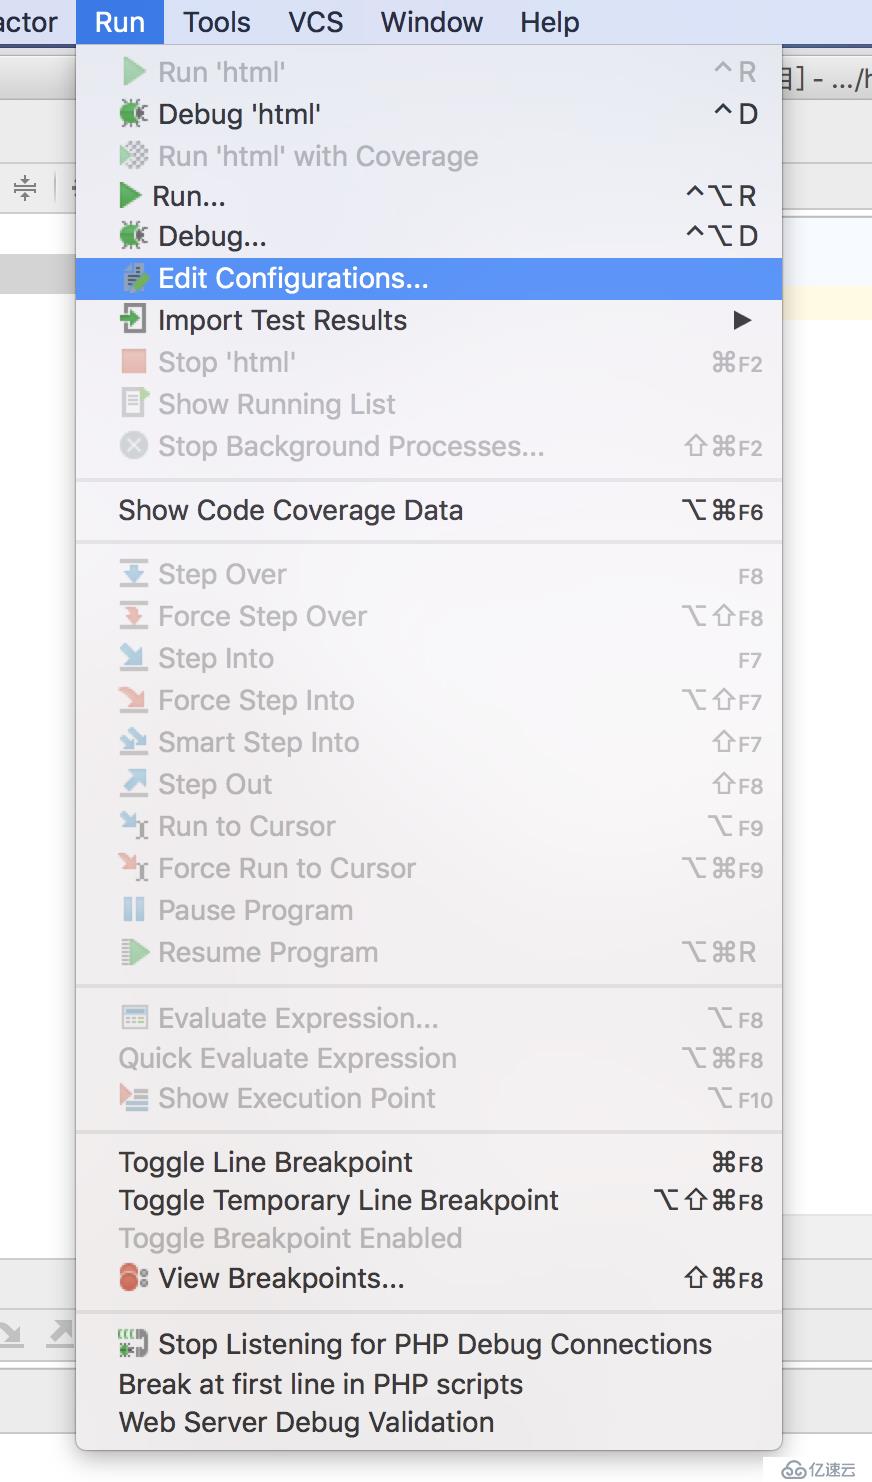
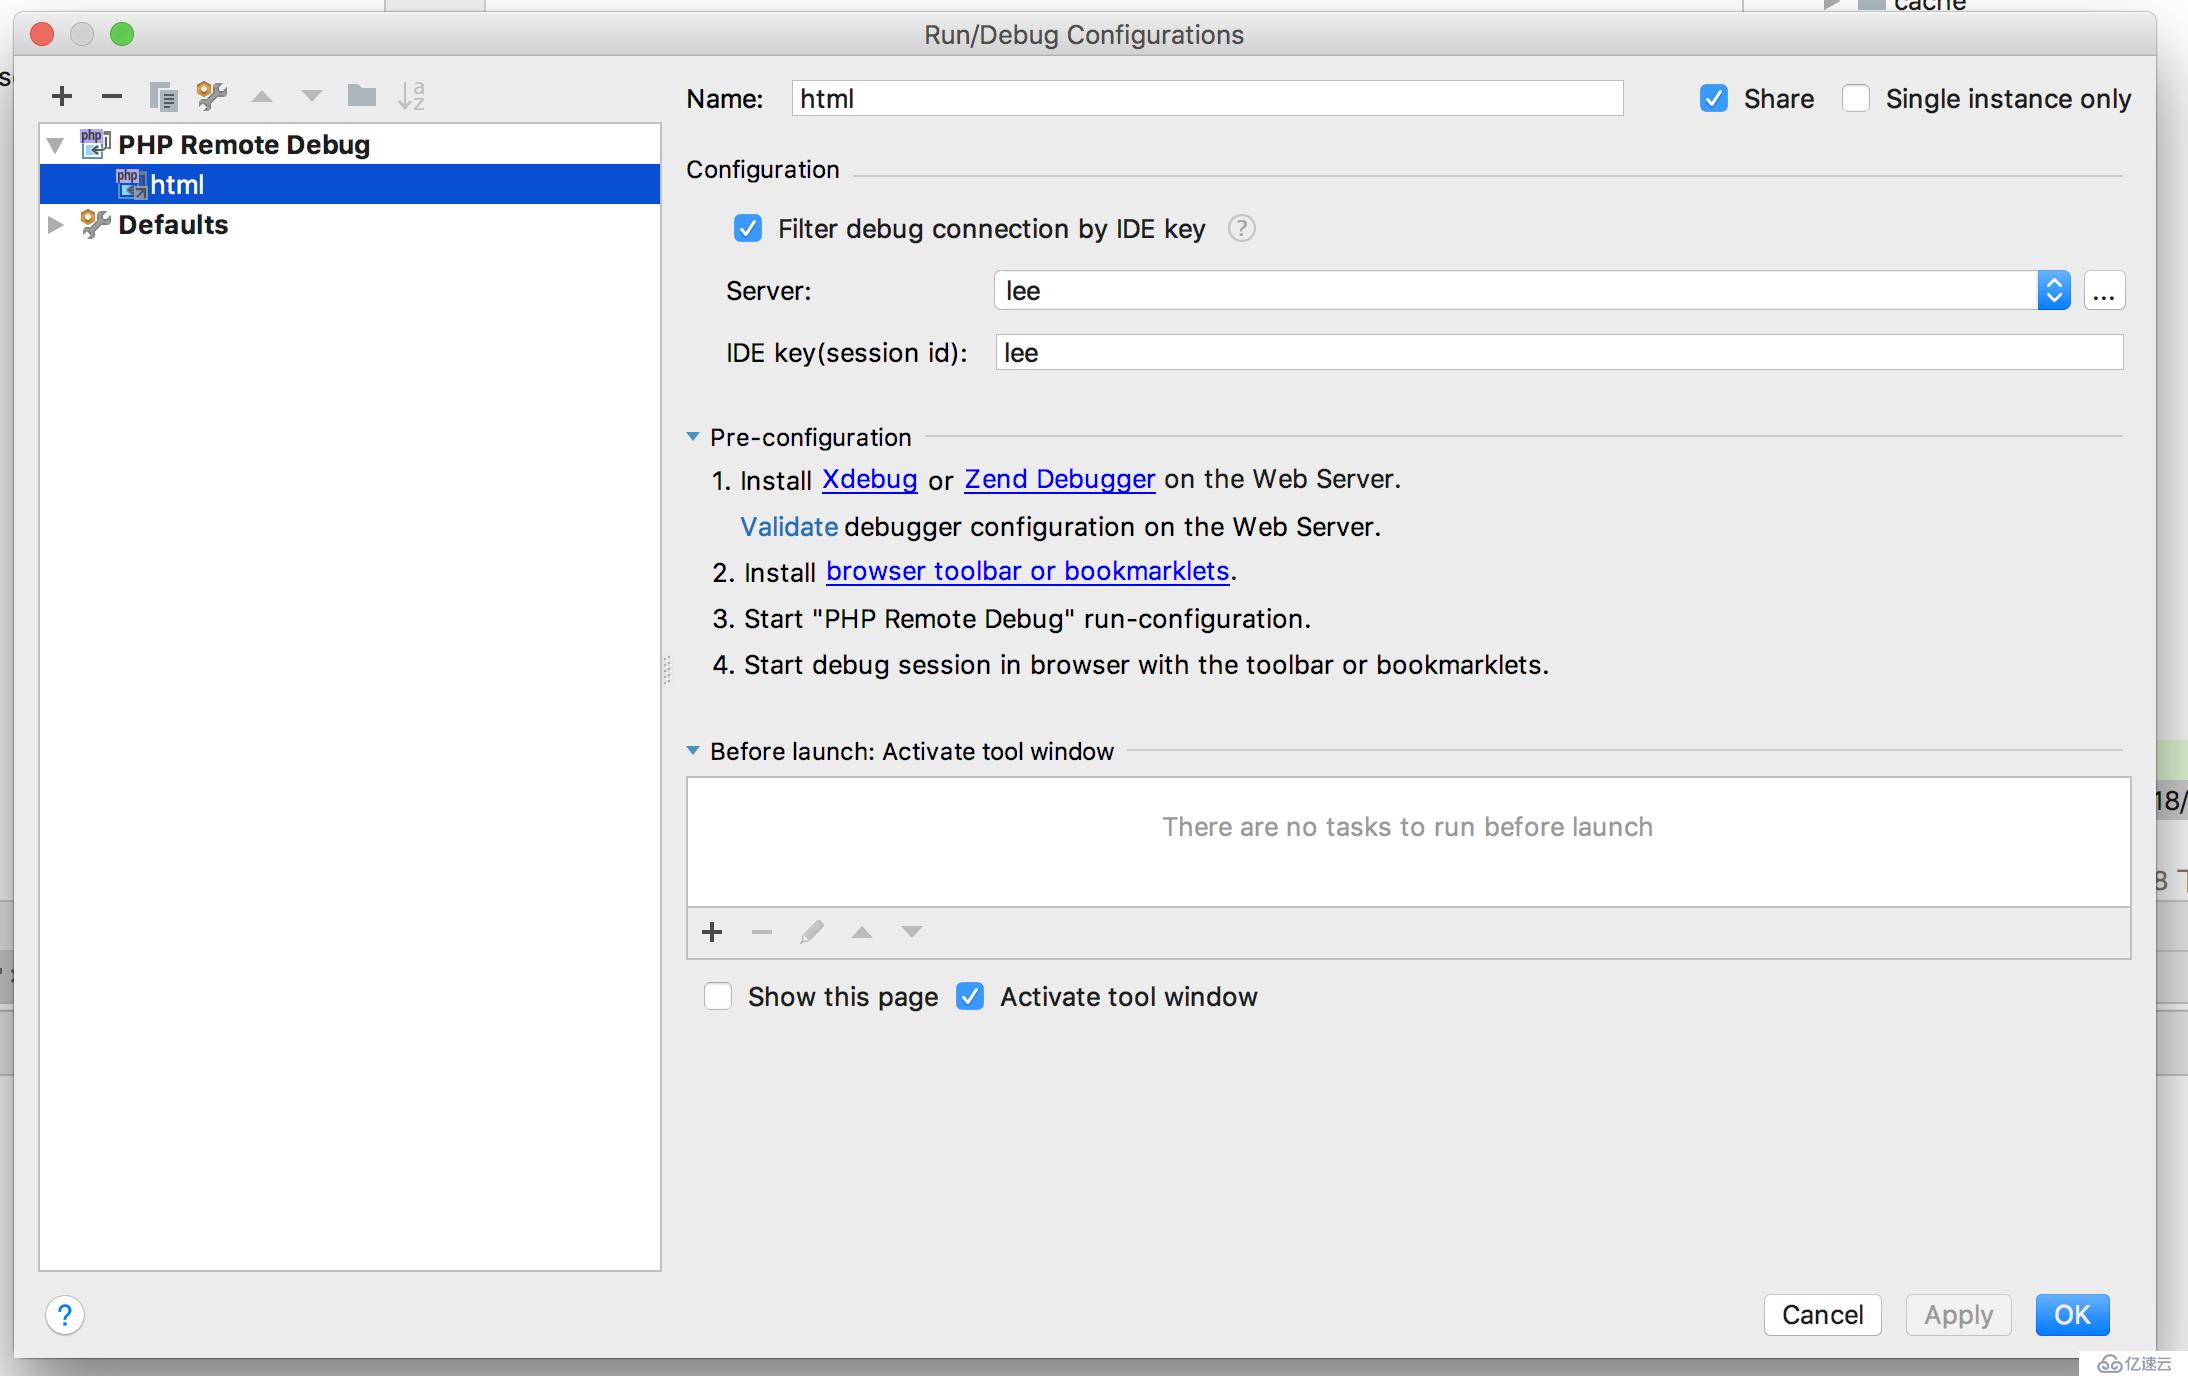
1-3. dbgp配置:
a. 地址(下载python版本的):
http://code.activestate.com/komodo/remotedebugging/b. 解压(略)
c. 进入目录(略)
d. 修改pydbgpproxy文件内容:
vim pydbgpproxy,找到
candidate_paths = [
    dirname(this_dir), # Komodo source tree layout
    join(dirname(this_dir), pythonlib),
]
将
dirname(this_dir)修改为
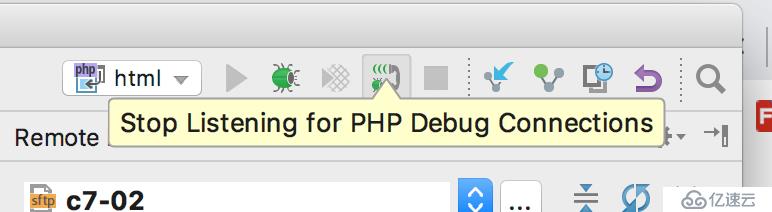
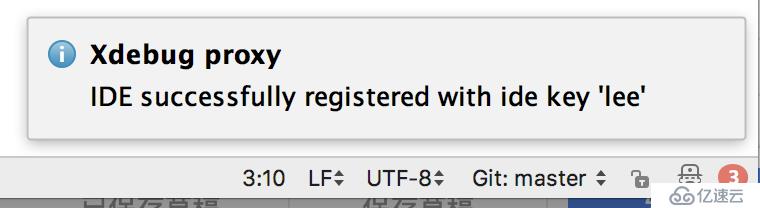
this_dire. 启动dbgp代理:
./pydbgpproxy -i 0.0.0.0:9001 -d 9000


参考
https://blog.51cto.com/12173069/2317104
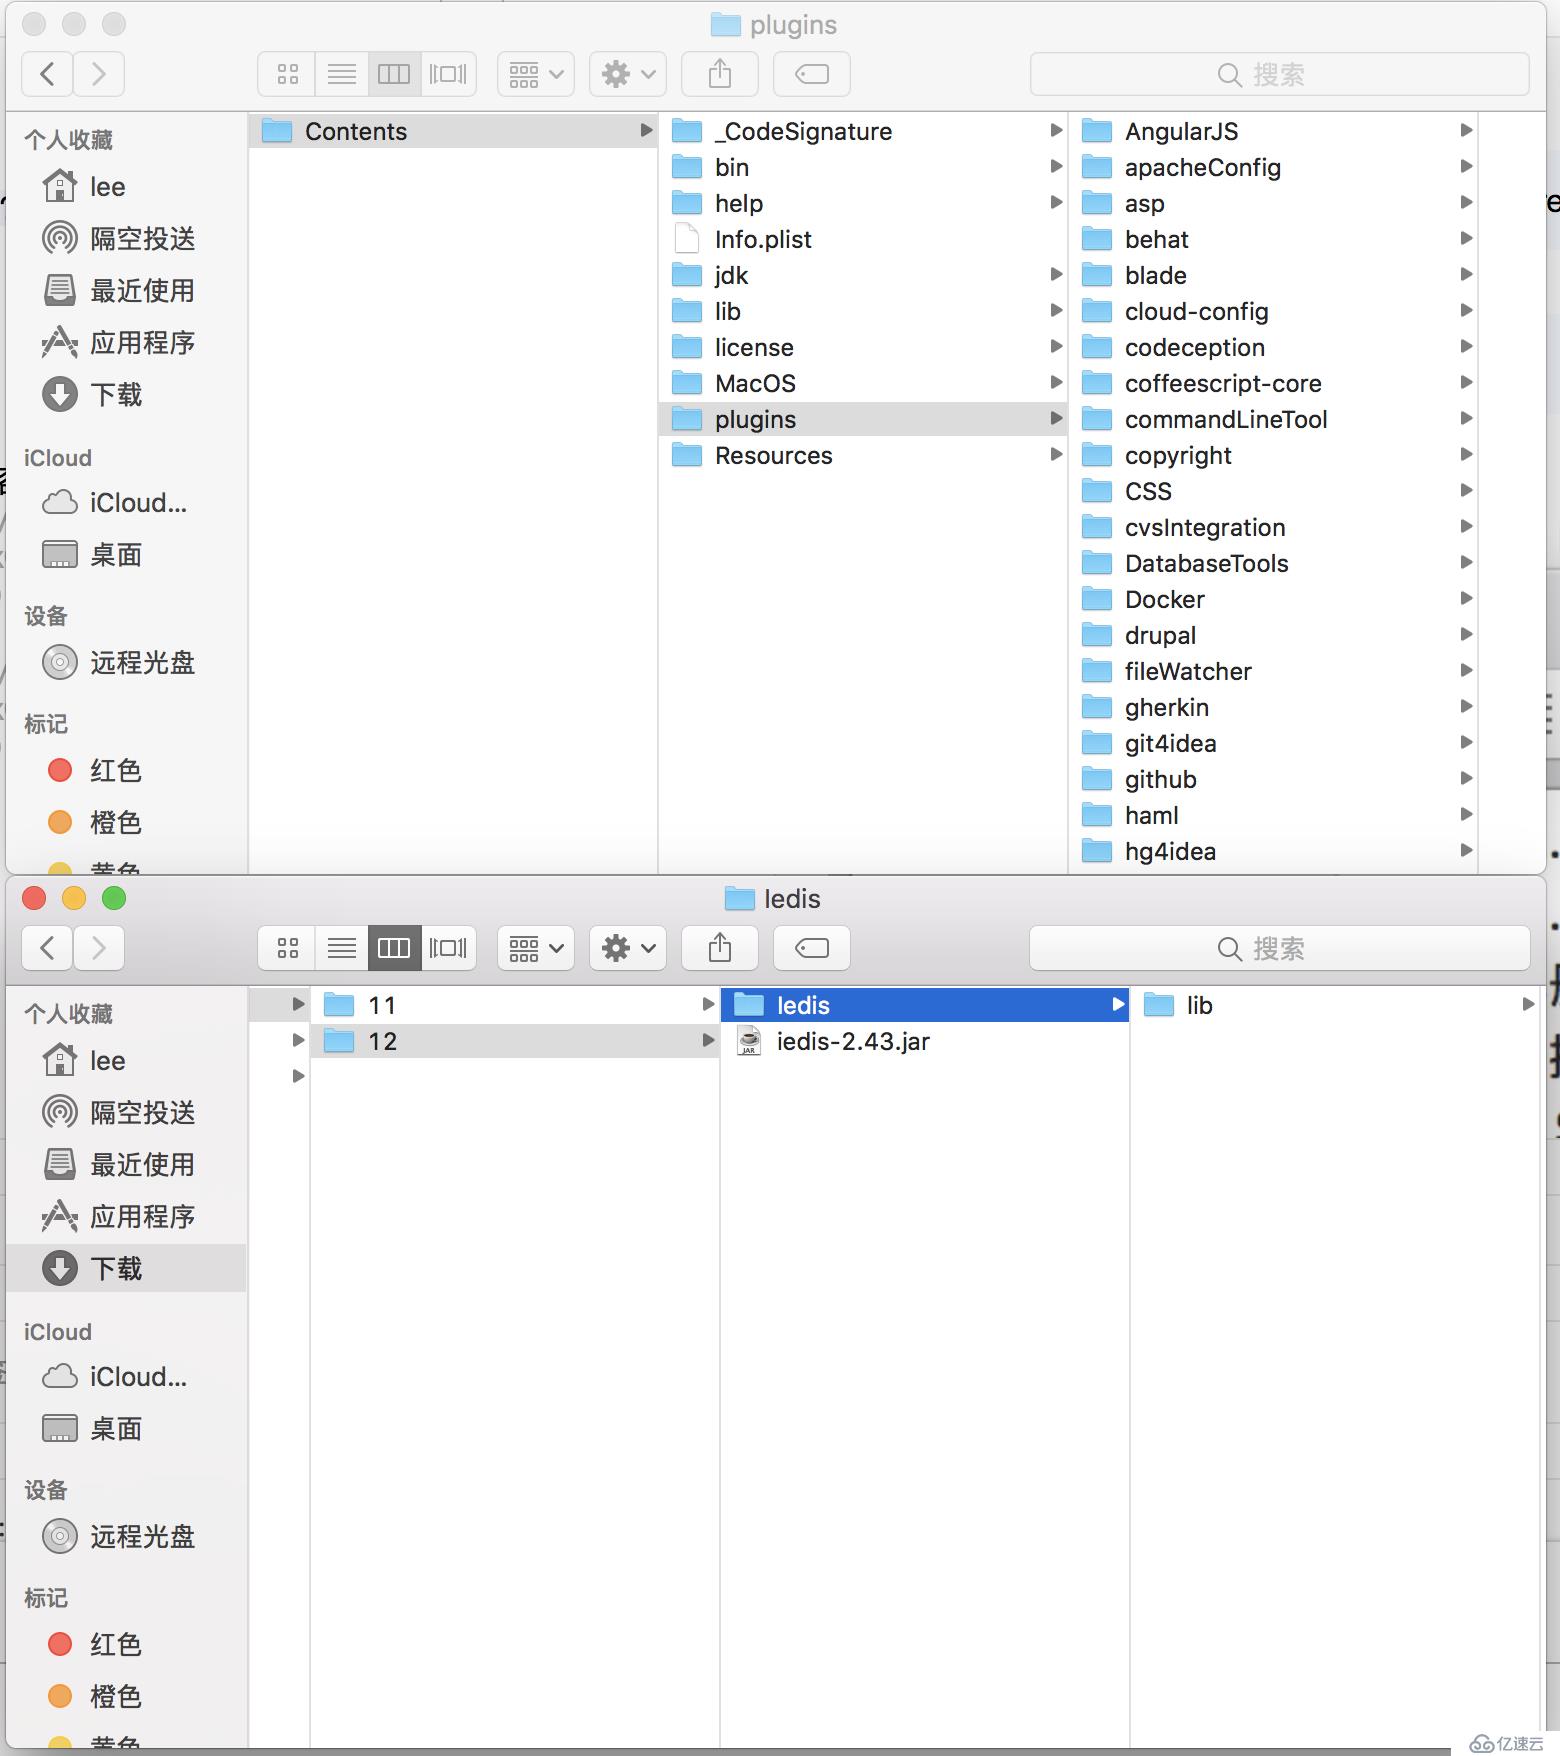
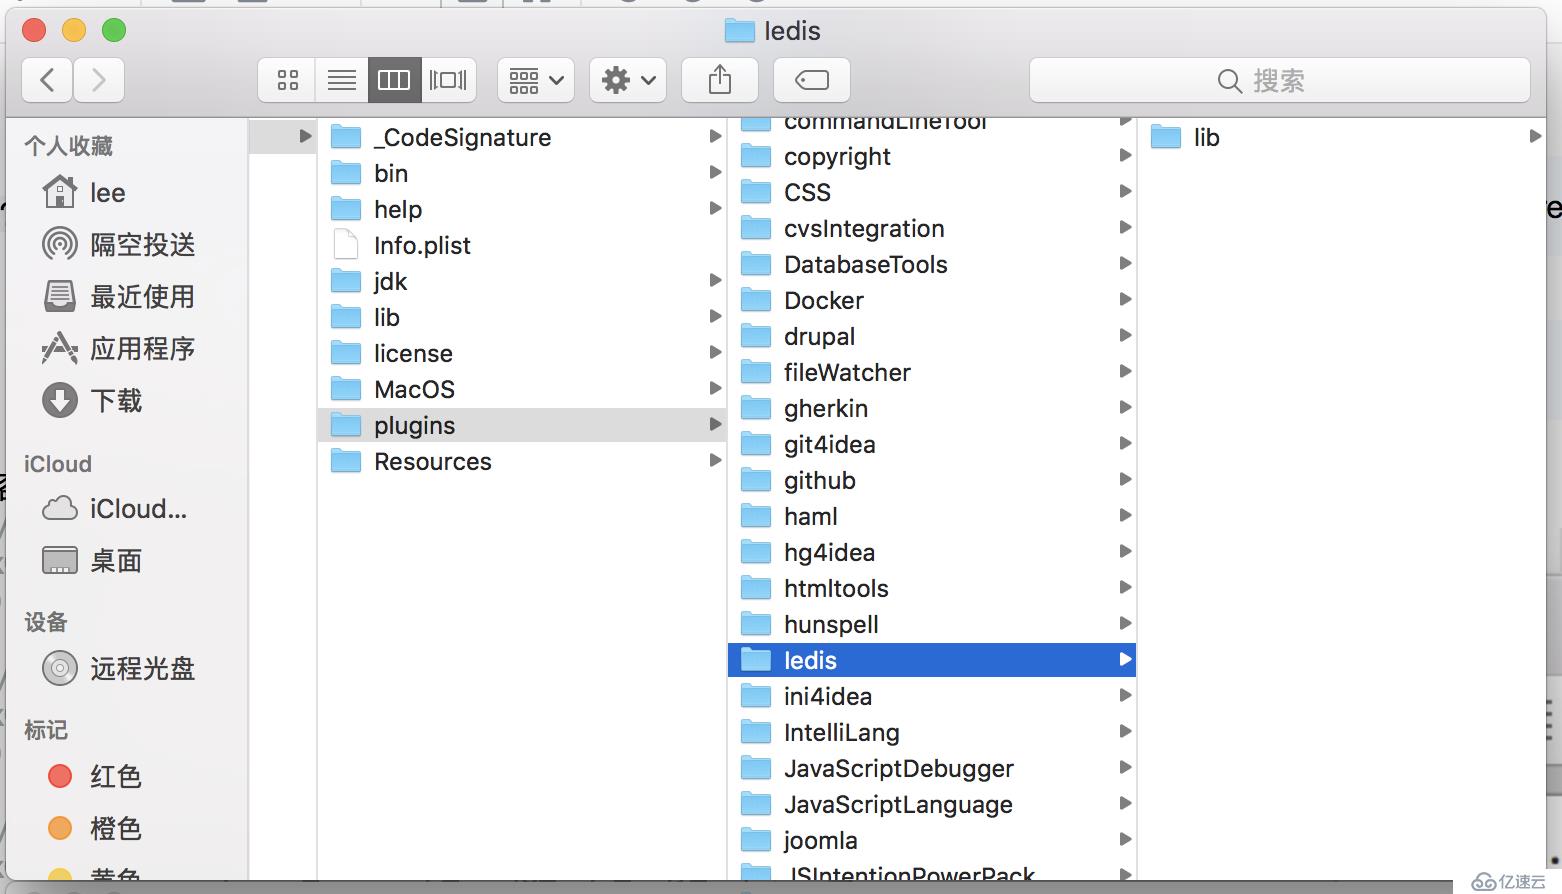
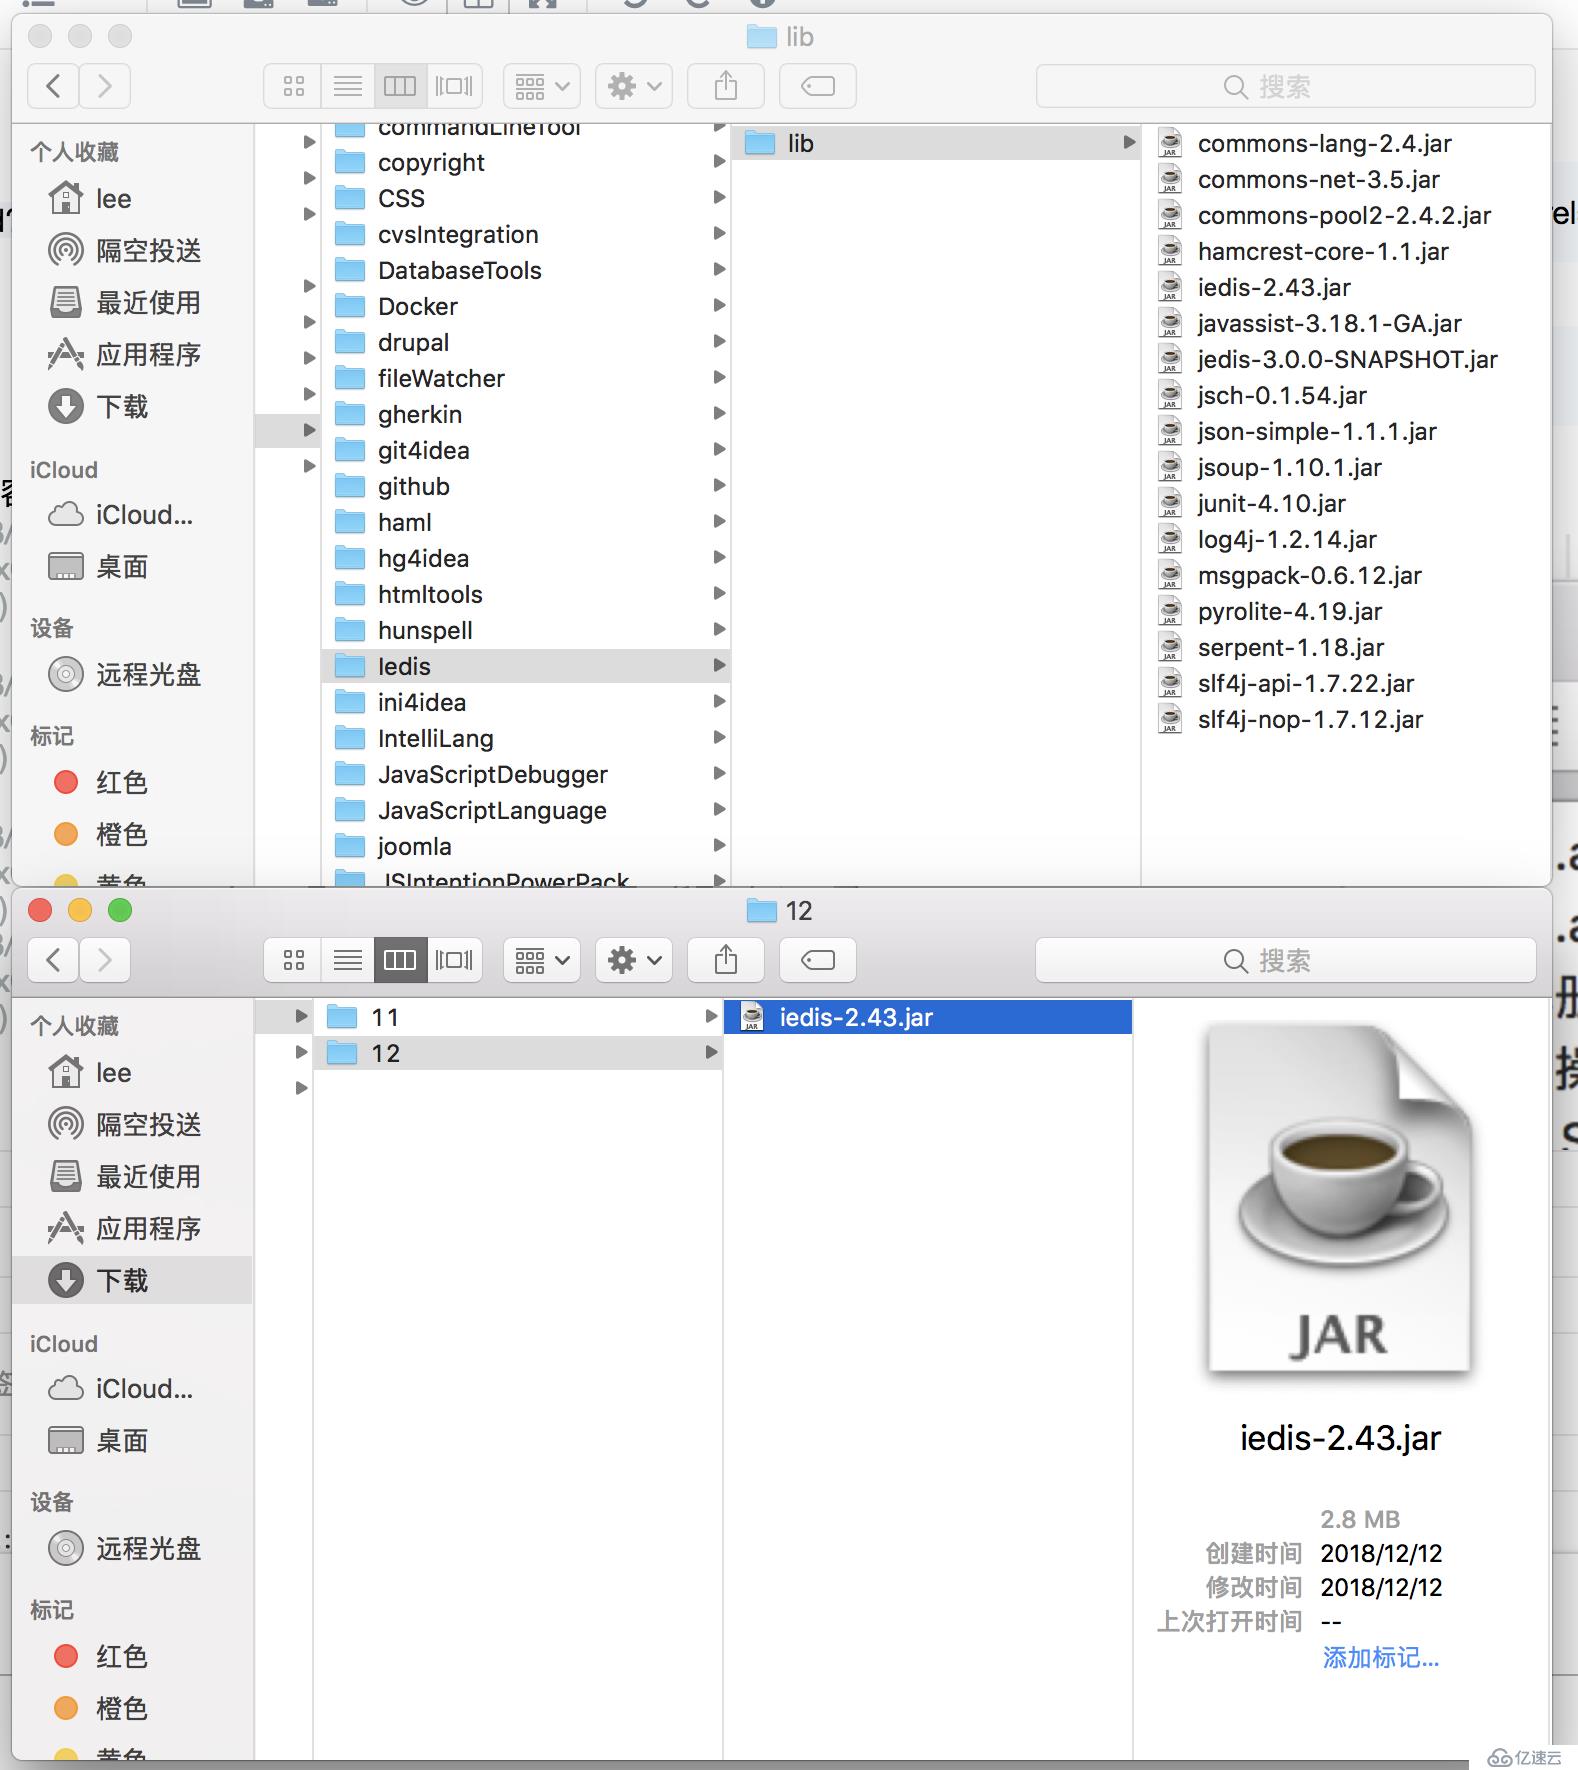
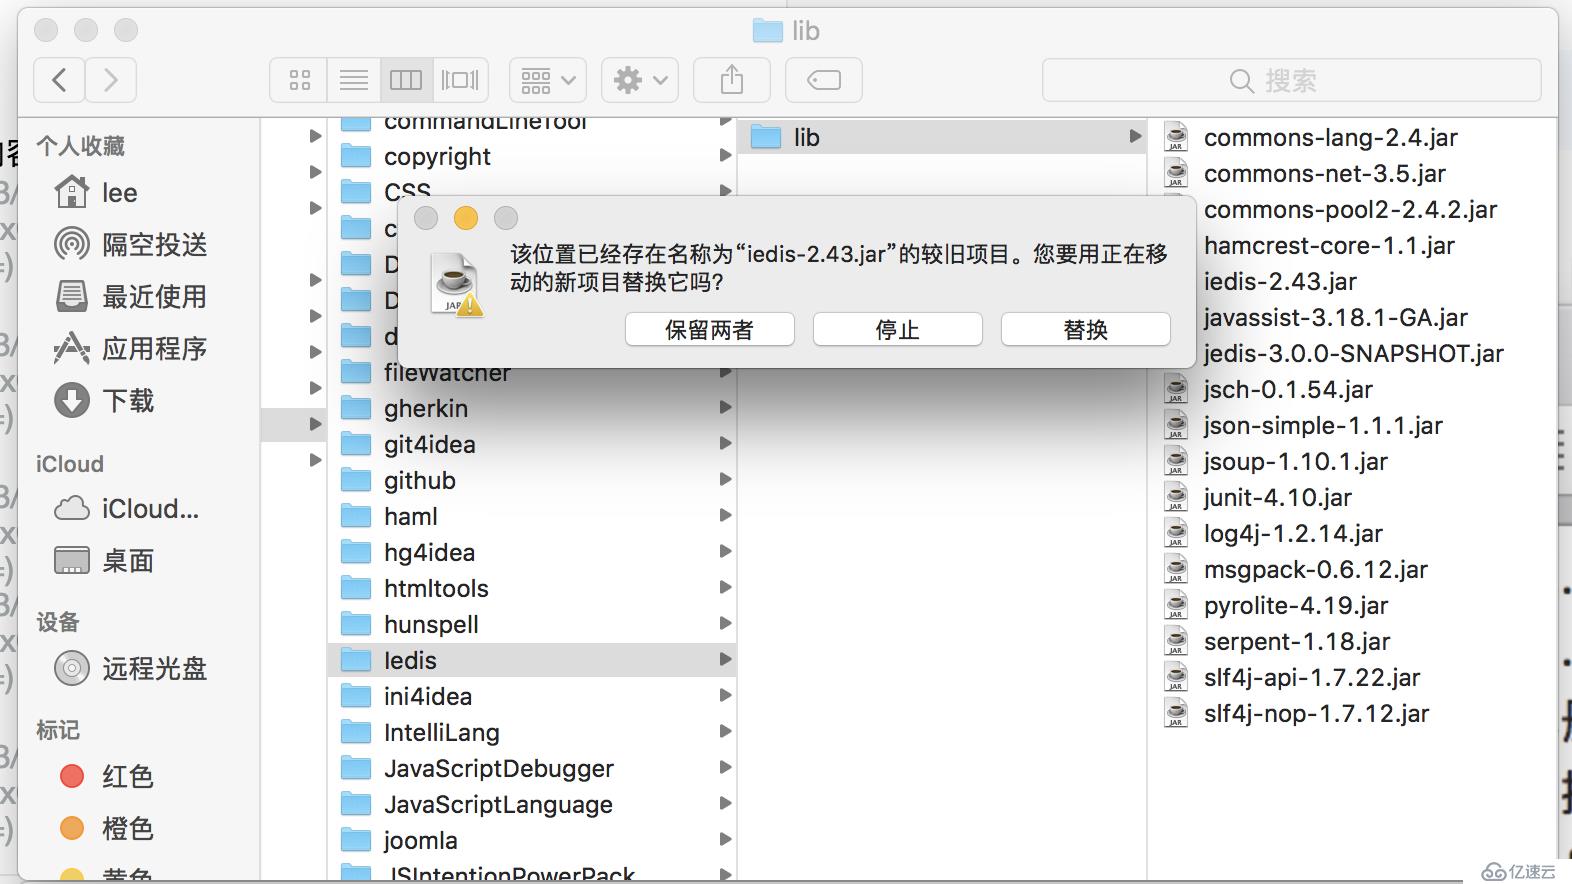
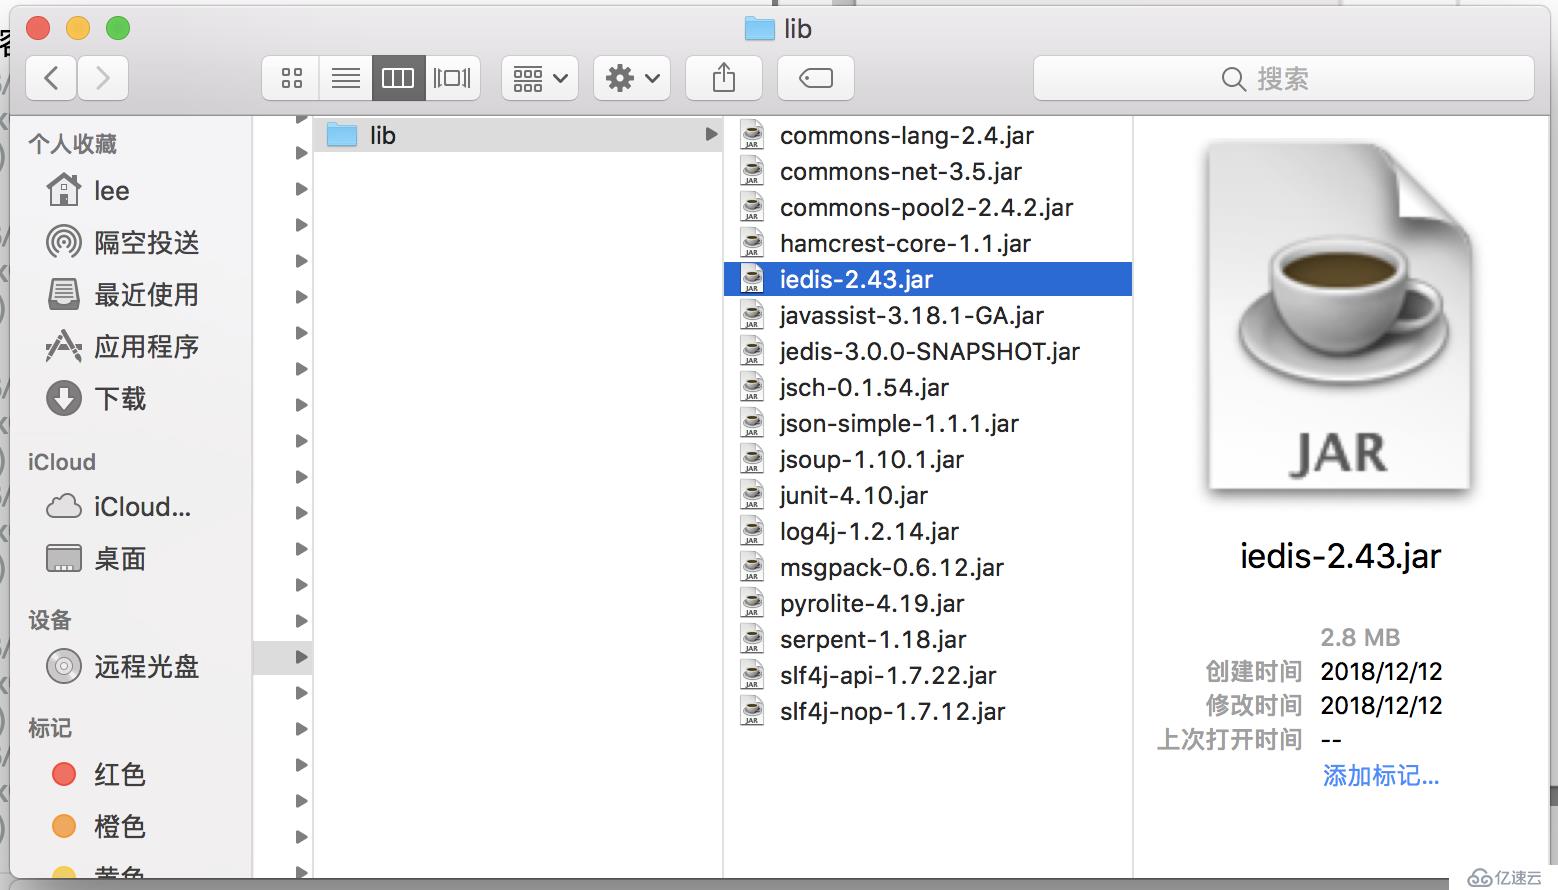
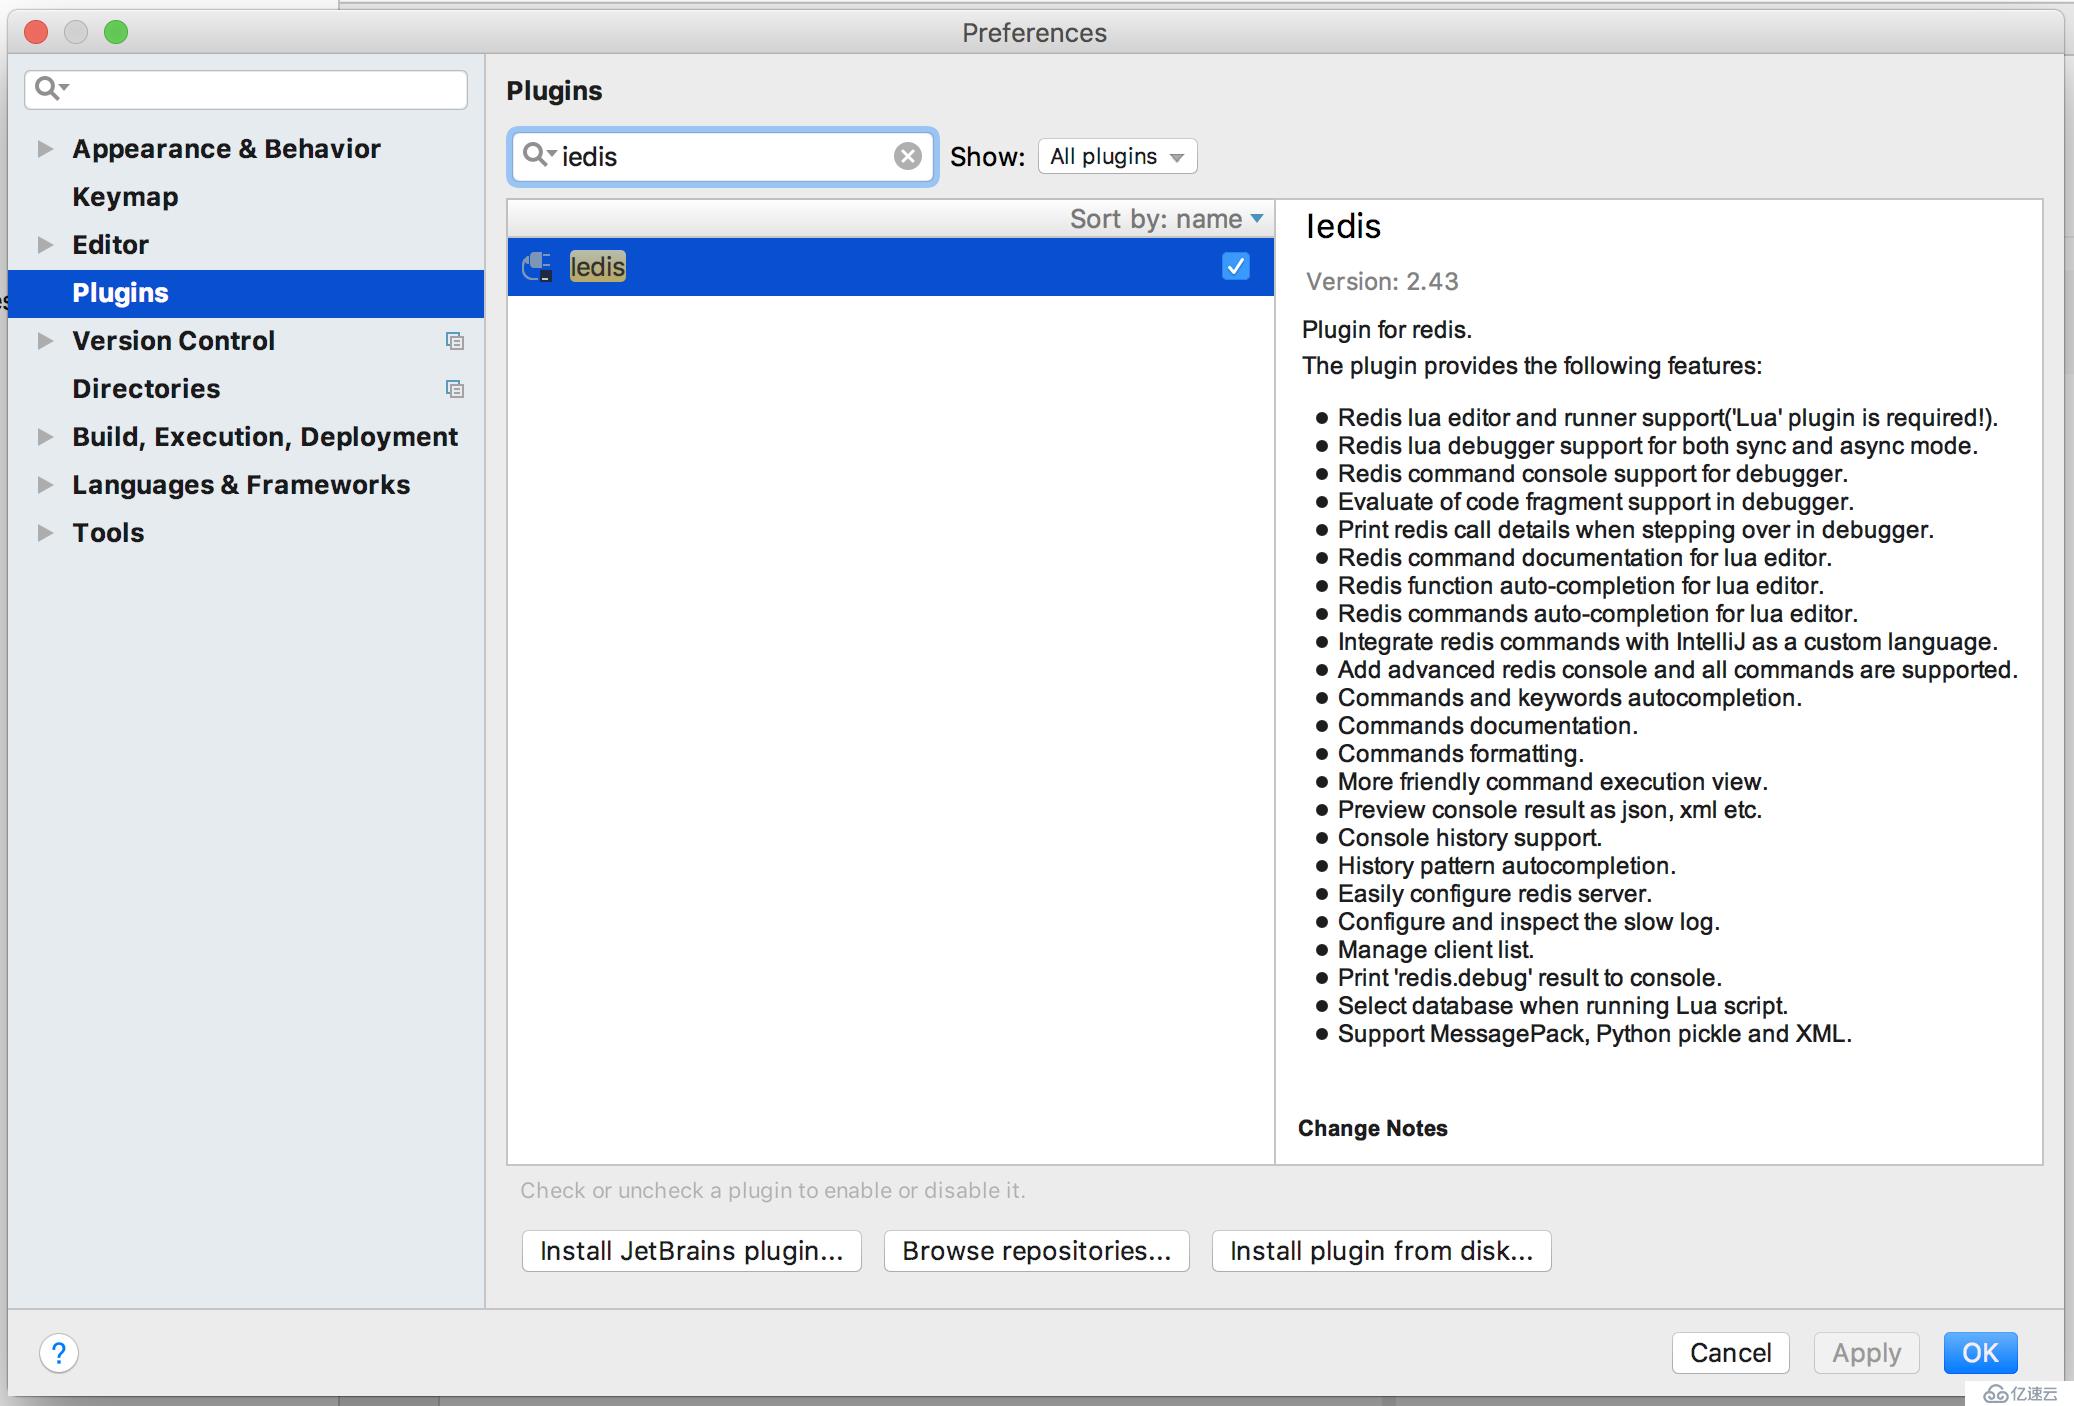
https://plugins.jetbrains.com/plugin/download?rel=true&updateId=41412b. 破解插件:
http://www.awei.org/download/iedis-2.43.jar

免责声明:本站发布的内容(图片、视频和文字)以原创、转载和分享为主,文章观点不代表本网站立场,如果涉及侵权请联系站长邮箱:is@yisu.com进行举报,并提供相关证据,一经查实,将立刻删除涉嫌侵权内容。