您好,登录后才能下订单哦!
密码登录
登录注册
点击 登录注册 即表示同意《亿速云用户服务条款》
这篇文章给大家介绍怎样在Ubuntu18.04中安装MySQL,内容非常详细,感兴趣的小伙伴们可以参考借鉴,希望对大家能有所帮助。
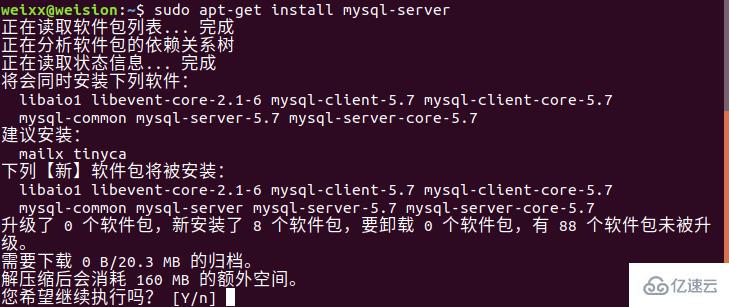
在Ubuntu中,默认情况下,只有最新版本的MySQL包含在APT软件包存储库中,要安装它,只需更新服务器上的包索引并安装默认包apt-get。
#命令1
sudo apt-get update
#命令2
sudo apt-get install mysql-server
sudo mysql_secure_installation
配置项较多,如下所示:
#1
VALIDATE PASSWORD PLUGIN can be used to test passwords...
Press y|Y for Yes, any other key for No: N (我的选项)

#2
Please set the password for root here...
New password: (输入密码)
Re-enter new password: (重复输入)

#3
By default, a MySQL installation has an anonymous user,
allowing anyone to log into MySQL without having to have
a user account created for them...
Remove anonymous users? (Press y|Y for Yes, any other key for No) : N (我的选项)

#4
Normally, root should only be allowed to connect from
'localhost'. This ensures that someone cannot guess at
the root password from the network...
Disallow root login remotely? (Press y|Y for Yes, any other key for No) : Y (我的选项)

#5
By default, MySQL comes with a database named 'test' that
anyone can access...
Remove test database and access to it? (Press y|Y for Yes, any other key for No) : N (我的选项)

#6
Reloading the privilege tables will ensure that all changes
made so far will take effect immediately.
Reload privilege tables now? (Press y|Y for Yes, any other key for No) : Y (我的选项)
systemctl status mysql.service
显示如下结果说明mysql服务是正常的:

在Ubuntu下MySQL缺省是只允许本地访问的,使用workbench连接工具是连不上的;
如果你要其他机器也能够访问的话,需要进行配置;
sudo mysql -uroot -p
登入root进行其他设置:

GRANT ALL PRIVILEGES ON *.* TO root@localhost IDENTIFIED BY "123456";

其中root@localhos,localhost就是本地访问,配置成%就是所有主机都可连接;
第二个'123456'为你给新增权限用户设置的密码,%代表所有主机,也可以是具体的ip;
不过这随设置了%但我root通过工具还是登陆不进去,可能是为了安全性,所以新建数据库和用户;
用root用户新建数据和用作远程访问的用户
##1 创建数据库weixx
CREATE DATABASE weixx;
##2 创建用户wxx(密码654321) 并允许wxx用户可以从任意机器上登入mysql的weixx数据库
GRANT ALL PRIVILEGES ON weixx.* TO wxx@"%" IDENTIFIED BY "654321";
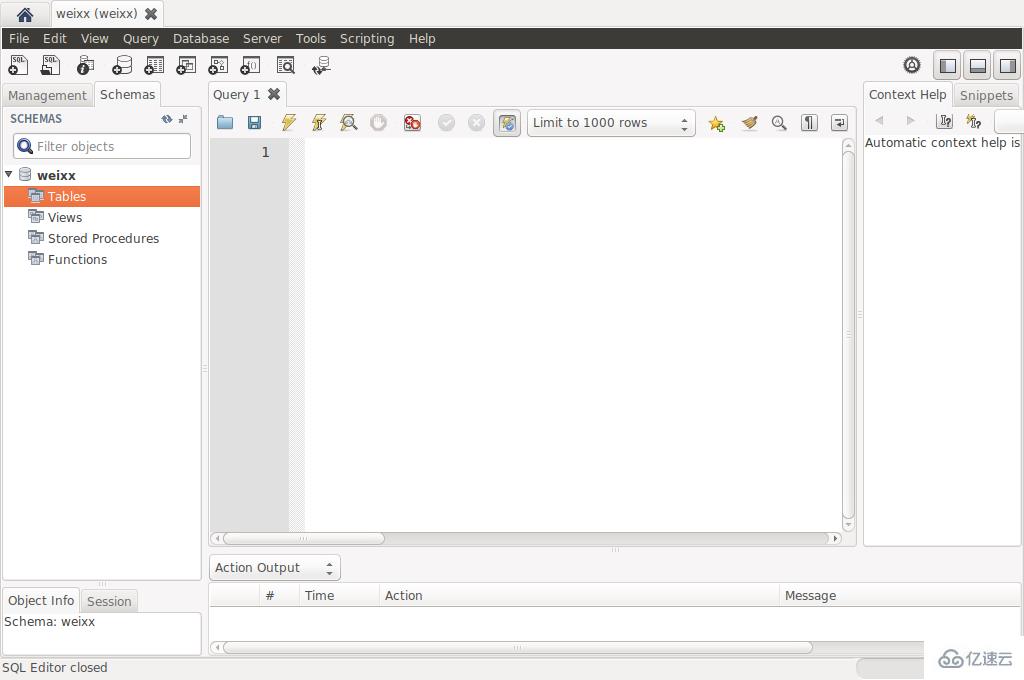
打开workbench进行连接配置:
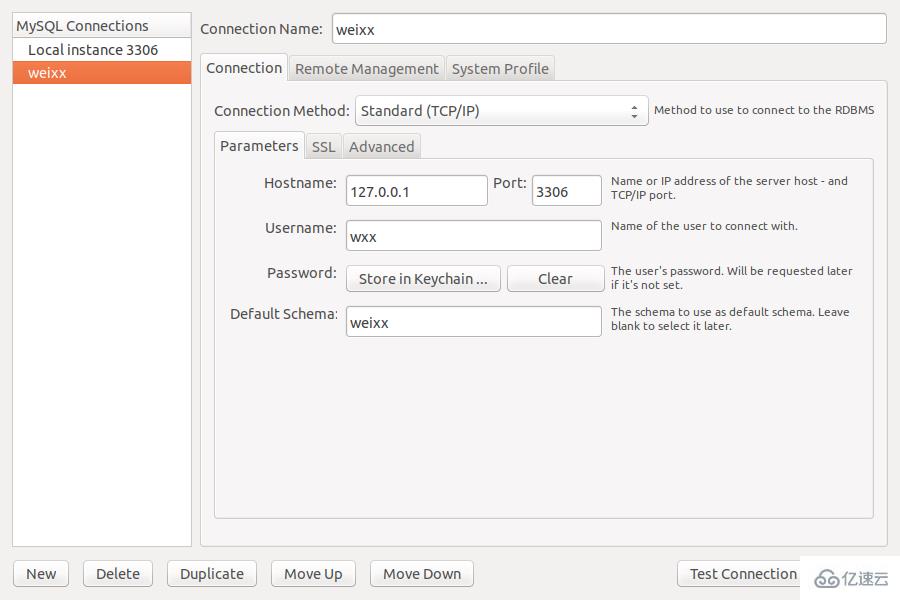
配置完成后,在主界面选择weixx数据库进行连接:
关于怎样在Ubuntu18.04中安装MySQL就分享到这里了,希望以上内容可以对大家有一定的帮助,可以学到更多知识。如果觉得文章不错,可以把它分享出去让更多的人看到。
免责声明:本站发布的内容(图片、视频和文字)以原创、转载和分享为主,文章观点不代表本网站立场,如果涉及侵权请联系站长邮箱:is@yisu.com进行举报,并提供相关证据,一经查实,将立刻删除涉嫌侵权内容。