您好,登录后才能下订单哦!
这篇文章将为大家详细讲解有关如何使用react+antd搭建项目,小编觉得挺实用的,因此分享给大家做个参考,希望大家阅读完这篇文章后可以有所收获。
node.js -v 12.16.3
create-react-app -v 3.4.1
antd -v 4.3.3
项目开始前请自行全局安装create-react-app,macos请在指令前加上sudo不然会有报错说没有权限访问硬盘。
npm install -g create-react-app
初始化项目直接使用脚手架工具create-react-app的指令,本文接下来使用的是tsx。如需jsx版本,请跳过模板设置。这里简单介绍一下jsx,jsx是javascript的语法糖。他是react打造的,react为了做到多平台自己在js的基础上封装了一些合成事件。例如react中的onClick事件其实和原生js的click事件是不太一样的。
jsx版本的指令为:
npx create-react-app project-name
tsx版本如下:

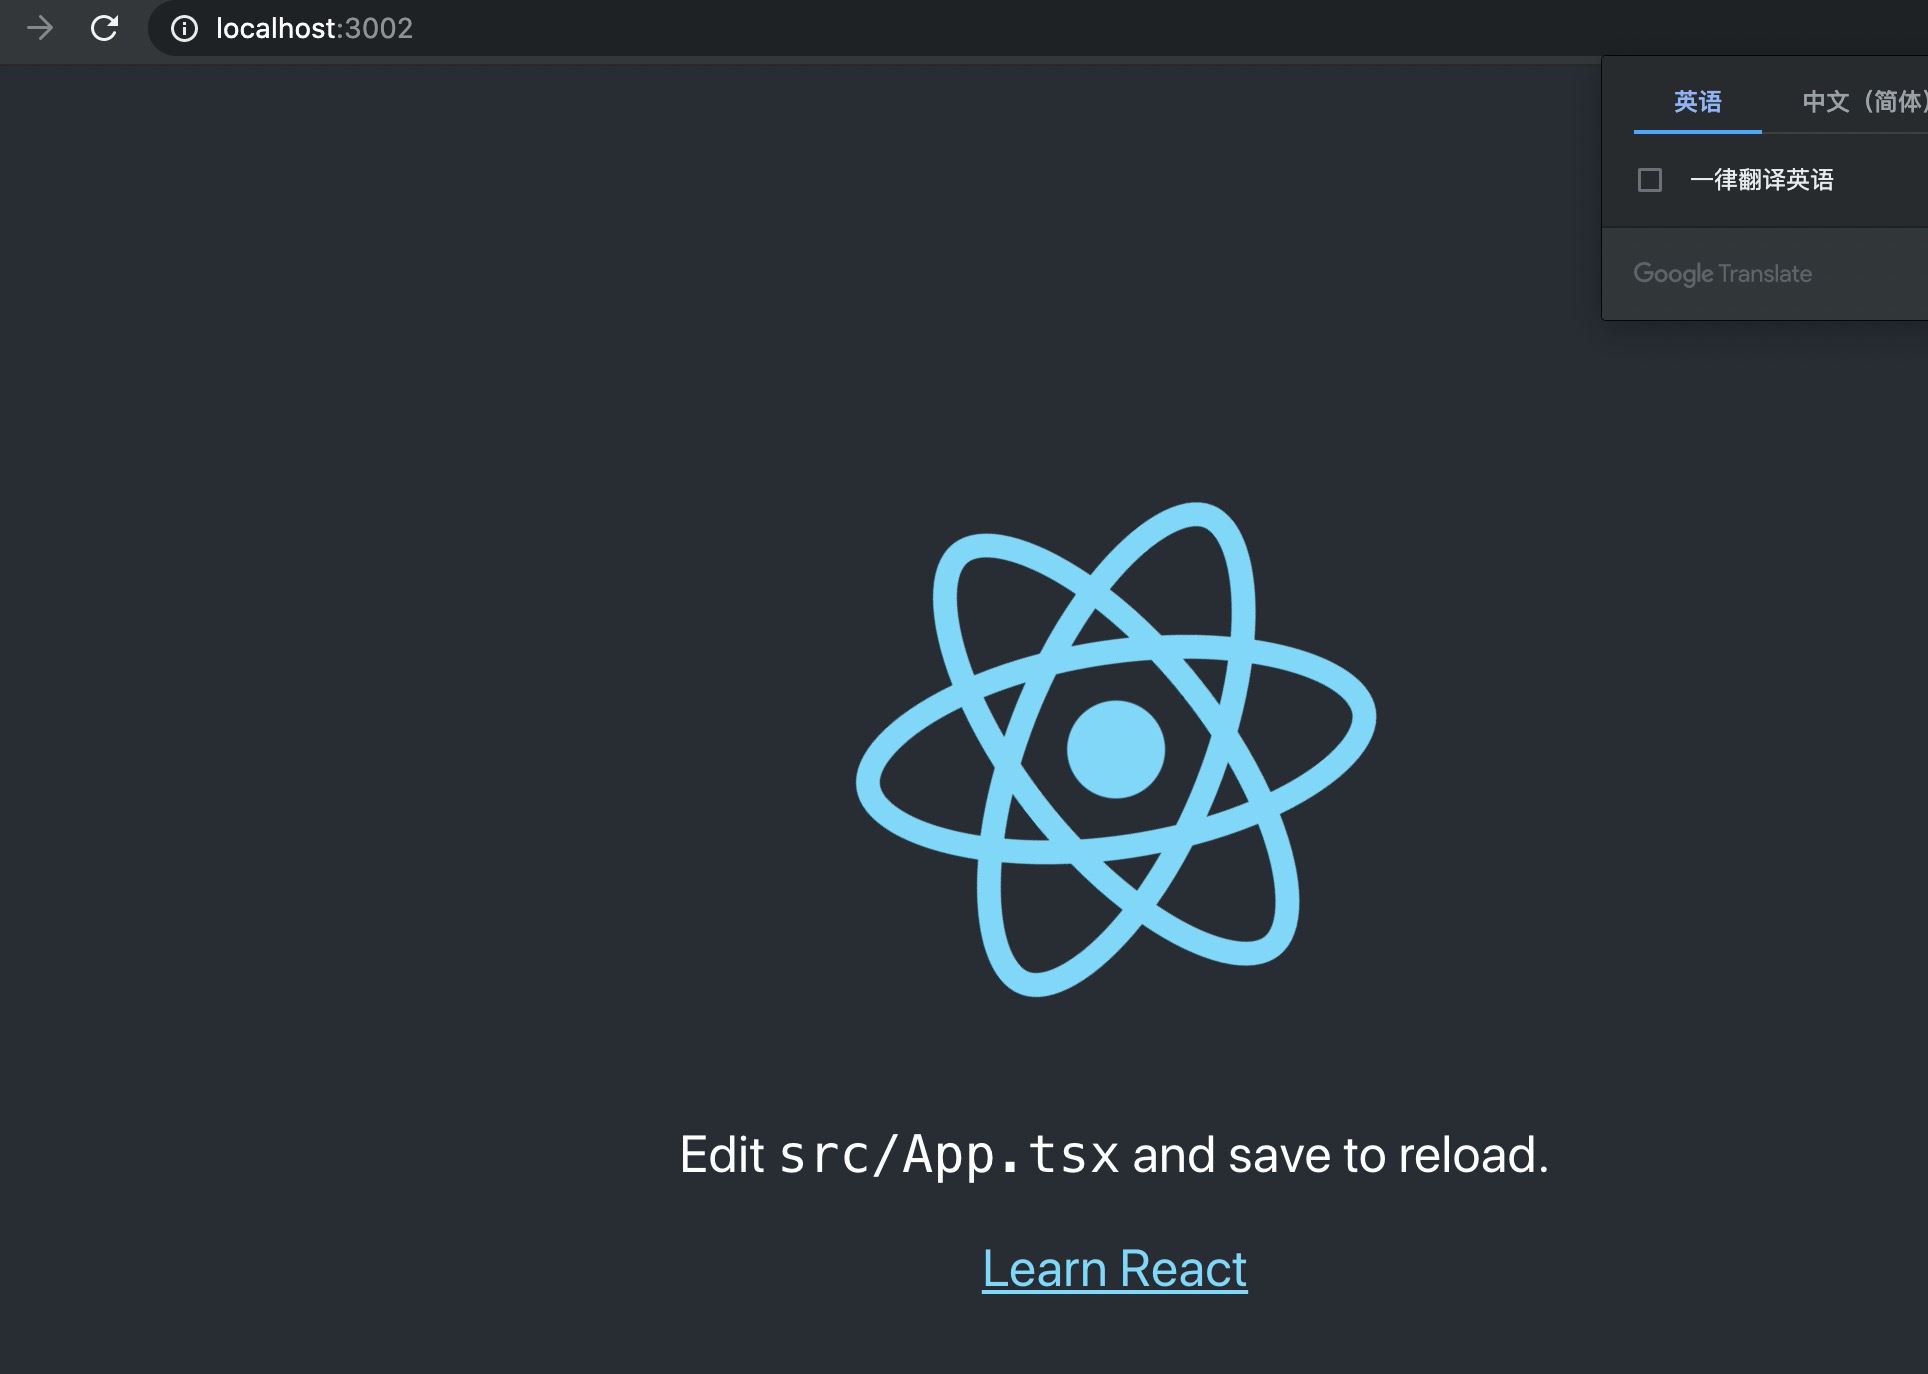
等待安装完成后,项目的初始化工作已经完成了。
现在进入项目目录:cd react-admin(这里替换为你的项目名称),执行指令进入开发模式吧。
npm start

接下来我们进入正题,由于react默认没有router功能,所以需要安装react-router、react-router-dom。
如果需要状态管理的同学可以安装redux、react-redux、redux-actions。
需要按需加载的同学可以安装@loadable/component,注意ts版本可能会报错,创建一个loadable.d.ts的文件里面写上以下代码即可解决。
declare module '@loadable/component'
需要使用loadash的同学自行安装loadash。
接下来安装antd组建库。
npm i antd react-router react-router-dom redux react-redux redux-actions @types/redux-actions @types/react-router-dom @loadable/component axios loadash --save
create-react-app默认是使用sass的,如需使用less等其他css预处理器,请自行安装。
另外这里简单说个题外话。create-react-app默认使用的是react-scripts,是不能修改webpack配置的。如果需要修改webpack配置,有两种解决方案:
1、使用社区的第三方库比如react-app-rewired等。
2、执行指令:npm run eject这样会在当前目录生成scripts和config文件夹。你可以修改webpack的配置。注意:该操作为永久性的,不可逆。
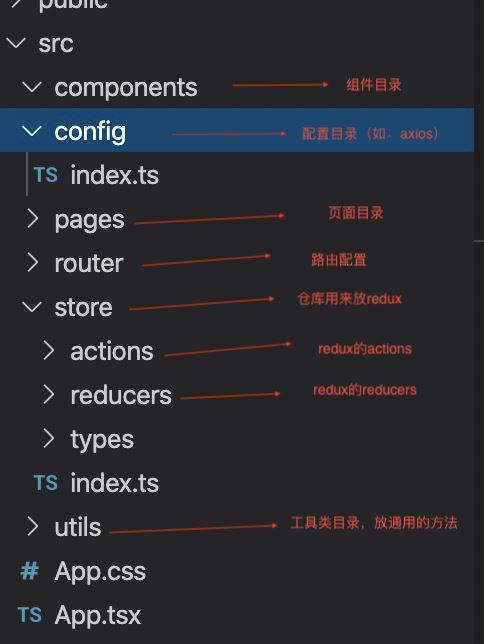
话归正题,安装完这些基础库以后。初始化你的项目目录,这里可以根据自己的喜好设置目录结构,我的目录结构如下:

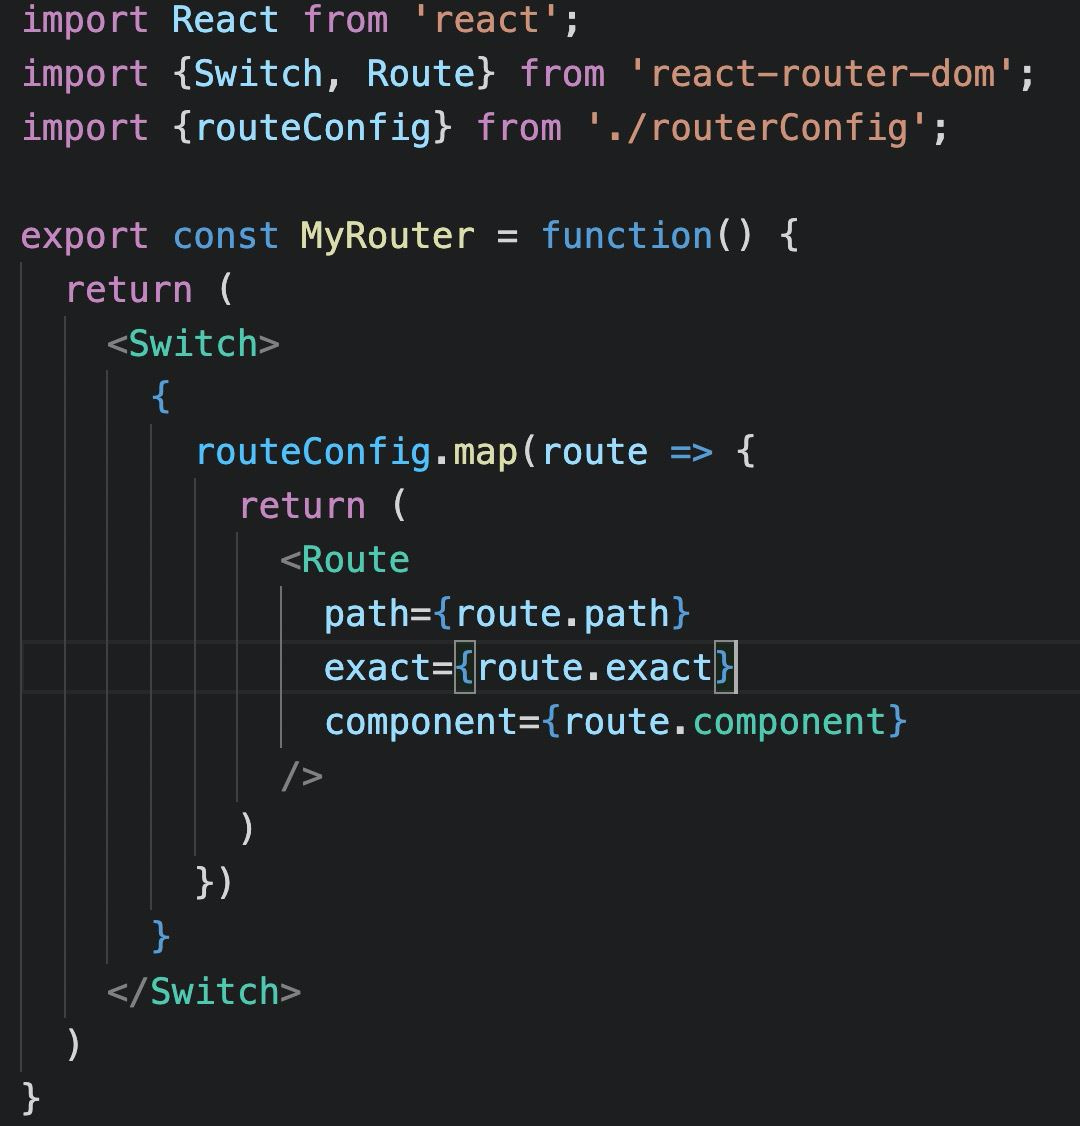
接下来打开router目录写router.tsx的代码。这里只展示主要代码:

接下来就可以使用数组来完成route的配置了,例如:
import loadable from '@loadable/component';
import { RouteComponentProps } from 'react-router';

const Index = loadable(() => import('../pages/index'));
const Login = loadable(() => import('../pages/login'));

export interface RouteConfigProps {
  path: string,
  exact: boolean,
  component: React.ComponentType<RouteComponentProps<any>> | React.ComponentType<any>,
  id: number,
  name?: string,
  routes?: Array<RouteConfigProps>
}
export const routeConfig: Array<RouteConfigProps> = [
  {
    path: '/login',
    exact: true,
    component: Login,
    id: 1,
    name: '登陆',
    routes: []
  },
  {
    path: '/index',
    exact: false,
    component: Index,
    id: 2,
    name: '首页',
    routes: []
  }
]
接下来就去app.tsx里面引入路由配置吧,顺便把antd的一些配置也整理一下。
import React from 'react';
import { Provider } from 'react-redux'; // redux提供的provider。
import zhCN from 'antd/es/locale-provider/zh_CN'; // antd的中文包
import { HashRouter } from 'react-router-dom';
import { MyRouter } from './router'; // 刚才的router.tsx
import { ConfigProvider, message, notification } from 'antd';
import storeConfig from './store'; // redux的仓库
import moment  from 'moment'; // momentjs。
import 'moment/locale/zh-cn'; // 中文包moment.js
import 'antd/dist/antd.css'; // 引入antd的样式表
import './App.css'
moment.locale('zh-cn'); // 将moment.js设置为中文

const store = storeConfig(); // 初始化redux的store,如不需要状态管理器,redux相关可以忽略。

message.config({ // antd的message组件配置,during持续时间单位为秒,maxcount最多显示个数
  duration: 2,
  maxCount: 2
});
notification.config({
  placement: 'topRight', // antd的通知组件配置,placement弹出位置。bottom距离底部的距离,during持续时间单位为秒
  bottom: 50,
  duration: 2,
});
function App() {
  return (
    <Provider store={store}>
      <ConfigProvider locale={zhCN}>
        <HashRouter>
          <MyRouter />
        </HashRouter>
      </ConfigProvider>
    </Provider>
  );
}

export default App;
这样就大功告成了,接下来就是编写自己需要的组件了。
关于“如何使用react+antd搭建项目”这篇文章就分享到这里了,希望以上内容可以对大家有一定的帮助,使各位可以学到更多知识,如果觉得文章不错,请把它分享出去让更多的人看到。
免责声明:本站发布的内容(图片、视频和文字)以原创、转载和分享为主,文章观点不代表本网站立场,如果涉及侵权请联系站长邮箱:is@yisu.com进行举报,并提供相关证据,一经查实,将立刻删除涉嫌侵权内容。