您好,登录后才能下订单哦!
这篇文章将为大家详细讲解有关Ubuntu如何安装Froxlor服务器管理面板,小编觉得挺实用的,因此分享给大家做个参考,希望大家阅读完这篇文章后可以有所收获。
关于Froxlor
Froxlor 是一款服务器管理面板用于管理多用户服务器。可以被用来管理域名服务、电子邮件帐户或Web服务器等,这是一款除 cPanel 或webmin 以外的一个很好的选择。
功能:
◆Enable customers to store ssl certificates per domain and determine which port should use ssl.
◆You can choose which IP address and which port should be used per domain.
◆Comes with an added layer of customer management, allow customers to create support tickets and enable them to reply within froxlor with online/offline indicator.
◆Comes with customizable themes, you can create your own themes.
◆Save diffrent php configuration and choose which php.ini should be used.
◆All http, mail and ftp traffic logs are stored and could be monitored with via interactive graphs.
◆Users can upload or download theirs files directory via browser with the help of web-ftp.
安装 Froxlor
本安装教程安装系统环境为 Ubuntu 15.04。你必须安装如 MySQL、Apache、或Python包等所有先决条件。
添加 froxlor 库、更新及安装命令:
sudo add-apt-repository "deb http://debian.froxlor.org wheezy main" sudo apt-get update sudo apt-key adv --keyserver pool.sks-keyservers.net --recv-key FD88018B6F2D5390D051343FF6B4A8704F9E9BBC sudo apt-get install froxlor php5-curl
在安装过程中,你会被要求输入一些细节。首先,提供了MySQL的密码:

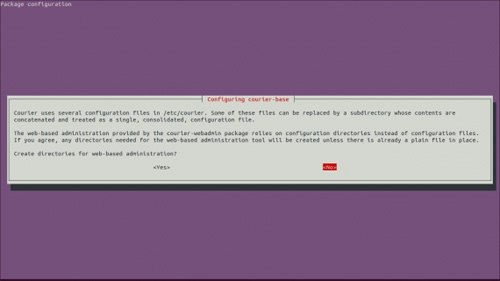
如下界面输入 yes 并回车:
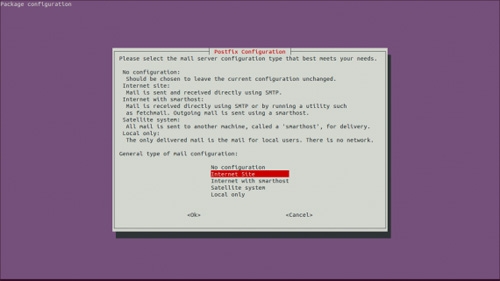
选择 Internet Site (默认),回车:
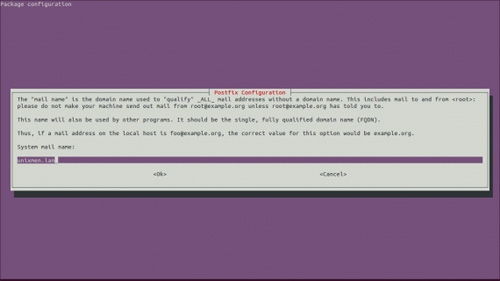
设置mail名:
保持ProFTPD的默认选项,默认情况下。
重启apache服务:
sudo /etc/init.d/apache2 restart
打开浏览器并输入:http://IP地址/froxlor
重要提示:到了这一步,出现Web服务器的404错误,我只需要移动froxlor目录,froxlor包默认安装在/var/WWW移动到/var/www/html,然后打开浏览器继续,点击安装按钮。
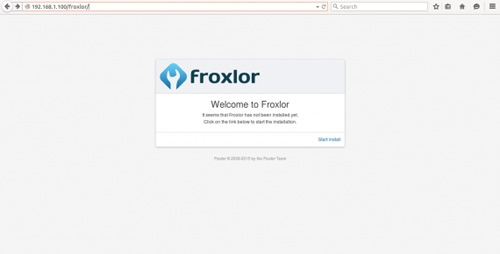
验证所有要求是否满足与否,然后点击继续。
提供所需的Mysql,FQDN,管理等凭证,点击下一步。
确保所有的服务都是功能性的,点击下一步。
登录的用户名是:admin,密码安装时指定由你。
仪表板将类似于下面。
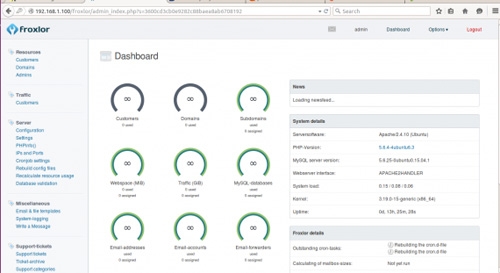
OK,安装完毕,现在你可以看看里面的具体功能了。
关于“Ubuntu如何安装Froxlor服务器管理面板”这篇文章就分享到这里了,希望以上内容可以对大家有一定的帮助,使各位可以学到更多知识,如果觉得文章不错,请把它分享出去让更多的人看到。
免责声明:本站发布的内容(图片、视频和文字)以原创、转载和分享为主,文章观点不代表本网站立场,如果涉及侵权请联系站长邮箱:is@yisu.com进行举报,并提供相关证据,一经查实,将立刻删除涉嫌侵权内容。