您好,登录后才能下订单哦!
密码登录
登录注册
点击 登录注册 即表示同意《亿速云用户服务条款》
使用PXE+Dhcp+Apache+KickStart进行无人值守安装RHEL 5.9
一、yum需要配置好
vim /root/yumresoure.sh
#!/bin/bash
[ -d /data/yum/ ] || mkdir -p /data/yum/
mv /etc/yum.repos.d/* /data/yum/
rm -rf /etc/yum.repos.d/*
echo [rhel-data] >/etc/yum.repos.d/rhel-source.repo
echo name=RHEL5 data >> /etc/yum.repos.d/rhel-source.repo
echo baseurl=file:///media/Server >>/etc/yum.repos.d/rhel-source.repo
echo enabled=1 >> /etc/yum.repos.d/rhel-source.repo
echo gpgcheck=0 >> /etc/yum.repos.d/rhel-source.repo
vim /root/yum.sh
#!/bin/bash
umount /dev/cdrom
mount /dev/cdrom /media
bash /root/yumresoure.sh
bash /root/yum.sh
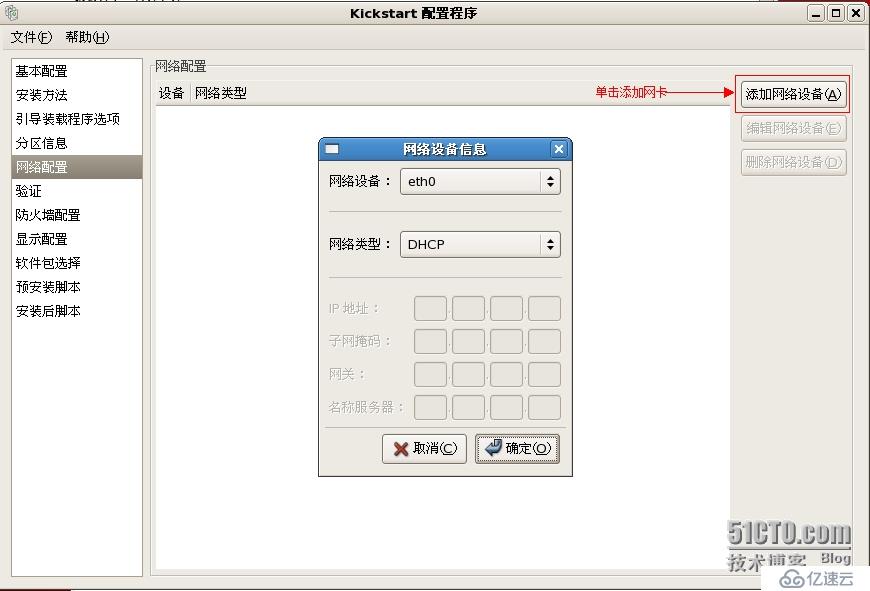
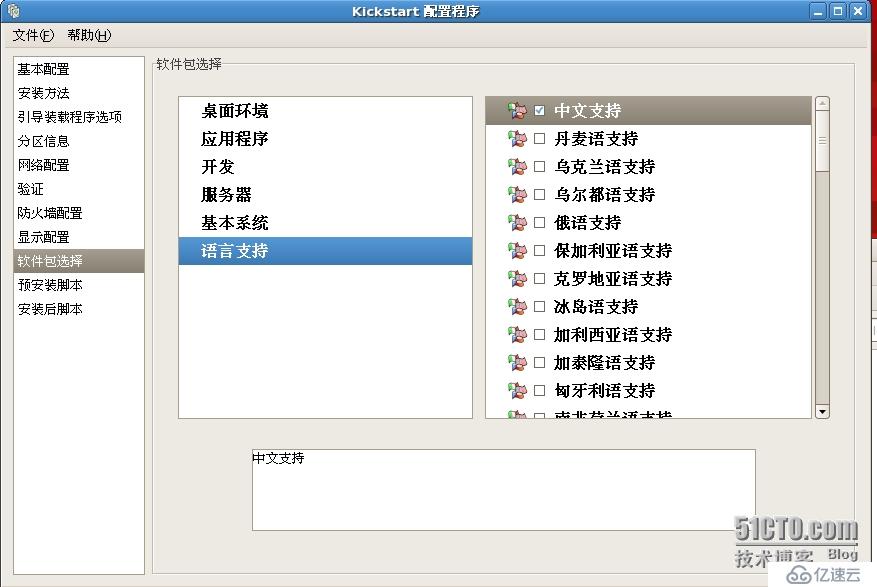
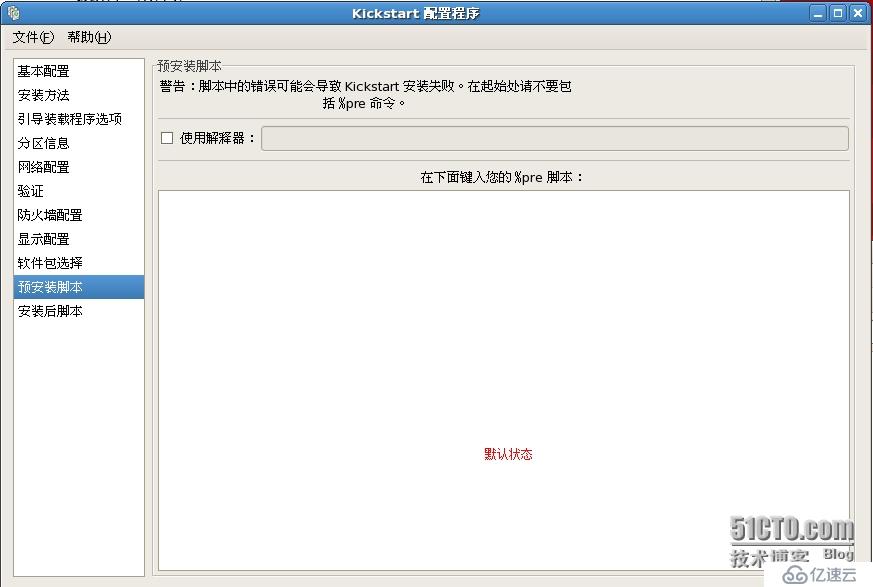
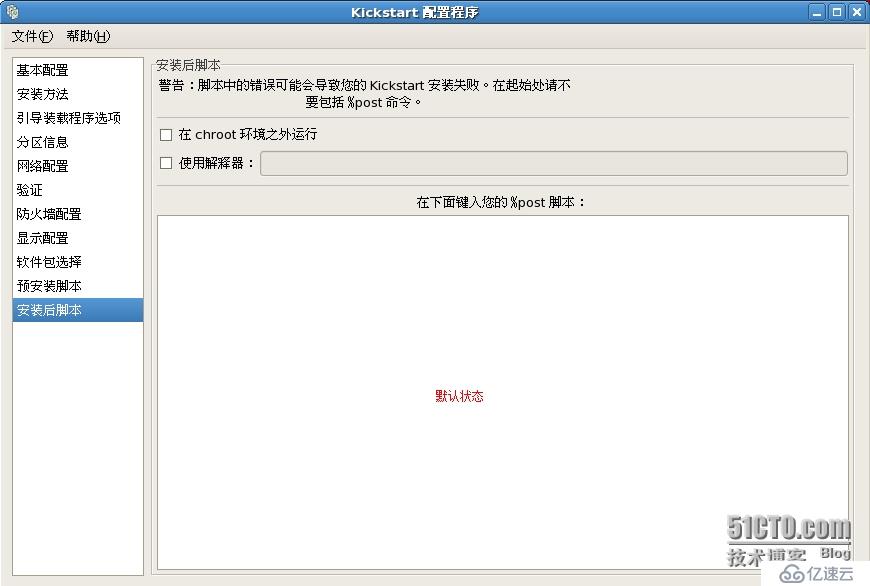
二、安装kickstart服务
yum install -y system-config-kickstart.noarch
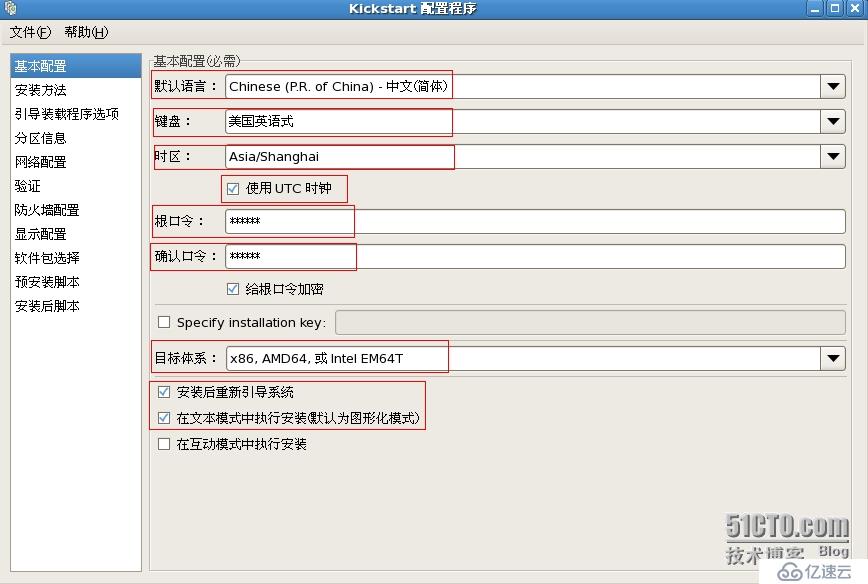
system-config-kickstart

三、安装httpd服务
yum install -y httpd
mkdir /var/www/html/rhel5.9
cp -r /media/* /var/www/html/rhel5.9/
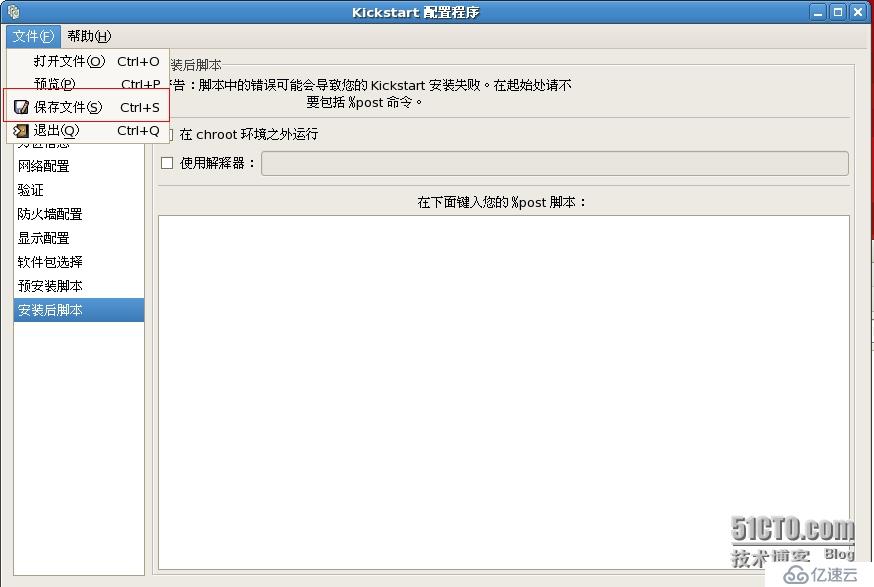
cp /root/ks.cfg /var/www/html/rhel5.9/
vim /var/www/html/rhel5.9/ks.cfg
#platform=x86, AMD64, 或 Intel EM64T
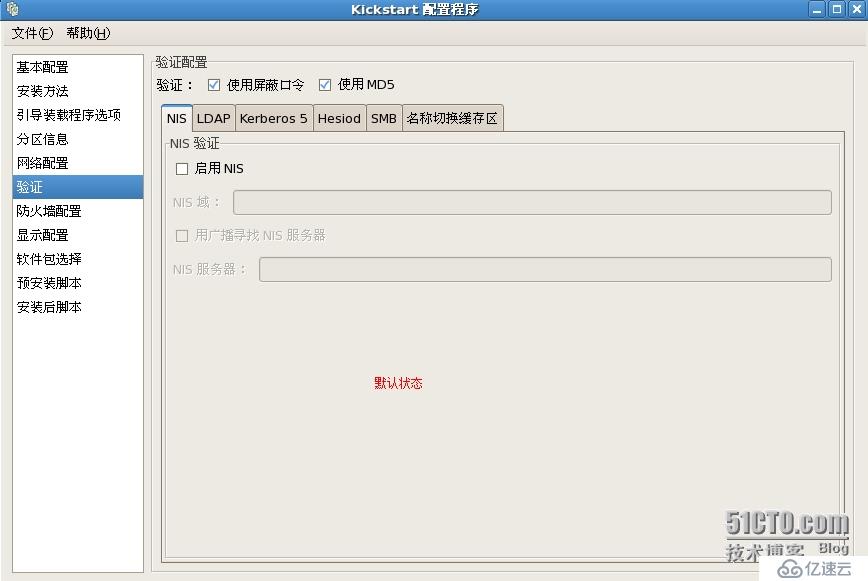
# System authorization information
auth --useshadow --enablemd5
key --skip
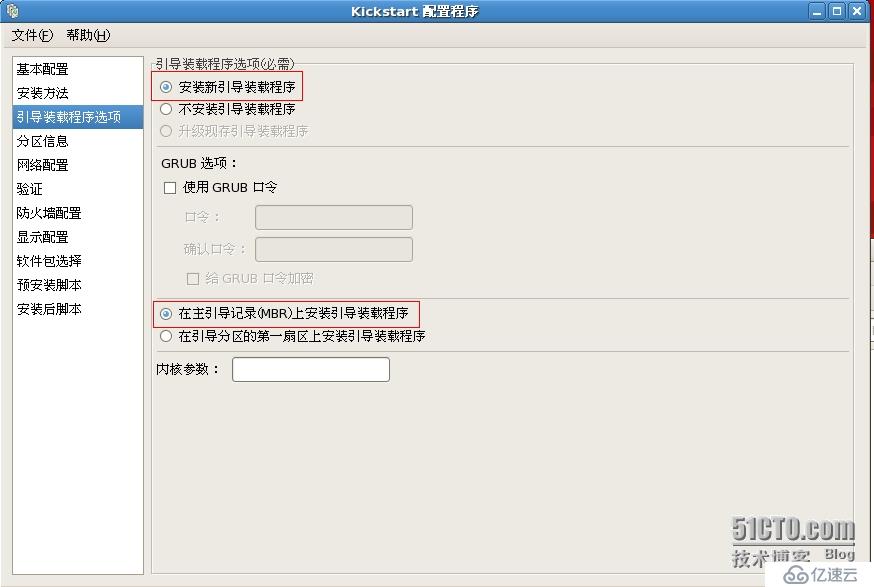
# System bootloader configuration
bootloader --location=mbr
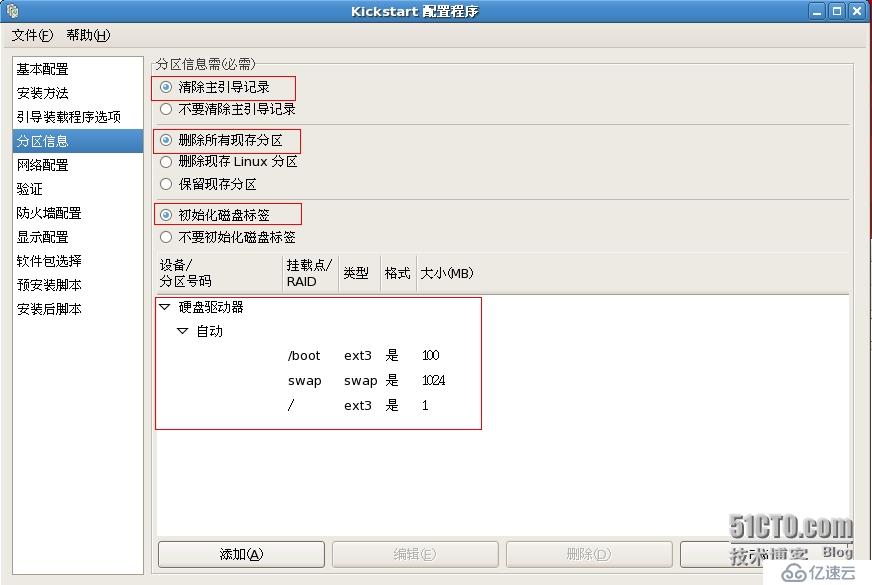
# Clear the Master Boot Record
zerombr
# Partition clearing information
clearpart --all --initlabel
# Use text mode install
text
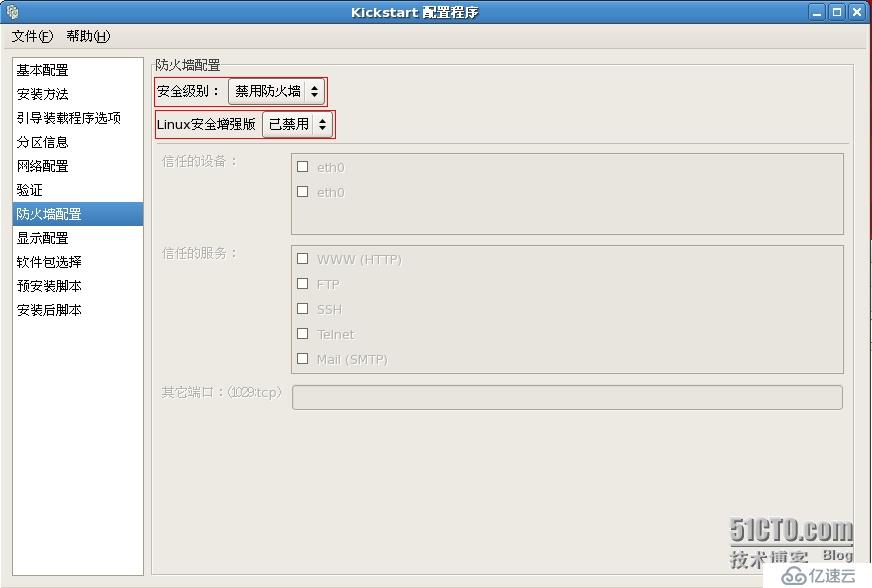
# Firewall configuration
firewall --disabled
# Run the Setup Agent on first boot
firstboot --disable
# System keyboard
keyboard us
# System language
lang zh_CN
# Installation logging level
logging --level=info
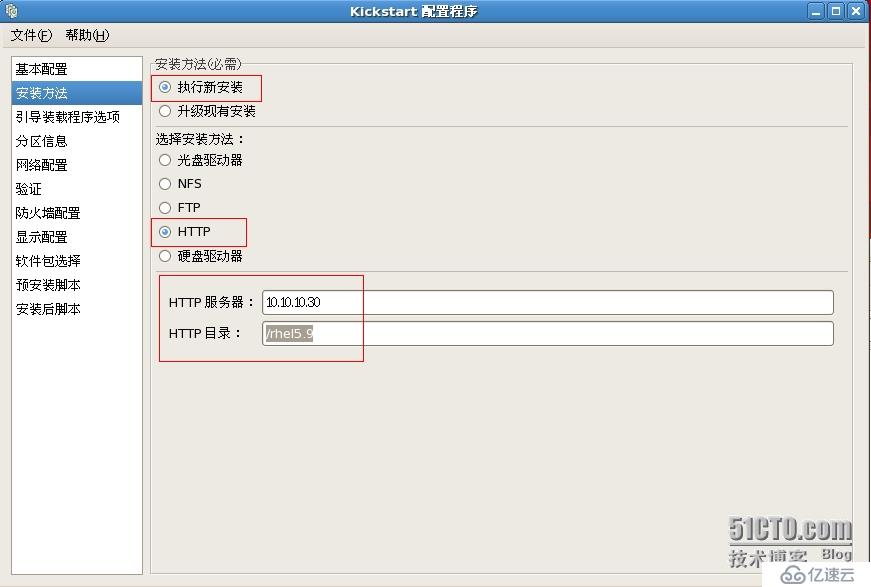
# Use network installation
url --url=http://10.10.10.30/rhel5.9
# Network information
network --bootproto=dhcp --device=eth0 --onboot=on
# Reboot after installation
reboot
#Root password
rootpw --iscrypted $1$sa5Wf6oW$lEyPJJwDZ/zAJ2UK83Elp/
# SELinux configuration
selinux --disabled
# System timezone
timezone --isUtc Asia/Shanghai
# Install OS instead of upgrade
install
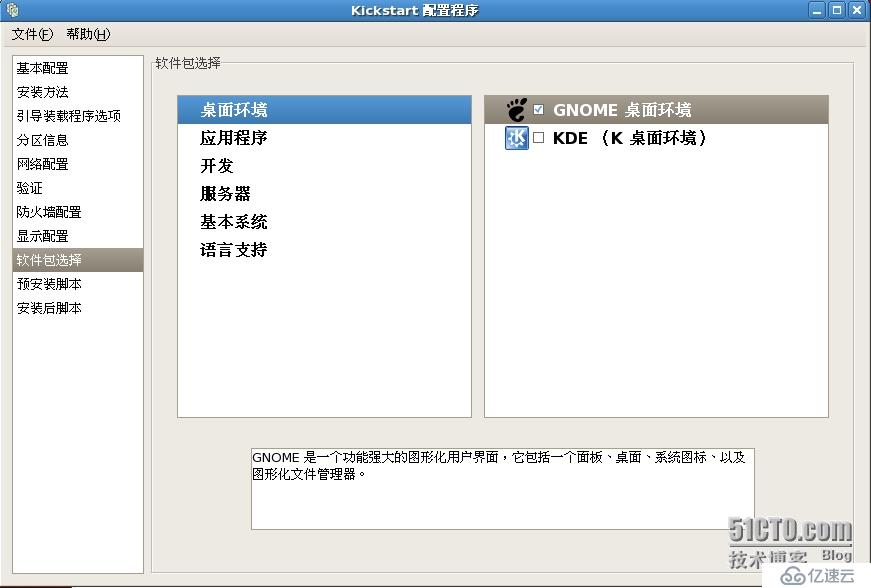
# X Window System configuration information
xconfig --defaultdesktop=GNOME --depth=8 --resolution=800x600
# Disk partitioning information
part /boot --bytes-per-inode=4096 --fstype="ext3" --size=100
part swap --bytes-per-inode=4096 --fstype="swap" --size=1024
part / --bytes-per-inode=4096 --fstype="ext3" --grow --size=1
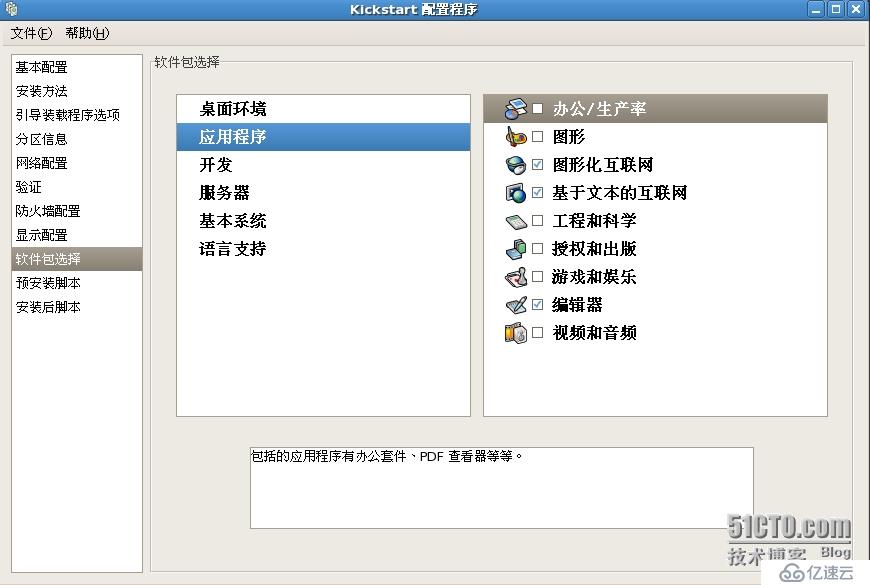
%packages
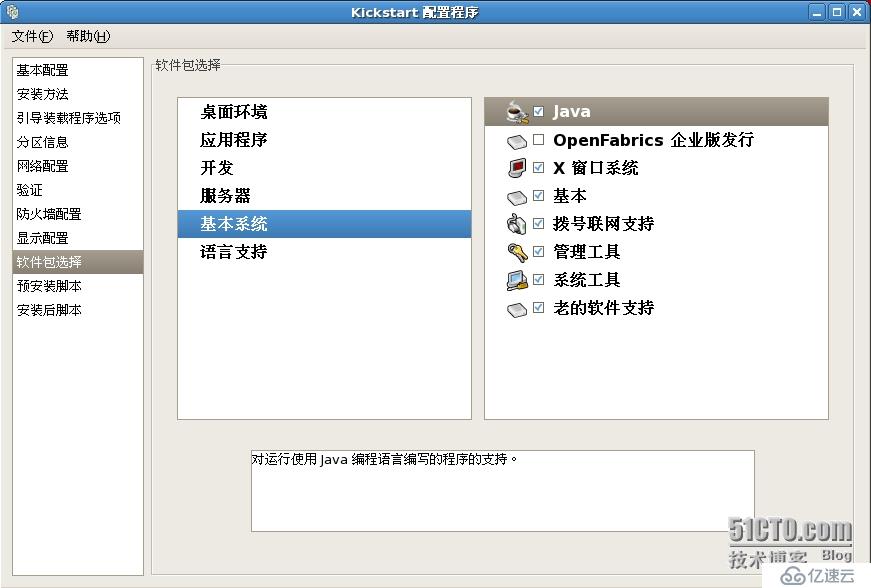
@dialup
@base
@gnome-desktop
@system-tools
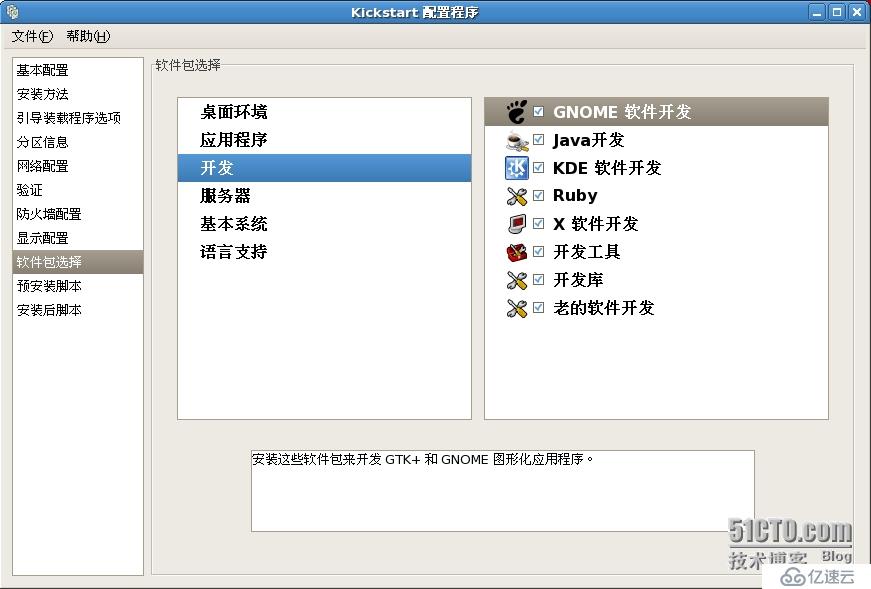
@development-tools
@kde-software-development
@x-software-development
@gnome-software-development
@base-x
@admin-tools
@development-libs
@graphical-internet
@chinese-support
@legacy-software-development
@legacy-software-support
@java-development
@text-internet
@java
@editors
@ruby
四、安装xinetd和tftp服务
vim /etc/xinetd.d/tftp
yum install -y tftp xinetd
service tftp
{
socket_type = dgram
protocol = udp
wait = yes
user = root
server = /usr/sbin/in.tftpd
server_args = -s /tftpboot
disable = no ####默认是yes,需修改为no
per_source = 11
cps = 100 2
flags = IPv4
}
cp /usr/share/syslinux/pxelinux.0 /tftpboot/
cp /media/p_w_picpaths/pxeboot/initrd.img /tftpboot/
cp /media/p_w_picpaths/pxeboot/vmlinuz /tftpboot/
cp /media/isolinux/*.msg /tftpboot/
mkdir pxelinux.cfg
cp /media/isolinux/isolinux.cfg /tftpboot/pxelinux.cfg/isolinux.cfg
mv /tftpboot/pxelinux.cfg/isolinux.cfg /tftpboot/pxelinux.cfg/default
vim /tftpboot/pxelinux.cfg/default
default linux
prompt 1
timeout 60
display boot.msg
F1 boot.msg
F2 options.msg
F3 general.msg
F4 param.msg
F5 rescue.msg
label linux
kernel vmlinuz
append initrd=initrd.img ks=http://10.10.10.30/rhel5.9/ks.cfg
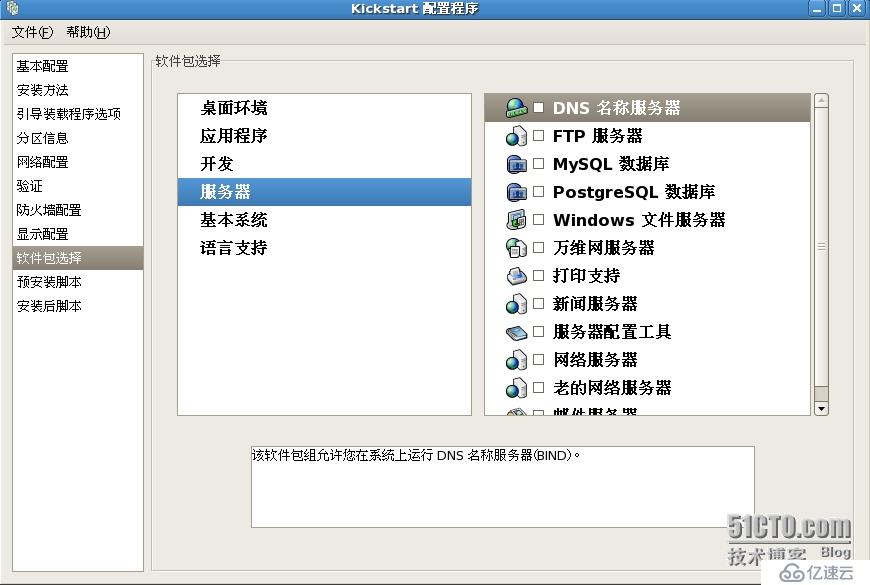
五、安装dhcpd服务
yum install -y dhcpd
cp /usr/share/doc/dhcp-3.0.5/dhcpd.conf.sample /etc/dhcpd.conf
vim /etc/dhcpd.conf
#
# DHCP Server Configuration file.
# see /usr/share/doc/dhcp*/dhcpd.conf.sample
#
ddns-update-style interim;
ignore client-updates;
next-server 10.10.10.30;
filename "/pxelinux.0";
subnet 10.10.10.0 netmask 255.255.255.0 {
# --- default gateway
option routers 10.10.10.30;
option subnet-mask 255.255.255.0;
# option nis-domain "domain.org";
# option domain-name "domain.org";
# option domain-name-servers 192.168.1.1;
option time-offset -18000; # Eastern Standard Time
# option ntp-servers 192.168.1.1;
# option netbios-name-servers 192.168.1.1;
# --- Selects point-to-point node (default is hybrid). Don't change this unless
# -- you understand Netbios very well
# option netbios-node-type 2;
range dynamic-bootp 10.10.10.200 10.10.10.240;
default-lease-time 21600;
max-lease-time 43200;
# we want the nameserver to appear at a fixed address
# host ns {
# next-server marvin.redhat.com;
# hardware ethernet 12:34:56:78:AB:CD;
# fixed-address 207.175.42.254;
# }
}
六、重启各项服务
/etc/init.d/xinetd restart
/etc/init.d/httpd restart
/etc/init.d/dhcpd restart
免责声明:本站发布的内容(图片、视频和文字)以原创、转载和分享为主,文章观点不代表本网站立场,如果涉及侵权请联系站长邮箱:is@yisu.com进行举报,并提供相关证据,一经查实,将立刻删除涉嫌侵权内容。