您好,登录后才能下订单哦!
密码登录
登录注册
点击 登录注册 即表示同意《亿速云用户服务条款》
切换到ci路径下
在application/libraries创建smarty文件夹,并将解压好的Smarty库中的libs文件夹复制到Smarty文件夹中
在application/config下创建smarty.php, 代码如下:
<?php
if (!defined('BASEPATH')) {
exit('No direct script access allowed');
}
$config['cache_lifetime'] = 60;
$config['caching'] = false;
$config['template_dir'] = APPPATH . 'views/templates';
$config['compile_dir'] = APPPATH . 'views/templates_c';
$config['cache_dir'] = APPPATH . 'views/cache';
$config['config_dir'] = APPPATH . 'views/config';
$config['use_sub_dirs'] = false;
//子目录变量(是否在缓存文件夹中生成子目录)
$config['left_delimiter'] = '{';
$config['right_delimiter'] = '}';
在application/libraries下创建一个Ci_Smarty.php,代码如下
<?php
if (!defined('BASEPATH')) {
exit('No direct script access allowed');
}
require_once APPPATH.'libraries/smarty/libs/Smarty.class.php';
class Ci_Smarty extends Smarty
{
protected $ci;
public function __construct()
{
parent::__construct();
$this -> ci =& get_instance();
$this -> ci -> load -> config('smarty');
//加载smarty的配置文件
$this -> cache_lifetime = $this -> ci -> config -> item('cache_lifetime');
$this -> caching = $this -> ci -> config -> item('caching');
$this -> config_dir = $this -> ci -> config -> item('config_dir');
$this -> template_dir = $this -> ci -> config -> item('template_dir');
$this -> compile_dir = $this -> ci -> config -> item('compile_dir');
$this -> cache_dir = $this -> ci -> config -> item('cache_dir');
$this -> use_sub_dirs = $this -> ci -> config -> item('use_sub_dirs');
$this -> left_delimiter = $this -> ci -> config -> item('left_delimiter');
$this -> right_delimiter = $this -> ci -> config -> item('right_delimiter');
}
}
打开application/config/autoload.php 修改
$autoload['libraries'] = array('');
改为
$autoload['libraries'] = array('Ci_Smarty');
在application/core下新建一个MY_Controller.php ,代码如下:
<?php
class MY_controller extends CI_Controller
{
public function __construct()
{
parent::__construct();
}
public function assign($key, $val)
{
$this->ci_smarty->assign($key, $val);
}
public function display($html)
{
$this->ci_smarty->display($html);
}
}
在views下创建templates目录
在templates下新建一个测试模板test.tpl
hello.world
在controllers下新建一个测试文件Pages.php继承MY_controller
<?php
class Pages extends MY_controller {
public function index()
{
$this->display('test.tpl');
}
}
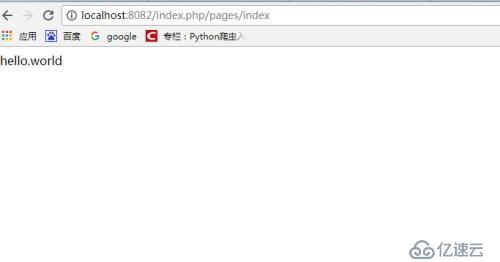
至此完成
免责声明:本站发布的内容(图片、视频和文字)以原创、转载和分享为主,文章观点不代表本网站立场,如果涉及侵权请联系站长邮箱:is@yisu.com进行举报,并提供相关证据,一经查实,将立刻删除涉嫌侵权内容。