您好,登录后才能下订单哦!
密码登录
登录注册
点击 登录注册 即表示同意《亿速云用户服务条款》
本篇文章为大家展示了怎么在tensorflow中利用mnis加载数据,内容简明扼要并且容易理解,绝对能使你眼前一亮,通过这篇文章的详细介绍希望你能有所收获。
TensorFlow™ 是一个采用数据流图(data flow graphs),用于数值计算的开源软件库。节点(Nodes)在图中表示数学操作,图中的线(edges)则表示在节点间相互联系的多维数据数组,即张量(tensor)。它灵活的架构让你可以在多种平台上展开计算,例如台式计算机中的一个或多个CPU(或GPU),服务器,移动设备等等。TensorFlow 最初由Google大脑小组(隶属于Google机器智能研究机构)的研究员和工程师们开发出来,用于机器学习和深度神经网络方面的研究,但这个系统的通用性使其也可广泛用于其他计算领域。
%matplotlib
from tensorflow.examples.tutorials.mnist import input_data
import matplotlib.pyplot as plt
mnist = input_data.read_data_sets('MNIST_data', one_hot=True)
print('Training data size: ', mnist.train.num_examples)
print('Validation data size: ', mnist.validation.num_examples)
print('Test data size: ', mnist.test.num_examples)
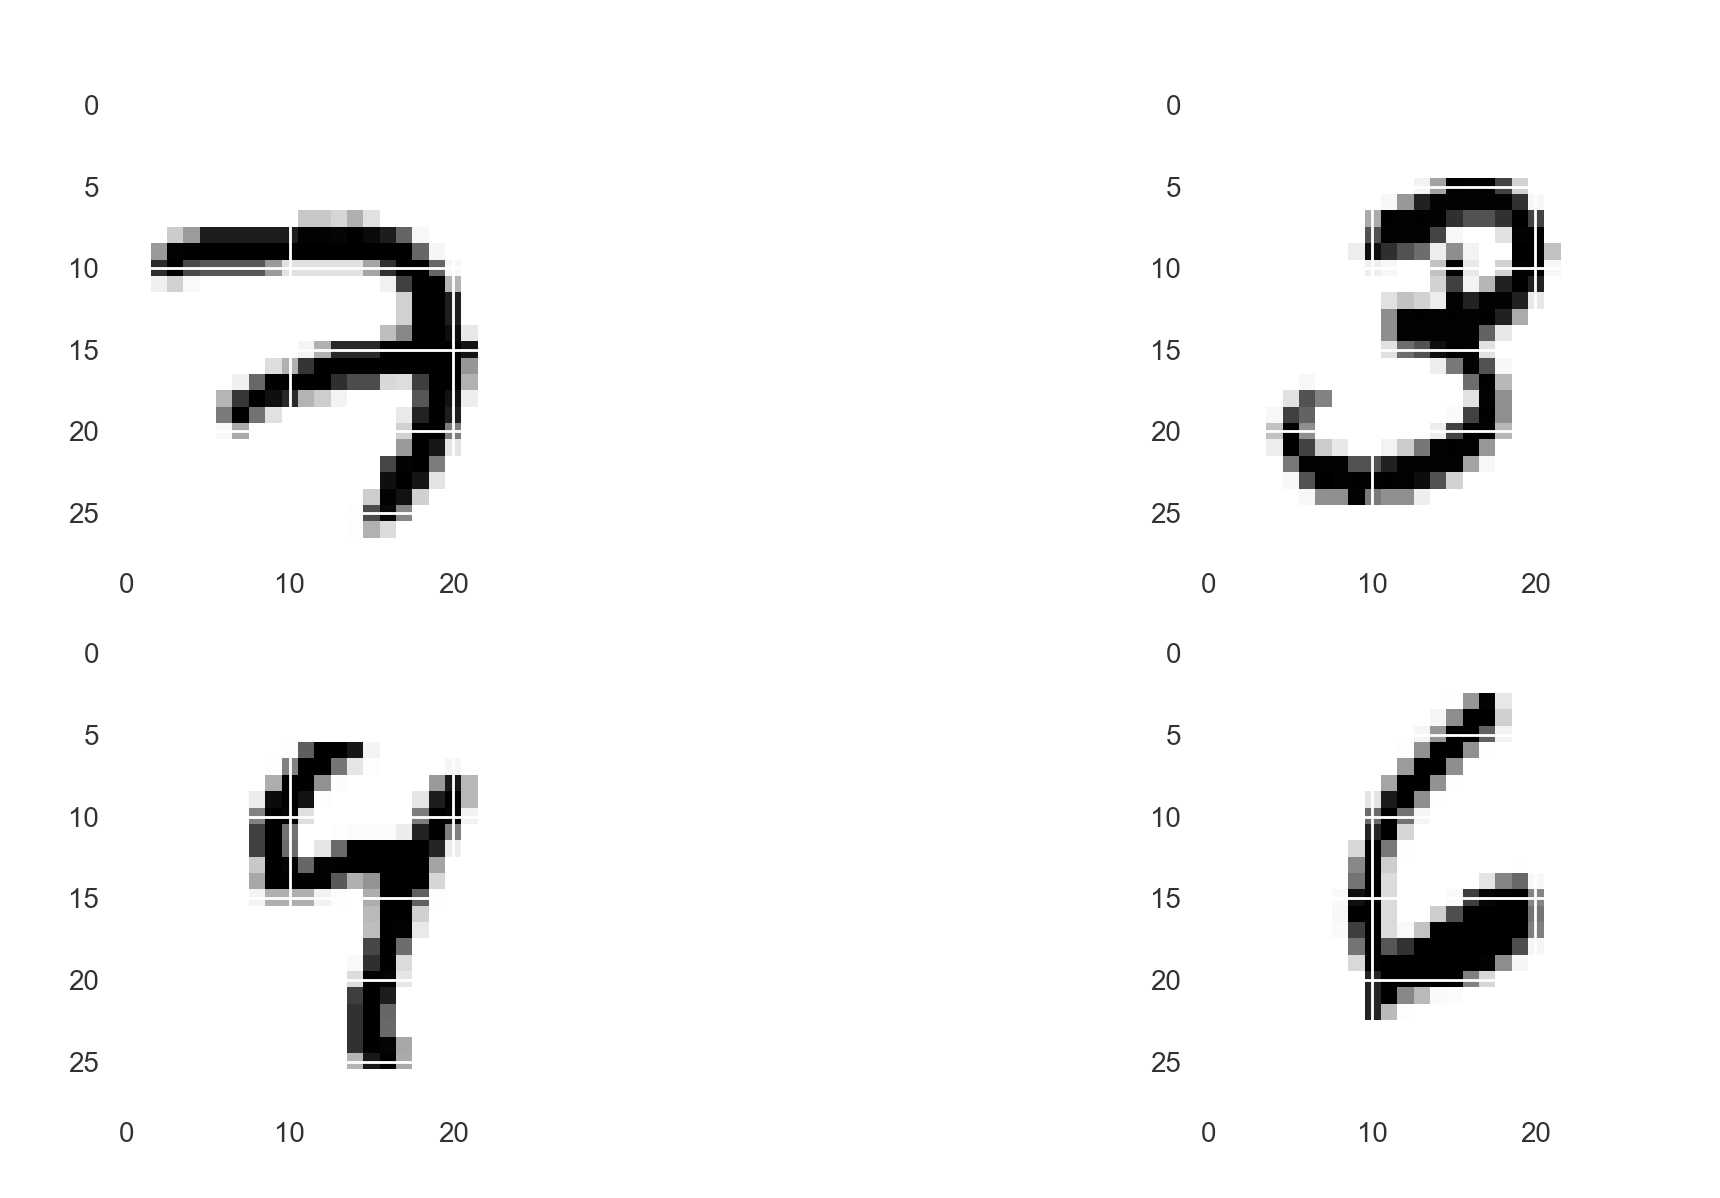
img0 = mnist.train.images[0].reshape(28,28)
img1 = mnist.train.images[1].reshape(28,28)
img2 = mnist.train.images[2].reshape(28,28)
img3 = mnist.train.images[3].reshape(28,28)
fig = plt.figure(figsize=(10,10))
ax0 = fig.add_subplot(221)
ax1 = fig.add_subplot(222)
ax2 = fig.add_subplot(223)
ax3 = fig.add_subplot(224)
ax0.imshow(img0)
ax1.imshow(img1)
ax2.imshow(img2)
ax3.imshow(img3)
fig.show()画图结果:
上述内容就是怎么在tensorflow中利用mnis加载数据,你们学到知识或技能了吗?如果还想学到更多技能或者丰富自己的知识储备,欢迎关注亿速云行业资讯频道。
免责声明:本站发布的内容(图片、视频和文字)以原创、转载和分享为主,文章观点不代表本网站立场,如果涉及侵权请联系站长邮箱:is@yisu.com进行举报,并提供相关证据,一经查实,将立刻删除涉嫌侵权内容。