您好,登录后才能下订单哦!
这篇文章将为大家详细讲解有关js怎么实现拖动缓动效果,小编觉得挺实用的,因此分享给大家做个参考,希望大家阅读完这篇文章后可以有所收获。

这个效果看似很简单,到也困惑了很长时间,为什么别人写出来的拖拽体验为什么这么好?
直到我自己实现了以后,才发现,原来我想的实现方式不对。接下来,我通过简短的几句话,来提供这个功能的实现思路。
首先,我们要明白,我们鼠标拖拽是在一个2d平面上拖拽
2d平面只有x轴和y轴,而且获取的拖拽值也是基于平面的像素获取的。所以,我们第一步,先通过鼠标事件来获取到当前的拖拽的长度像素。
首先,绑定鼠标按下事件,来获取到鼠标基于浏览器窗口左上角的xy平面二维坐标。
然后,绑定move事件,在move事件回调内获取到鼠标拖拽的坐标,和按下坐标相减,求出拖拽的距离。
然后,我们需要通过一定比例,将拖拽的像素转换为旋转角度
我这里设置的比例是,
鼠标横向拖拽10像素,那模型沿3d的Y轴坐标就旋转5度,
鼠标纵向拖拽10像素,模型沿3d世界的X轴坐标旋转1度,并且还设置了范围,即沿x轴旋转再-45度到45度之间
function onDocumentMouseMove(event) {
    mouseX = event.clientX;
    mouseY = event.clientY;
    targetRotationX = targetRotationOnMouseDownX + (mouseX - mouseXOnMouseDownX) * 0.5;
    targetRotationY = Math.min(Math.max((targetRotationOnMouseDownY - (mouseY - mouseXOnMouseDownY) * 0.1), -45), 45); //拖拽后的目标位置
  }
上面获取到目标角度,重点来了,如何实现惰性旋转呢?
通过上面思路,我们知道了目标角度,那么直接设置目标角度,肯定就没有这种想要的效果了,那么如何实现这种惰性效果呢?
接下来,我们需要一个专门实现动画的requestAnimationFrame方法,这个方法是闲时运行,最大根据性能能够达到60帧每秒,有好多小伙伴感觉一直递归运行会不会卡顿,或者影响性能。那是你多虑了,这个方法会根据当前页面性能进行减帧,保证页面流畅运行。
我们有了这个以后,然后做什么呢,就是用来实现缓动,在每一帧里面,获取到目标角度和当前角度的角度差,然后每一次只选择总进度的百分之10 ,然后你会发现选择离目标角度越近,越慢,体验效果也是非常的棒。
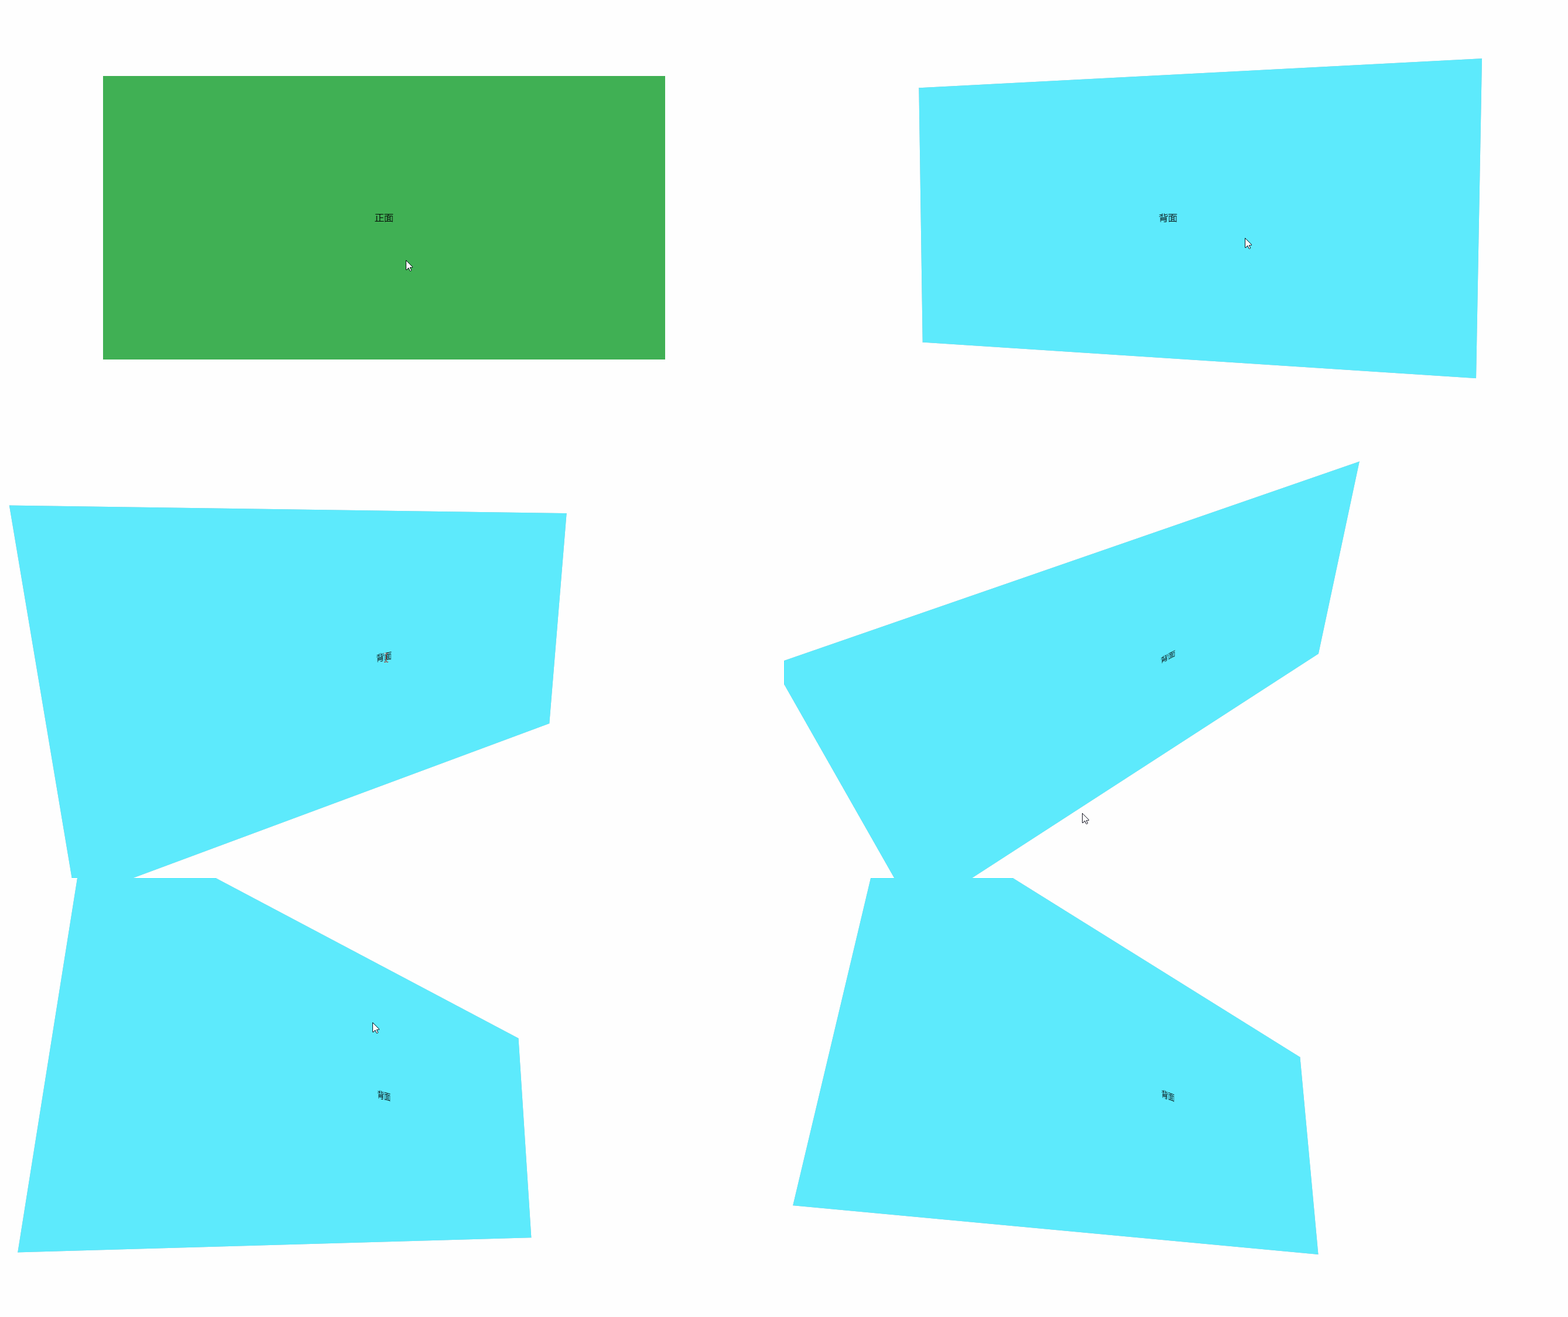
而且在运行中,角度也会无限制的接近目标角度,当前demo是通过css3d来实现的:
function animate() {
    requestAnimationFrame(animate);
    rotateY += (targetRotationX - rotateY) * 0.1;
    rotateX += (targetRotationY - rotateX) * 0.1;
    box.style.transform = 'rotateY(' + rotateY + 'deg)';
    item.style.transform = 'rotateX(' + rotateX + 'deg)';
  }
案例全部代码
<!DOCTYPE html>
<html lang="zh">

<head>
  <meta charset="UTF-8">
  <title>css3d翻转</title>
  <style>
    * {
      padding: 0;
      margin: 0;
    }

    body {
      display: flex;
      justify-content: center;
      align-items: center;
      height: 100vh;
      overflow: hidden;
      perspective: 1000px;
    }

    .item {
      width: 50vw;
      height: 50vh;
      transform: rotateX(-50deg);
      perspective: 5000px;
      transform-style: preserve-3d;
    }

    .box {
      background: #abb9c5;
      width: 100%;
      height: 100%;
      transform-style: preserve-3d;
      position: relative;
    }

    .font,
    .back {
      position: absolute;
      top: 0;
      left: 0;
      width: 100%;
      height: 100%;
      text-align: center;
      line-height: 50vh;

      background: #4cae4c;

      backface-visibility: hidden;
    }

    .back {
      background: #62ebff;
      transform: rotateY(180deg);
    }
  </style>
</head>

<body>
  <!--item 可以触发翻转的区域-->
  <div class="item">
    <!--box 可以翻转的容器-->
    <div class="box">
      <!--font 默认显示的正面-->
      <div class="font">正面</div>
      <!--back 背面-->
      <div class="back">背面</div>
    </div>
  </div>
</body>
<script>
  var targetRotationX = 0;
  var targetRotationY = 0;
  var targetRotationOnMouseDownX = 0;
  var targetRotationOnMouseDownY = 0;
  var mouseX = 0;
  var mouseY = 0;
  var mouseXOnMouseDownX = 0;
  var mouseXOnMouseDownY = 0;
  var box = document.querySelector('.box');
  var item = document.querySelector('.item');

  var rotateY = 0;
  var rotateX = 0;

  init();
  animate();

  function init() {
    // EVENTS
    document.addEventListener('mousedown', onDocumentMouseDown, false);
    document.addEventListener('touchstart', onDocumentTouchStart, false);
    document.addEventListener('touchmove', onDocumentTouchMove, false);
  }

  function onDocumentMouseDown(event) {
    event.preventDefault();
    document.addEventListener('mousemove', onDocumentMouseMove, false);
    document.addEventListener('mouseup', onDocumentMouseUp, false);
    mouseXOnMouseDownX = event.clientX;
    mouseXOnMouseDownY = event.clientY;
    targetRotationOnMouseDownX = targetRotationX;
    targetRotationOnMouseDownY = targetRotationY;
  }

  function onDocumentMouseMove(event) {
    mouseX = event.clientX;
    mouseY = event.clientY;
    targetRotationX = targetRotationOnMouseDownX + (mouseX - mouseXOnMouseDownX) * 0.5;
    targetRotationY = Math.min(Math.max((targetRotationOnMouseDownY - (mouseY - mouseXOnMouseDownY) * 0.1), -45), 45); //拖拽后的目标位置
  }

  function onDocumentMouseUp() {
    document.removeEventListener('mousemove', onDocumentMouseMove, false);
    document.removeEventListener('mouseup', onDocumentMouseUp, false);
  }

  function onDocumentTouchStart(event) {
    event.preventDefault();
    if (event.touches.length === 1) {
      mouseXOnMouseDownX = event.touches[0].pageX;
      mouseXOnMouseDownY = event.touches[0].pageY;
      targetRotationOnMouseDownX = targetRotationX;
      targetRotationOnMouseDownY = targetRotationY;
    }
  }

  function onDocumentTouchMove(event) {
    event.preventDefault();
    if (event.touches.length === 1) {
      mouseX = event.touches[0].pageX;
      mouseY = event.touches[0].pageY;
      targetRotationX = targetRotationOnMouseDownX + (mouseX - mouseXOnMouseDownX) * 0.5;
      targetRotationY = Math.min(Math.max((targetRotationOnMouseDownY - (mouseY - mouseXOnMouseDownY) * 0.1), -45), 45); //拖拽后的目标位置
    }
  }

  function animate() {
    requestAnimationFrame(animate);
    rotateY += (targetRotationX - rotateY) * 0.1;
    rotateX += (targetRotationY - rotateX) * 0.1;
    box.style.transform = 'rotateY(' + rotateY + 'deg)';
    item.style.transform = 'rotateX(' + rotateX + 'deg)';
  }
</script>

</html>
关于“js怎么实现拖动缓动效果”这篇文章就分享到这里了,希望以上内容可以对大家有一定的帮助,使各位可以学到更多知识,如果觉得文章不错,请把它分享出去让更多的人看到。
免责声明:本站发布的内容(图片、视频和文字)以原创、转载和分享为主,文章观点不代表本网站立场,如果涉及侵权请联系站长邮箱:is@yisu.com进行举报,并提供相关证据,一经查实,将立刻删除涉嫌侵权内容。