您好,登录后才能下订单哦!
密码登录
登录注册
点击 登录注册 即表示同意《亿速云用户服务条款》
这篇文章给大家分享的是有关怎样利用 Node.js代理解决跨域问题的内容。小编觉得挺实用的,因此分享给大家做个参考,一起跟随小编过来看看吧。
前后端分离,经常会出现跨域访问被限制的问题。
跨域访问限制是服务端出于安全考虑的限制行为。即只有同域或者指定域的请求,才能访问。这样还可以防止图片被盗链。服务端(比如 Node.js)可以通过代理,来解决这一问题。
1 安装 request 库
npm install request --save-dev
2 配置
我们以知乎日报为例,配置两个代理。一个代理内容,另一个代理图片。
在项目根目录,配置 proxy.js :
//代理
const http = require('http');
const request = require('request');

const hostIp = '127.0.0.1';
const apiPort = 8070;
const imgPort = 8071;

//创建 API 代理服务
const apiServer = http.createServer((req, res) => {
  console.log('[apiServer]req.url='+req.url);
  const url = 'http://news-at.zhihu.com/story' + req.url;
  console.log('[apiServer]url='+url);
  const options = {
    url: url
  };

  function callback(error, response, body) {
    if (!error && response.statusCode === 200) {
      //编码类型
      res.setHeader('Content-Type', 'text/plain;charset=UTF-8');
      //允许跨域
      res.setHeader('Access-Control-Allow-Origin', '*');
      //返回代理内容
      res.end(body);
    }
  }

  request.get(options, callback);
});

//监听 API 端口
apiServer.listen(apiPort, hostIp, () => {
  console.log('代理接口,运行于 http://' + hostIp + ':' + apiPort + '/');
});

//创建图片代理服务
const imgServer = http.createServer((req, res) => {
  const url = 'https://pic2.zhimg.com/' +req.url.split('/img/')[1];
  console.log('[imgServer]url=' + url);
  const options = {
    url: url,
    encoding: null
  };

  function callback(error, response, body) {
    if (!error && response.statusCode === 200) {
      const contentType = response.headers['content-type'];
      res.setHeader('Content-Type', contentType);
      res.setHeader('Access-Control-Allow-Origin', '*');
      res.end(body);
    }
  }

  request.get(options, callback);


});

//监听图片端口
imgServer.listen(imgPort, hostIp, () => {
  console.log('代理图片,运行于 http://' + hostIp + ':' + imgPort + '/')
});
代理的关键点是在响应头添加 Access-Control-Allow-Origin 为 *,表示允许所有域进行访问。
| 代理前地址 | 代理后地址 |
|---|---|
| https://pic2.zhimg.com/v2-bb0a0282fd989bddaa245af4de9dcc45.jpg | http://127.0.0.1:8071/img/v2-bb0a0282fd989bddaa245af4de9dcc45.jpg |
| http://news-at.zhihu.com/story/9710345 | http://127.0.0.1:8070/9710345 |
3. 运行
执行:
node proxy.js
运行结果:
代理接口,运行于 http://127.0.0.1:8070/代理图片,运行于http://127.0.0.1:8071/
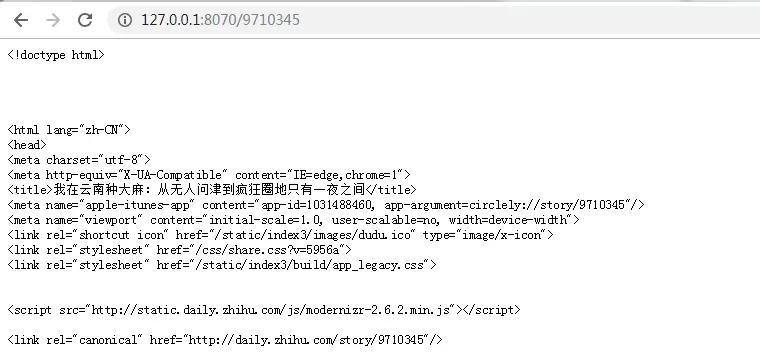
打开浏览器,输入代理后的地址,就可以正常访问啦O(∩_∩)O哈哈~
代理内容:
代理图片:
感谢各位的阅读!关于“怎样利用 Node.js代理解决跨域问题”这篇文章就分享到这里了,希望以上内容可以对大家有一定的帮助,让大家可以学到更多知识,如果觉得文章不错,可以把它分享出去让更多的人看到吧!
免责声明:本站发布的内容(图片、视频和文字)以原创、转载和分享为主,文章观点不代表本网站立场,如果涉及侵权请联系站长邮箱:is@yisu.com进行举报,并提供相关证据,一经查实,将立刻删除涉嫌侵权内容。