您好,登录后才能下订单哦!
密码登录
登录注册
点击 登录注册 即表示同意《亿速云用户服务条款》
小编给大家分享一下使用微信小程序做出图片上传的方法,相信大部分人都还不怎么了解,因此分享这篇文章给大家参考一下,希望大家阅读完这篇文章后大有收获,下面让我们一起去了解一下吧!
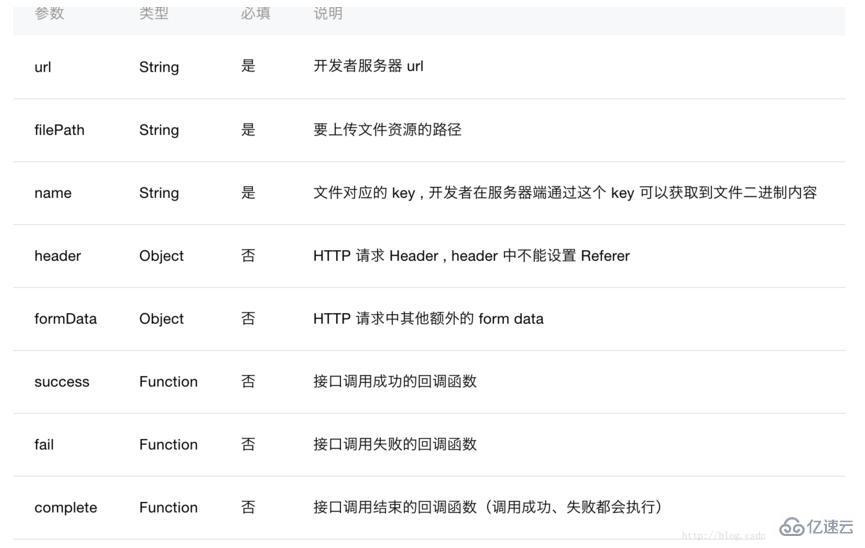
先来看一下微信小程序的api
来看一下页面效果
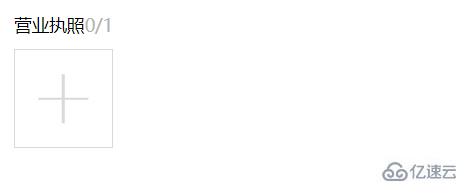
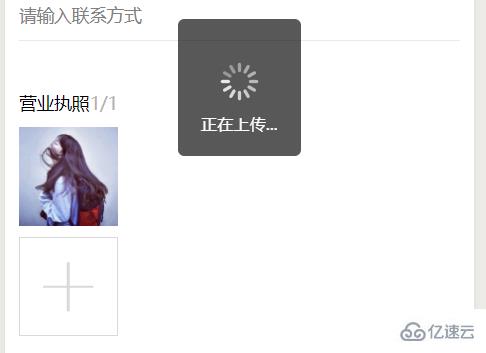
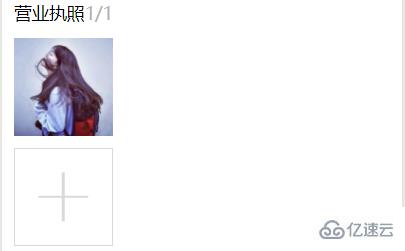
查看大图

wxml文件代码:
<view class="weui-cell">
    <view class="weui-cellbd">
     <view class="weui-uploader">
      <view class="weui-uploaderhd">
       <view class="weui-uploadertitle">营业执照</view>
       <view class="weui-uploaderinfo">{{imageList.length}}/{{count[countIndex]}}</view>
      </view>
      <view class="weui-uploaderbd">
       <view class="weui-uploaderfiles">
        <block wx:for="{{imageList}}" wx:for-item="image">
         <view class="weui-uploaderfile">
          <image class="weui-uploaderimg" src="{{image}}" src="{{image}}" bindtap="previewImage"></image>
         </view>
        </block>
       </view>
       <view class="weui-uploaderinput-box">
        <view class="weui-uploaderinput" bindtap="chooseImage"></view>
       </view>
      </view>
     </view>
  </view>
</view>
js文件代码
chooseImage: function () {
  var that = this;
  console.log('aaaaaaaaaaaaaaaaaaaa')

  wx.chooseImage({
   count: this.data.count[this.data.countIndex],
   success: function (res) {
    console.log('ssssssssssssssssssssssssss')
    //缓存下
    wx.showToast({
     title: '正在上传...',
     icon: 'loading',
     mask: true,
     duration: 2000,
     success: function (ress) {
      console.log('成功加载动画');
     }
    })

    console.log(res)
    that.setData({
     imageList: res.tempFilePaths
    })
    //获取第一张图片地址
    var filep = res.tempFilePaths[0]
    //向服务器端上传图片
    // getApp().data.servsers,这是在app.js文件里定义的后端服务器地址
    wx.uploadFile({
     url: getApp().data.servsers + '/weixin/wx_upload.do',
     filePath: filep,
     name: 'file',
     formData: {
      'user': 'test'
     },
     success: function (res) {
      console.log(res)
      console.log(res.data)
      var sss= JSON.parse(res.data)
      var dizhi = sss.dizhi;
      //输出图片地址
      console.log(dizhi);
      that.setData({
       "dizhi": dizhi
      })

      //do something
     }, fail: function (err) {
      console.log(err)
     }
      });
   }
  })
 },
 previewImage: function (e) {
  var current = e.target.dataset.src

  wx.previewImage({

   current: current,
   urls: this.data.imageList
  })
 }
java 后端代码:
//获取当前日期时间的string类型用于文件名防重复
  public String dates(){
     Date currentTime = new Date();
     SimpleDateFormat formatter = new SimpleDateFormat("yyyyMMddHHmmss");
     String dateString = formatter.format(currentTime);
     return dateString;
  }
  @RequestMapping("wx_upload.do")
  public void uploadPicture(HttpServletRequest request, HttpServletResponse response,PrintWriter writer) throws Exception {
    System.out.println("进入get方法!");
  //获取从前台传过来得图片
    MultipartHttpServletRequest req =(MultipartHttpServletRequest)request;
    MultipartFile multipartFile = req.getFile("file");
  //获取图片的文件类型
    String houzhu=multipartFile.getContentType();
    int one = houzhu.lastIndexOf("/");
    System.out.println(houzhu.substring((one+1),houzhu.length()));
    System.out.println(multipartFile.getName());
  //根据获取到的文件类型截取出图片后缀
    String type=houzhu.substring((one+1),houzhu.length());
    System.out.println(multipartFile.getContentType());

    String filename;
  // request.getRealPath获取我们项目的根地址在加上我们要保存的地址
    String realPath = request.getRealPath("/upload/wximg/");
    try {
      File dir = new File(realPath);
      if (!dir.exists()) {
        dir.mkdir();
      }
      //获取到当前的日期时间用户生成文件名防止文件名重复
      String filedata=this.dates();
    //生成一个随机数来防止文件名重复
      int x=(int)(Math.random()*1000);
      filename="zhongshang"+x+filedata;
      System.out.println(x);
    将文件的地址和生成的文件名拼在一起
      File file = new File(realPath,filename+"."+type);
      multipartFile.transferTo(file);
    //将图片在项目中的地址和isok状态储存为json格式返回给前台,由于公司项目中没有fastjson只能用这个
      JSONObject jsonObject=new JSONObject();
      jsonObject.put("isok",1);
      jsonObject.put("dizhi","/upload/wximg/"+filename+"."+type);

      writer.write(jsonObject.toString());
    } catch (IOException e) {
      e.printStackTrace();
    } catch (IllegalStateException e) {
      e.printStackTrace();
    }
}
来看一下之前在前端js输出的内容:

打开浏览器用我们的服务器的地址加上后台返回json的dizhi字段去访问这张图片
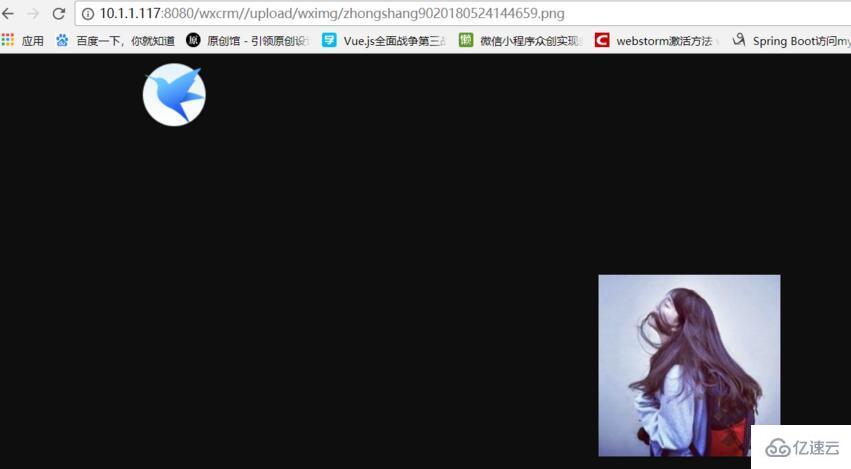
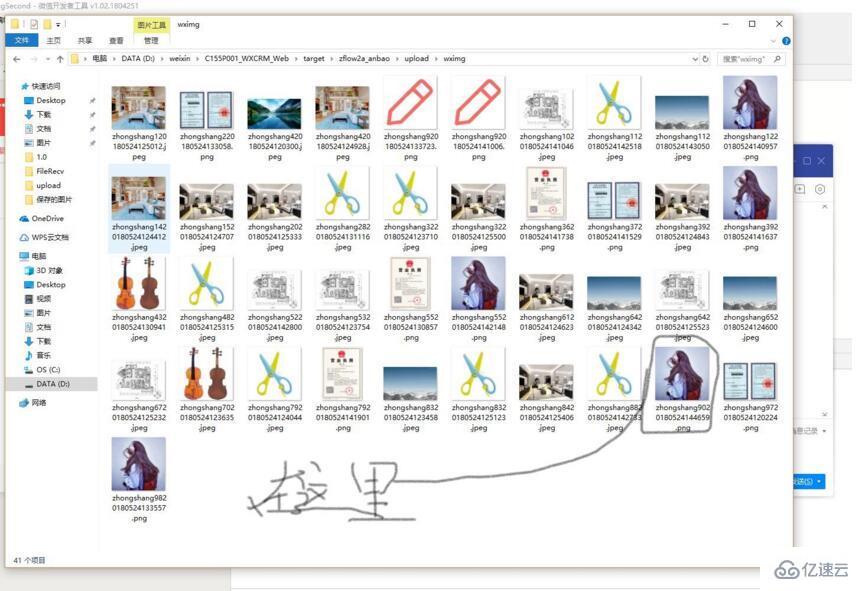
我们可以看到图片已经填入我们的服务器端里了,然后在打开我们服务器端项目根地址下面的/upload/wximg
以上是“使用微信小程序做出图片上传的方法”这篇文章的所有内容,感谢各位的阅读!相信大家都有了一定的了解,希望分享的内容对大家有所帮助,如果还想学习更多知识,欢迎关注亿速云行业资讯频道!
免责声明:本站发布的内容(图片、视频和文字)以原创、转载和分享为主,文章观点不代表本网站立场,如果涉及侵权请联系站长邮箱:is@yisu.com进行举报,并提供相关证据,一经查实,将立刻删除涉嫌侵权内容。