您好,登录后才能下订单哦!
密码登录
登录注册
点击 登录注册 即表示同意《亿速云用户服务条款》
这篇文章主要介绍vue怎么自定义封装API组件,文中介绍的非常详细,具有一定的参考价值,感兴趣的小伙伴们一定要看完!
<template>
    <div >
        <div class="alert">
        <div class="alert-main" v-for="item in notices" :key="item.name">
            <div class="alert-content">{{ item.content }}</div>
        </div>
    </div>
    </div >
</template>
<script>
//多个提示框命名
let seed = 0;
function getUuid() {
return 'alert_' + (seed++);
}
export default {
data() {
return {
notices: []//多个提示框保存至数组
}
},
methods:{
add(notice) {
const name = getUuid();//获取当前提示框名称
//Object.assign 浅拷贝不会跳过那些值为 [null] 或 [undefined]的源对象
// Object.assign(target, ...sources);target: 目标对象,sources:源对象
let _notice = Object.assign({
name: name
}, notice);
//将当前提示框标签保存到notices
this.notices.push(_notice);
// 定时移除,单位:秒
const time= notice.time|| 1.5;
//1.5s后调用移除方法
setTimeout(() => {
this.remove(name);
}, time* 1000);
},
remove(name) {
const notices = this.notices;
for (let i = 0; i < notices.length; i++) {
if (notices[i].name === name) {
this.notices.splice(i, 1);
break;
}
}
}
}
}
</script><style lang="scss"> </style>
import Vue from 'vue'
import Alter from '/components/Alter/Alter.vue'
//Alter添加新属性,newInstance是个函数需求参数为properties
Alter.newInstance=properties=>{
    const props=properties || {};
    //创建一个Vue组件对象
    const Instance=new Vue({
        data:props,
        render(h){
            return h(Alter,{
                props:props
            })
        }
    });
    //等待接口调用的时候在实例化组件,避免进入页面就直接挂载到body上
    const component=Instance.$mount();
    //实例化一个组件,然后挂载到body上
    document.body.appendChild(component.$el);
    //通过闭包维护alter组件的引用
    const alter=Instance.$children[0];
    return{
        //Alter组件对外暴露的两个方法
        add(noticeProps){
            alter.add(noticeProps);
        },
        remove(name){
            alter.remove(name);
        }
    }
}
//提示单例
let messageInstance;
function getMessageInstance(){
    messageInstance=messageInstance || Alter.newInstance();
    return messageInstance;
}
//定义函数实现
function notice({time='',content=''}){
    let instance=getMessageInstance();
    instance.add({
        time:1.5,
        content:''
    })
}
//公布方法
export default{
    info(options){
        return notice(options);
    }
}import alert from './alert.js'
// 挂载到Vue原型上
Vue.prototype.$Alert = alert
// 然后在组件中使用
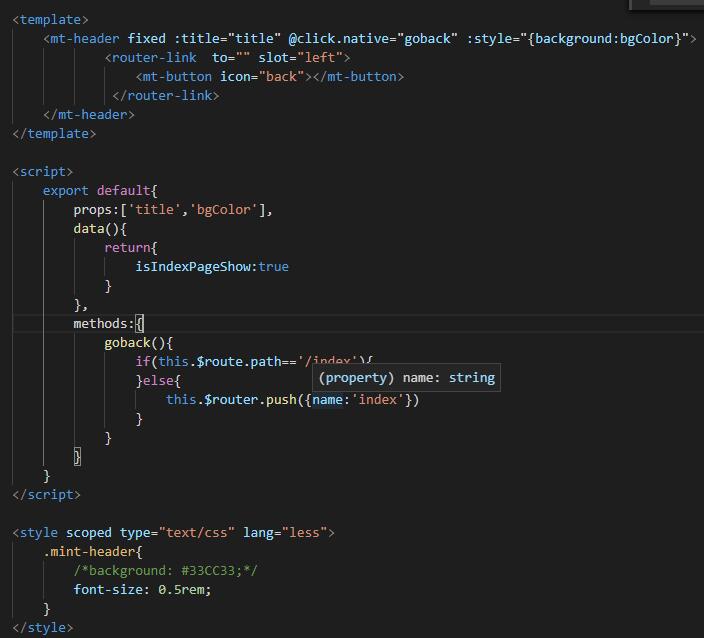
this.$Alert.info({time: 1.5, content: '提示'})在实际开发中一般有两种封装vue组件的方法:一种就是常用的的通过props父组件传值给子组件的方法:


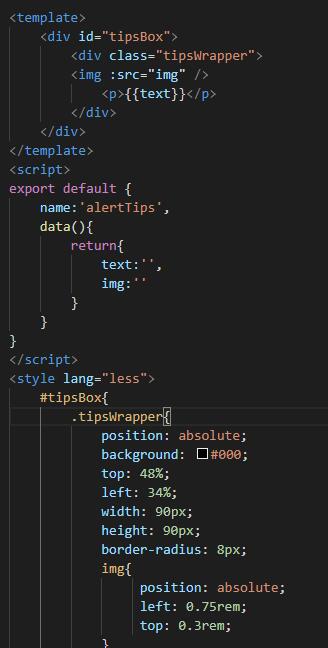
还有一种就是通过调用api的形式,下面例子是本人在实际项目中封装的一个自定义图标的弹窗组件
首先实现组件的UI页面(css部分截图不完整)

在vue文件的同目录下新建alertTips.js文件

页面中调用方法:

以上是“vue怎么自定义封装API组件”这篇文章的所有内容,感谢各位的阅读!希望分享的内容对大家有帮助,更多相关知识,欢迎关注亿速云行业资讯频道!
免责声明:本站发布的内容(图片、视频和文字)以原创、转载和分享为主,文章观点不代表本网站立场,如果涉及侵权请联系站长邮箱:is@yisu.com进行举报,并提供相关证据,一经查实,将立刻删除涉嫌侵权内容。