您好,登录后才能下订单哦!
密码登录
登录注册
点击 登录注册 即表示同意《亿速云用户服务条款》
//layout 布局
<?xml version="1.0" encoding="utf-8"?>
<RelativeLayout xmlns:android="http://schemas.android.com/apk/res/android"
xmlns:tools="http://schemas.android.com/tools" android:layout_width="match_parent"
android:layout_height="match_parent" android:paddingLeft="@dimen/activity_horizontal_margin"
android:paddingRight="@dimen/activity_horizontal_margin"
android:paddingTop="@dimen/activity_vertical_margin"
android:paddingBottom="@dimen/activity_vertical_margin"
>
<ListView
android:layout_width="match_parent"
android:layout_height="match_parent"
android:id="@android:id/list"
/>
</RelativeLayout>
//代码
package com.example.test.testlistview;
import android.app.ListActivity;
import android.os.Bundle;
import android.view.View;
import android.widget.ArrayAdapter;
import android.widget.ListView;
import android.widget.TextView;
import android.widget.Toast;
import java.util.ArrayList;
import java.util.List;
public class ListViewArrayadapter extends ListActivity {
@Override
protected void onCreate(Bundle savedInstanceState) {
super.onCreate(savedInstanceState);
setContentView(R.layout.activity_list_view_arrayadapter);
List<String>ls = new ArrayList<String>();
ls.add("测试数据1");
ls.add("测试数据2");
ls.add("测试数据1");
ls.add("测试数据2");
ls.add("测试数据1");
ls.add("测试数据2");
ls.add("测试数据1");
ls.add("测试数据2");
ls.add("测试数据1");
ls.add("测试数据2");
ls.add("测试数据1");
ls.add("测试数据2");
ArrayAdapter adapter =new ArrayAdapter(this,android.R.layout.simple_list_item_1,ls);
setListAdapter(adapter); //继承ListActivity才有此函数
}
@Override
protected void onListItemClick(ListView l, View v, int position, long id) {
String s =((TextView)v).getText().toString();
Toast.makeText(this,"提示"+position+s,Toast.LENGTH_LONG).show();
super.onListItemClick(l, v, position, id);
}
}
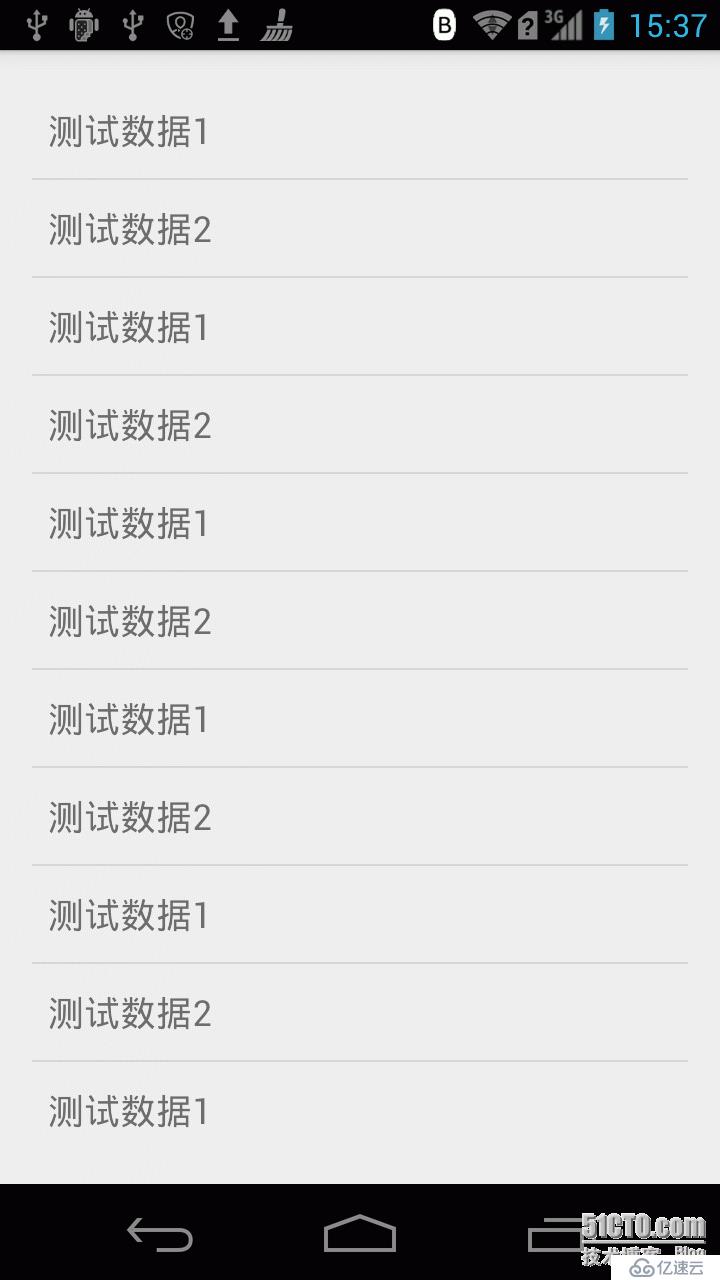
//效果图
简单的listview,关键是ArrayAdapter中布局和数据的适配。android.R.layout.simple_list_item_1系统自带的样式,可以根据自己的要求更改布局样式。List<String>ls = new ArrayList<String>() 用于显示的数据。
//SimpleAdapter 适配Listview
//layout
<?xml version="1.0" encoding="utf-8"?>
<LinearLayout xmlns:android="http://schemas.android.com/apk/res/android"
android:orientation="horizontal" android:layout_width="match_parent"
android:layout_height="match_parent">
<ImageView
android:id="@+id/img2"
android:layout_height="wrap_content"
android:layout_width="wrap_content"
/>
<LinearLayout
android:layout_width="wrap_content"
android:layout_height="wrap_content"
android:orientation="vertical">
<TextView
android:id="@+id/title2"
android:layout_width="wrap_content"
android:layout_height="wrap_content" />
<TextView
android:id="@+id/price"
android:layout_width="wrap_content"
android:layout_height="wrap_content"/>
</LinearLayout>
</LinearLayout>
//关键代码设置listview
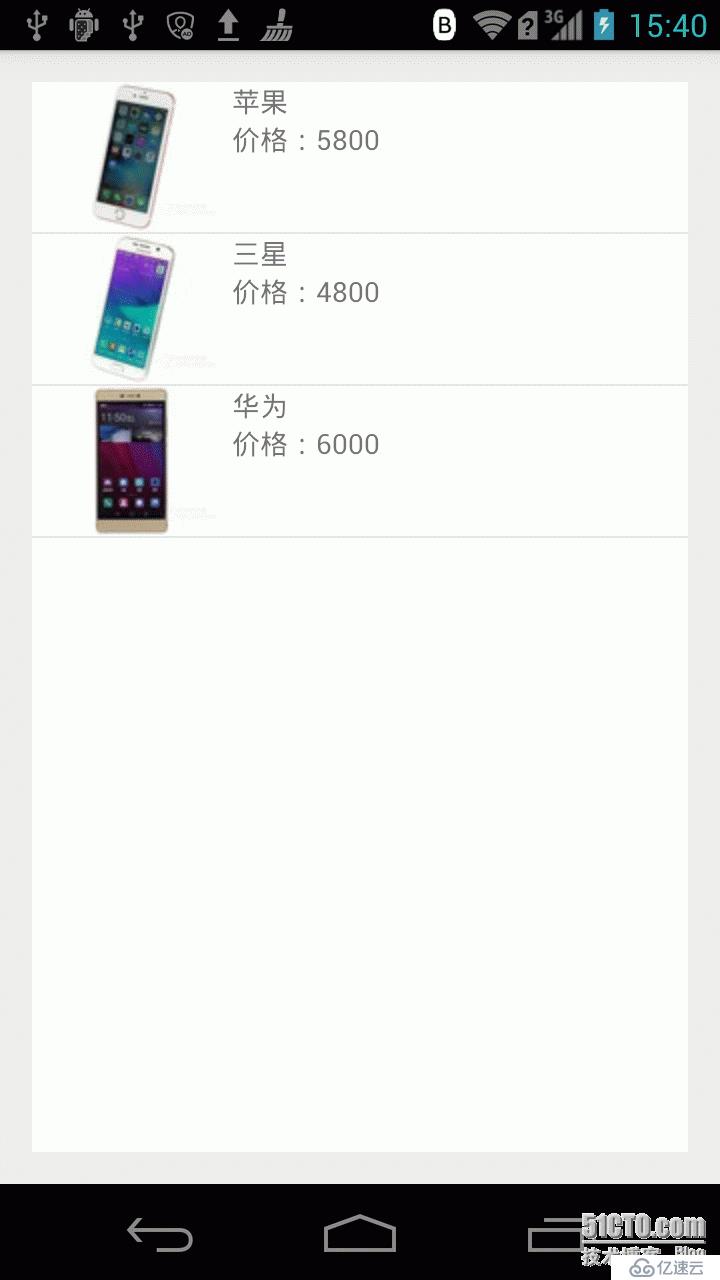
SimpleAdapter adapter1 =new SimpleAdapter(this,lm,R.layout.simple2, new String[]{"title","img","price"},new int[]{R.id.title2,R.id.img2,R.id.price});
setListAdapter(adapter1);
//得到数据
public List<Map<String, Object>> getData2()
{
Map<String,Object>value =new HashMap<String,Object>();
List<Map<String,Object>>lm =new ArrayList<Map<String,Object>>();
value.put("title","苹果");
value.put("img",R.drawable.aphone);
value.put("price","价格:5800");
lm.add(value);
value =new HashMap<String,Object>();
value.put("title", "三星");
value.put("img",R.drawable.sphone);
value.put("price","价格:4800");
lm.add(value);
value =new HashMap<String,Object>();
value.put("title","华为");
value.put("img",R.drawable.hphone);
value.put("price","价格:6000");
lm.add(value);
return lm;
}
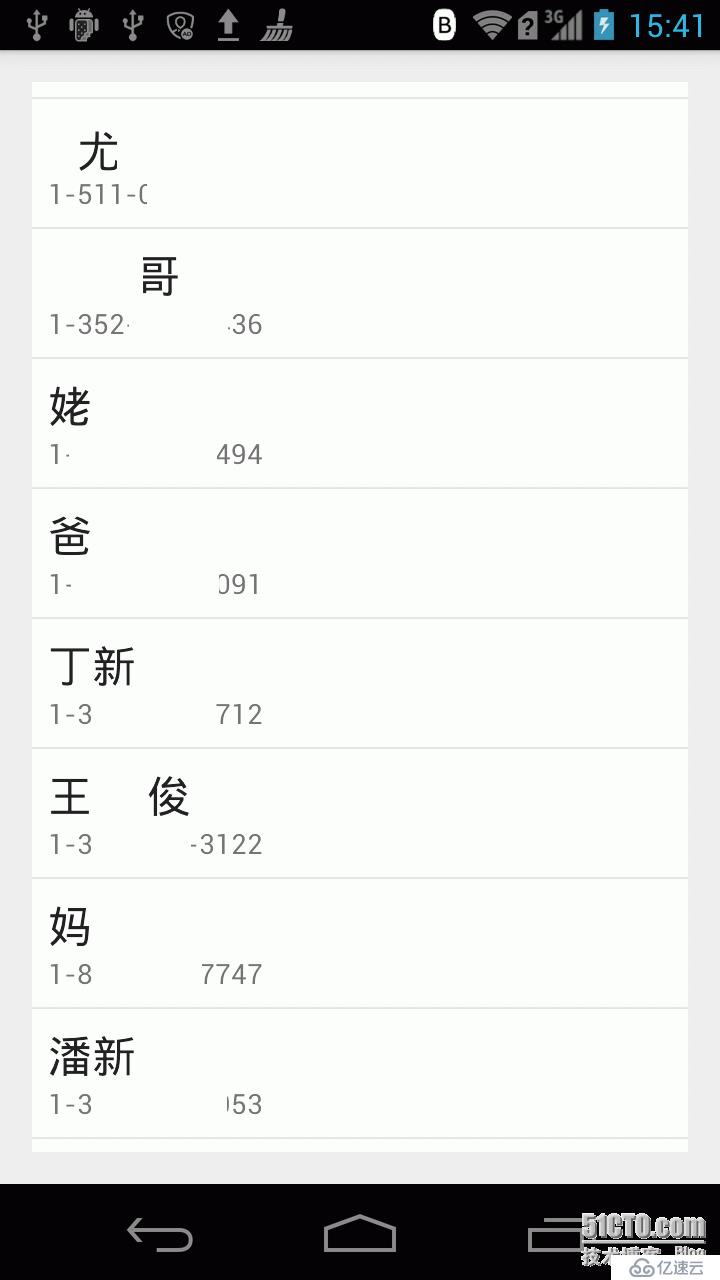
//SimpleCursorAdapter适配Listview 用于数据库数据的显示
//关键代码
//获得一个指向系统通讯录数据库的Cursor对象获得数据来源
Cursor cursor = getContentResolver().query(Contacts.People.CONTENT_URI,null,null,null,null);
startManagingCursor(cursor);
//实例化列表适配器
ListAdapter la = new SimpleCursorAdapter(this,android.R.layout.simple_list_item_2,cursor,new String[]{Contacts.People.NAME,Contacts.People.NUMBER},new int[]{android.R.id.text1,android.R.id.text2});
setListAdapter(la);
//一定要在AndroidManifest.xml加读取联系人的权限。
<uses-permission android:name="android.permission.READ_CONTACTS"/>
//代码下载
http://down.51cto.com/data/2119105
免责声明:本站发布的内容(图片、视频和文字)以原创、转载和分享为主,文章观点不代表本网站立场,如果涉及侵权请联系站长邮箱:is@yisu.com进行举报,并提供相关证据,一经查实,将立刻删除涉嫌侵权内容。