您好,登录后才能下订单哦!
密码登录
登录注册
点击 登录注册 即表示同意《亿速云用户服务条款》
今天小编给大家分享一下Vue3+Vite项目如何使用mockjs随机模拟数据的相关知识点,内容详细,逻辑清晰,相信大部分人都还太了解这方面的知识,所以分享这篇文章给大家参考一下,希望大家阅读完这篇文章后有所收获,下面我们一起来了解一下吧。
在vite中使用mockjs进行模拟数据,需要借助新的依赖进行使用
yarn add mockjs -S 或 npm i mockjs -D
npm i vite-plugin-mock -D
在index.vue中放入以下内容:
import { MockMethod } from 'vite-plugin-mock'

export default [
  {
    url: '/api/getUserInfo', // 注意,这里只能是string格式
    method: 'get',
    response: () => {
      return {
        menusList: [{
          id: '1',
          title: '南辰',
          subMenuList: [
            {
              id: '11',
              title: '南',
              path: '/user/nan'
            },
            {
              id: '12',
              title: '小',
              path: '/user/xiao'
            },
            {
              id: '13',
              title: '辰',
              path: '/user/chen'
            }
          ]
        }, {
          id: '2',
          title: '希',
          subMenuList: [
            {
              id: '21',
              title: '玩游戏',
              path: '/user/play'
            }
          ]
        }]
      }
    }
  }
] as MockMethod[] // 这里其实就是定义数据格式的,不了解的同学可以参考typescript的官方文档
四、开发环境配置
如果只是本地开发环境时使用,直接看下面即可步骤
在vite.config.ts进行个人配置
import { viteMockServe } from 'vite-plugin-mock'

export default defineConfig({
  plugins: [
    viteMockServe({
      mockPath: "./src/mock/source", // 解析刚刚user.ts的位置
      localEnabled: true // 是否开启开发环境
    })
  ]
})
在页面中引入
<template>
  <div>{{name.name}}</div>
  <div>{{nc}}</div>
</template>

<script lang='ts'>
import { useRoute } from "vue-router"; //引入路由组件
import { onMounted, ref } from "vue";
import axios from "axios";
export default {
  setup() {
    const nc = ref("");
    onMounted(() => {
      axios.get("/api/getUserInfo").then((res) => {
        console.log(res);
        nc.value = res.data.menusList[0].title;
        console.log(nc.value);
      });
    });
    const $route = useRoute();
    const name = $route.query;
    return {
      name,
      nc,
    };
  },
};
</script>
<style scoped>
</style>
打印效果如下: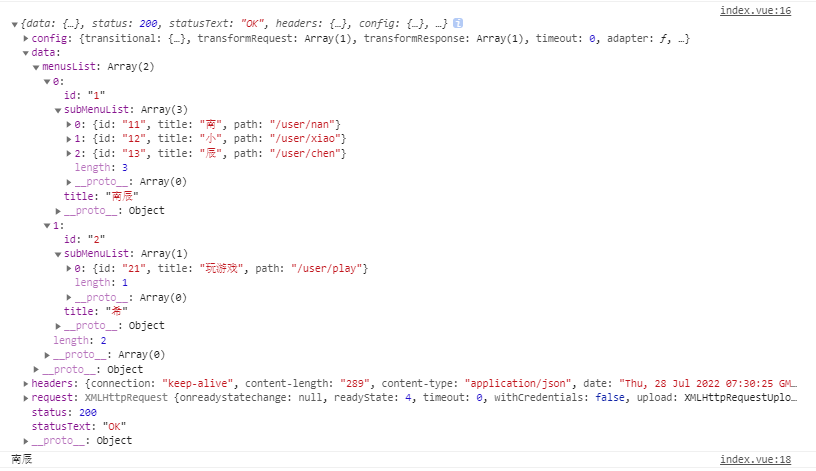
如果只要随机数则直接生成即可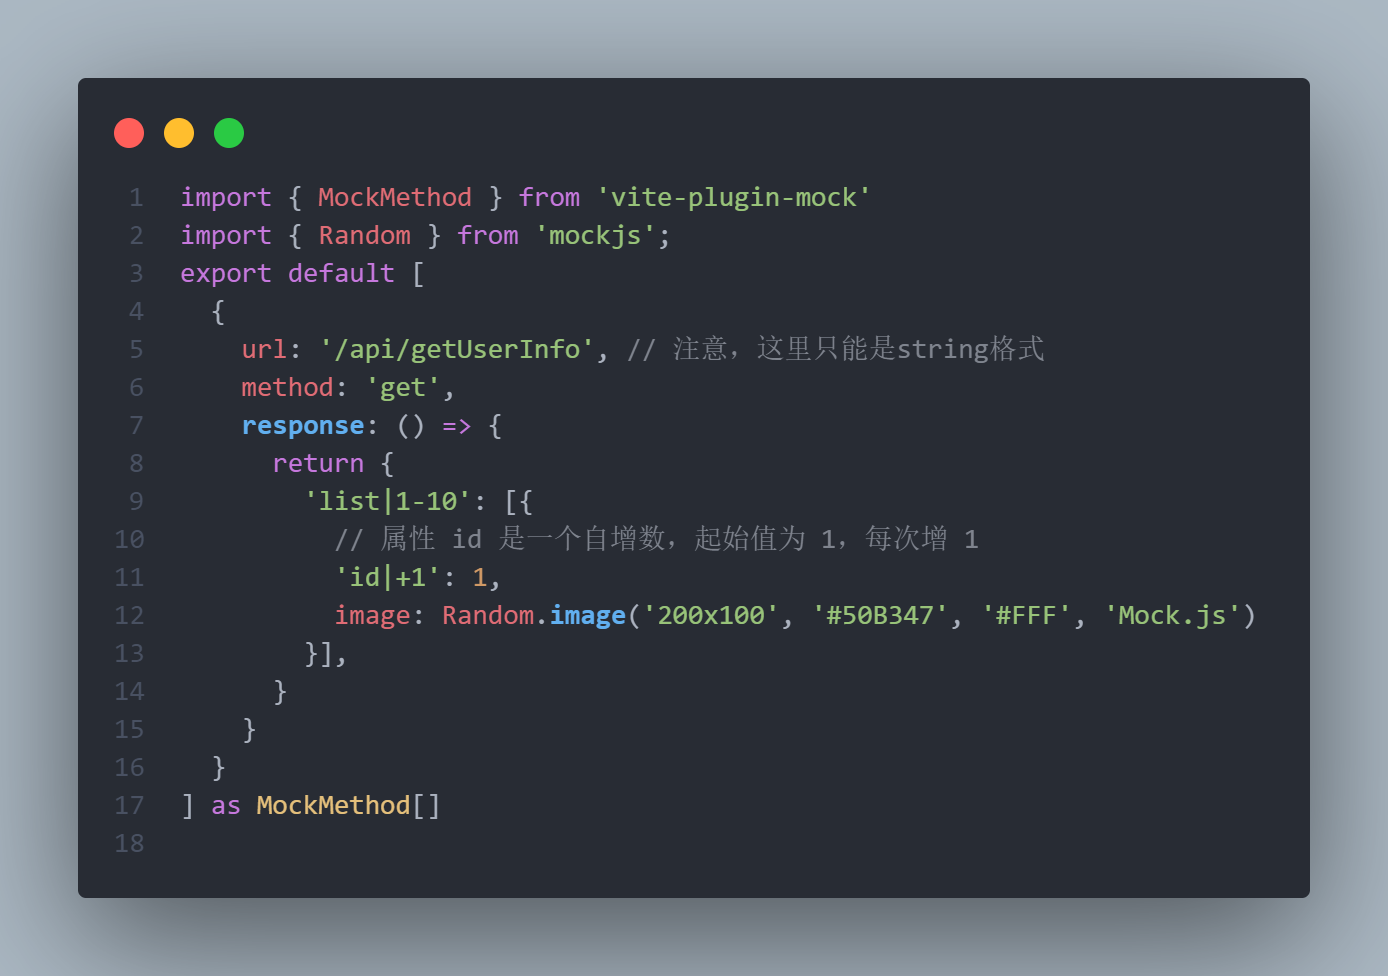
想要随机数在return中放入随机条件即可。
如果想要用随机数中的图片就需要从mockjs中引入一个Random方法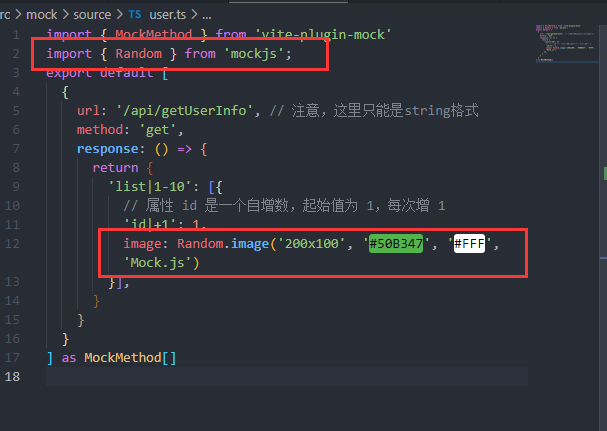
在页面上进行循环:
<template>
  <div v-for="(item,index) in list" :key="index">
   <img :src="item.image" alt="">
   <p>{{item.id}}</p>
  </div>
</template>

<script lang='ts'>
import { useRoute } from "vue-router"; //引入路由组件
import { onMounted, ref } from "vue";
import axios from "axios";
export default {
  setup() {
    const list = ref("");
    onMounted(() => {
      axios.get("/api/getUserInfo").then((res) => {
        console.log(res);
        let lis = res.data.list;
        console.log(list.value =lis);
      });
    });

    return {
      nc,
      list,
    };
  },
};
</script>
<style scoped>
</style>
这里的Random.image()方法是从官网上拿下来用的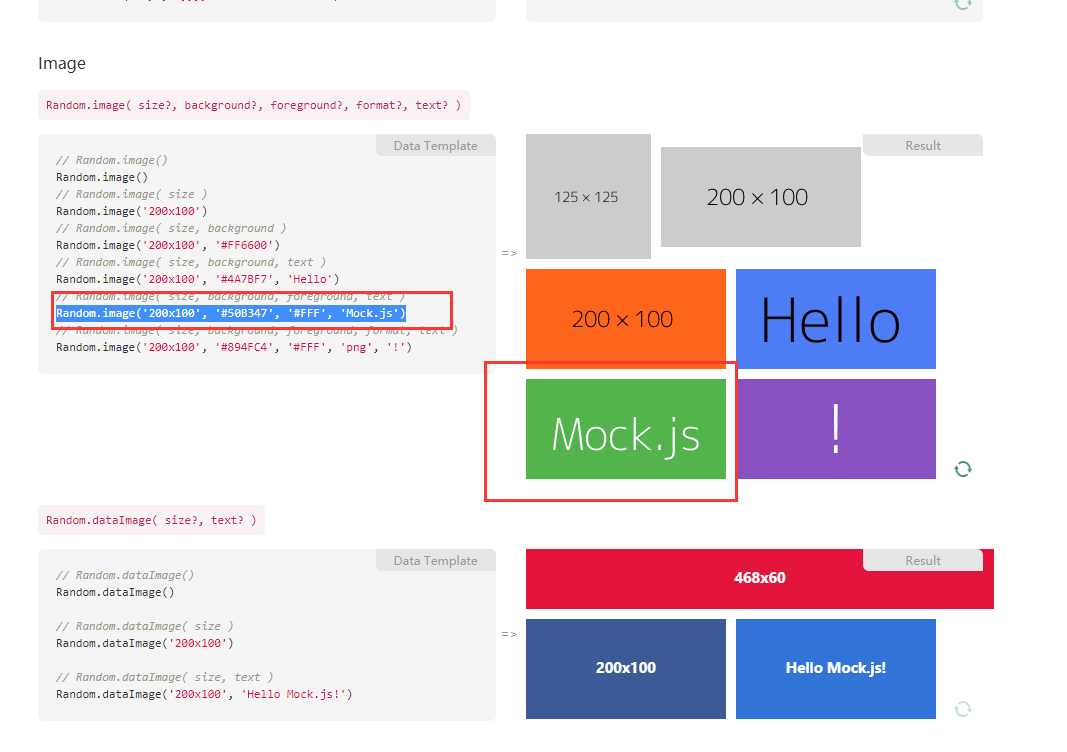
效果如下: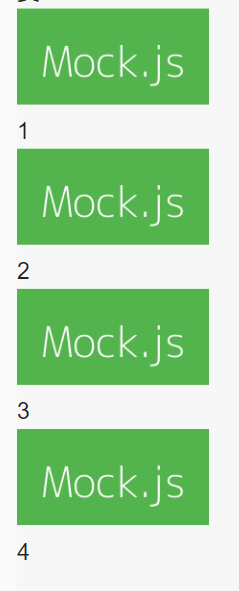
import { MockMethod } from 'vite-plugin-mock'
export default [
{
url: '/api/getUserInfo', // 注意,这里只能是string格式
method: 'get',
response: () => {
return {
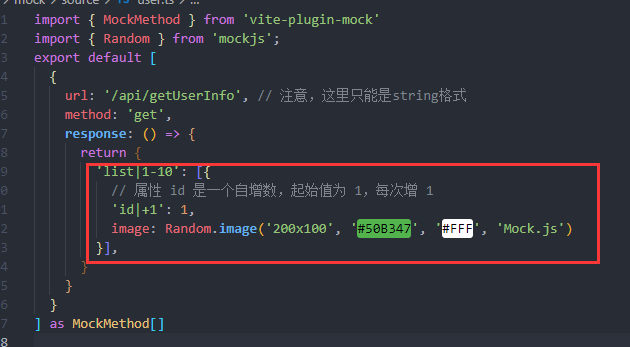
'list|1-10': [{
// 属性 id 是一个自增数,起始值为 1,每次增 1
'id|+1': 1,
/* image: Random.image() */
"title": "@ctitle",
"color":'@color',
"image":"@image('','@color')"
}],
}
}
}
] as MockMethod[]index.vue
<template>
<div v-for="(item,index) in list" :key="index">
 <img :src="item.image" alt="">
 {{item.title}}
 </div>
</template>

<script lang='ts'>
import { useRoute } from "vue-router"; //引入路由组件
import { onMounted, ref } from "vue";
import axios from "axios";

export default {
  setup() {
    const list = ref("");
    onMounted(() => {
      axios.get("/api/getUserInfo").then((res) => {
        console.log(res);
        let lis = res.data.list;
        console.log(lis);
        console.log(list.value = lis);
      });
    });
    return {
      list,
    };
  },
};
</script>
<style scoped>
</style>
效果如下: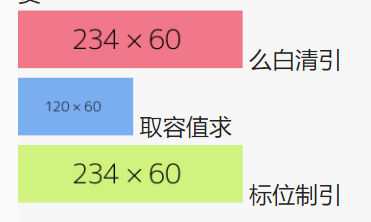
以上就是“Vue3+Vite项目如何使用mockjs随机模拟数据”这篇文章的所有内容,感谢各位的阅读!相信大家阅读完这篇文章都有很大的收获,小编每天都会为大家更新不同的知识,如果还想学习更多的知识,请关注亿速云行业资讯频道。
免责声明:本站发布的内容(图片、视频和文字)以原创、转载和分享为主,文章观点不代表本网站立场,如果涉及侵权请联系站长邮箱:is@yisu.com进行举报,并提供相关证据,一经查实,将立刻删除涉嫌侵权内容。