您好,登录后才能下订单哦!
密码登录
登录注册
点击 登录注册 即表示同意《亿速云用户服务条款》
这篇文章给大家分享的是有关Angular4项目中如何添加i18n国际化插件ngx-translate的内容。小编觉得挺实用的,因此分享给大家做个参考,一起跟随小编过来看看吧。
npm 安装 ngx-translate 模块
npm install @ngx-translate/core --save
npm install @ngx-translate/http-loader --save
在 Angular 项目配置
app.module.ts
添加
import { TranslateLoader, TranslateModule} from '@ngx-translate/core';
import { TranslateHttpLoader } from '@ngx-translate/http-loader';

 imports: [
 TranslateModule.forRoot({
 loader: {
 provide: TranslateLoader,
 useFactory: (createTranslateHttpLoader),
 deps: [Http]
 }
 })
 ]
结果如下:
import { BrowserModule } from '@angular/platform-browser';
import { NgModule } from '@angular/core';
import { HttpModule, Http } from '@angular/http';
import { TranslateLoader, TranslateModule} from '@ngx-translate/core';
import { TranslateHttpLoader } from '@ngx-translate/http-loader';

import { AppComponent } from './app.component';

export function createTranslateHttpLoader(http: Http) {
 return new TranslateHttpLoader(http, './assets/i18n/', '.json');
}

@NgModule({
 declarations: [
 AppComponent
 ],
 imports: [
 BrowserModule,
 HttpModule,
 TranslateModule.forRoot({
 loader: {
 provide: TranslateLoader,
 useFactory: (createTranslateHttpLoader),
 deps: [Http]
 }
 })
 ],
 providers: [],
 bootstrap: [AppComponent]
})
export class AppModule { }
app.component.ts
添加
import { TranslateService } from "@ngx-translate/core";

 constructor(public translateService: TranslateService) {

 }

 ngOnInit() {
 // --- set i18n begin ---
 this.translateService.addLangs(["zh", "en"]);
 this.translateService.setDefaultLang("zh");
 const browserLang = this.translateService.getBrowserLang();
 this.translateService.use(browserLang.match(/zh|en/) ? browserLang : 'zh');
 // --- set i18n end ---
 }
结果如下:
import { Component } from '@angular/core';
import { TranslateService } from "@ngx-translate/core";

@Component({
 selector: 'app-root',
 templateUrl: './app.component.html',
 styleUrls: ['./app.component.css']
})
export class AppComponent {
 title = 'app';

 constructor(public translateService: TranslateService) {

 }

 ngOnInit() {
 // --- set i18n begin ---
 this.translateService.addLangs(["zh", "en"]);
 this.translateService.setDefaultLang("zh");
 const browserLang = this.translateService.getBrowserLang();
 this.translateService.use(browserLang.match(/zh|en/) ? browserLang : 'zh');
 // --- set i18n end ---
 }
}
添加多语言文件
在 src/app/assets/ 下创建 i18n 文件夹,并在文件夹内创建 en.json 和 zh.json 文件

测试
app.component.html
添加代码:
<div>
 <span> test the i18n module: ngx-translate</span>
 <h2>{{ 'hello' | translate }}</h2>
</div>
在 en.json 和 zh.json 文件中添加配置
en.json
{
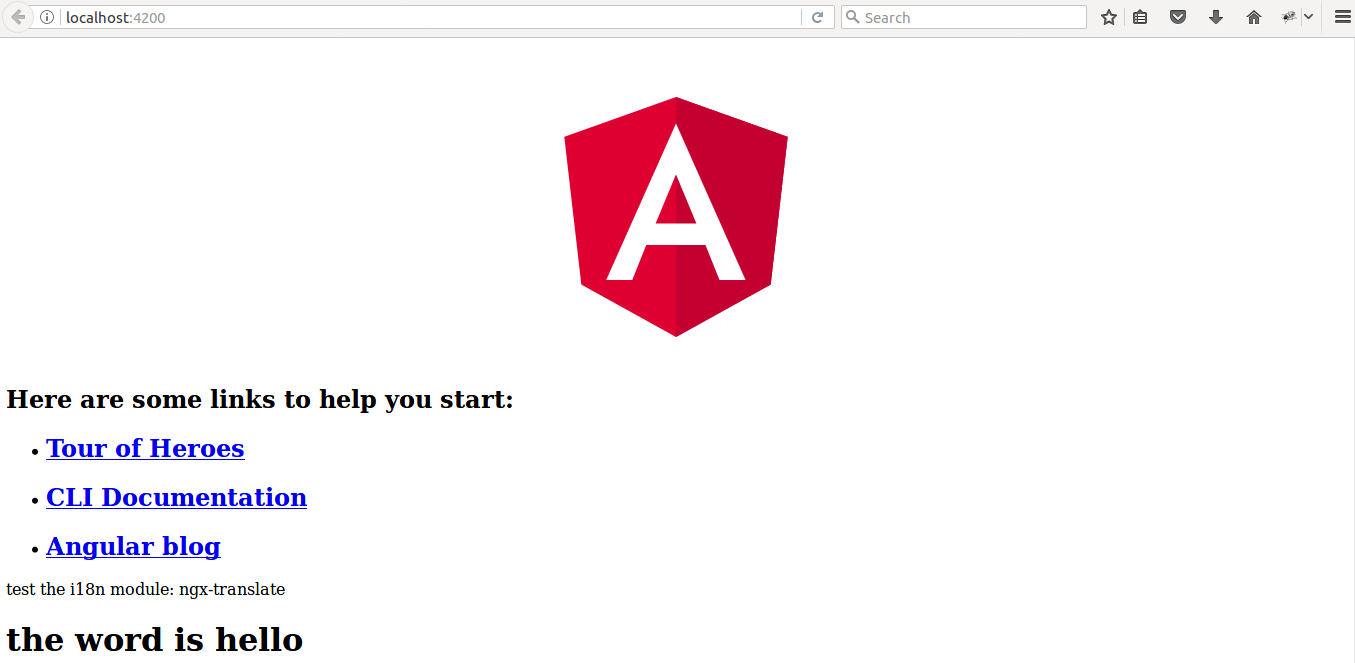
 "hello": "the word is hello"
}
zh.json
{
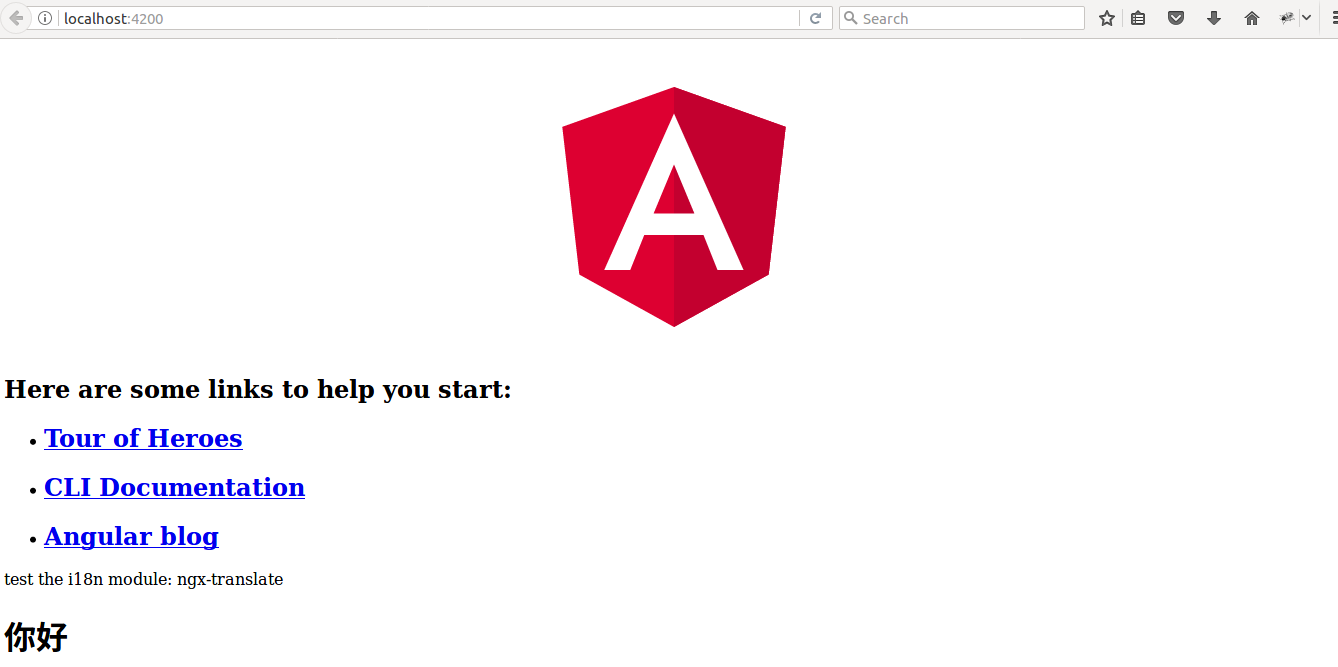
 "hello": "你好"
}
测试结果
在中文下

在英文下

感谢各位的阅读!关于“Angular4项目中如何添加i18n国际化插件ngx-translate”这篇文章就分享到这里了,希望以上内容可以对大家有一定的帮助,让大家可以学到更多知识,如果觉得文章不错,可以把它分享出去让更多的人看到吧!
免责声明:本站发布的内容(图片、视频和文字)以原创、转载和分享为主,文章观点不代表本网站立场,如果涉及侵权请联系站长邮箱:is@yisu.com进行举报,并提供相关证据,一经查实,将立刻删除涉嫌侵权内容。